メインコンテンツにスキップ
リペアコミュニティに参加 - アカウントの作成

Motorola Talkabout FV700R Battery Terminals Replacement

必要な工具と部品

    1. Motorola Talkabout FV700R Battery Terminals Replacement, Battery: 手順 1、 1の画像 1
      • Remove the back battery cover by pressing the tab to the left, and lifting.

      • A small screwdriver can aid this process.

      FixBotに聞いてみる

      コメントを追加

    2. Motorola Talkabout FV700R Battery Terminals Replacement: 手順 2、 1の画像 1
      • Remove the batteries currently in the radio.

      • When you're ready to add new batteries, place Ni-MH or AAA replacement batteries in the specified slots.

      • The orientation of the batteries is specified in the battery compartment.

      FixBotに聞いてみる

      コメントを追加

    1. Motorola Talkabout FV700R Battery Terminals Replacement, Volume Knob: 手順 3、 1の画像 1
      • Turn the Volume knob to the off position.

      FixBotに聞いてみる

      コメントを追加

    2. Motorola Talkabout FV700R Battery Terminals Replacement: 手順 4、 2の画像 1 Motorola Talkabout FV700R Battery Terminals Replacement: 手順 4、 2の画像 2
      • Firmly grasp and pull back on the volume knob. The knob should come off smoothly.

      • This may require some twisting and force.

      FixBotに聞いてみる

      コメントを追加

    1. Motorola Talkabout FV700R Battery Terminals Replacement, Front Faceplate: 手順 5、 1の画像 1
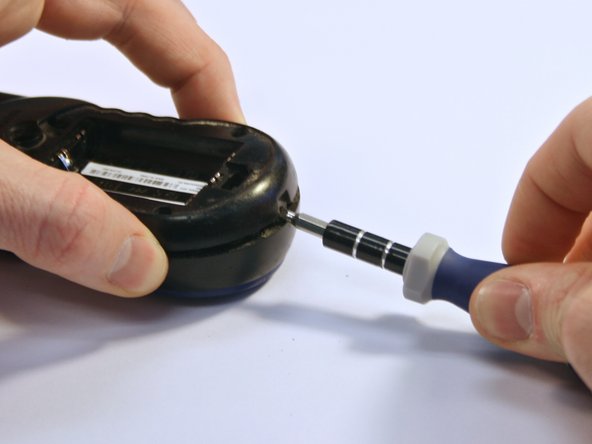
      • Remove the four 3 millimeter T6 Torx screws from the front of the radio.

      FixBotに聞いてみる

      コメントを追加

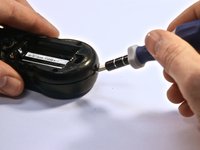
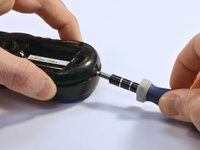
    2. Motorola Talkabout FV700R Battery Terminals Replacement: 手順 6、 2の画像 1 Motorola Talkabout FV700R Battery Terminals Replacement: 手順 6、 2の画像 2
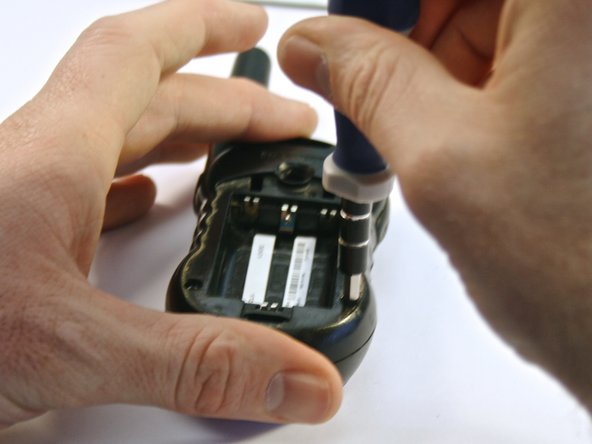
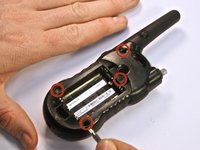
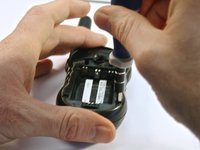
      • Remove the four 3 millimeter T8 Torx screws from the back of the radio.

      FixBotに聞いてみる

      コメントを追加

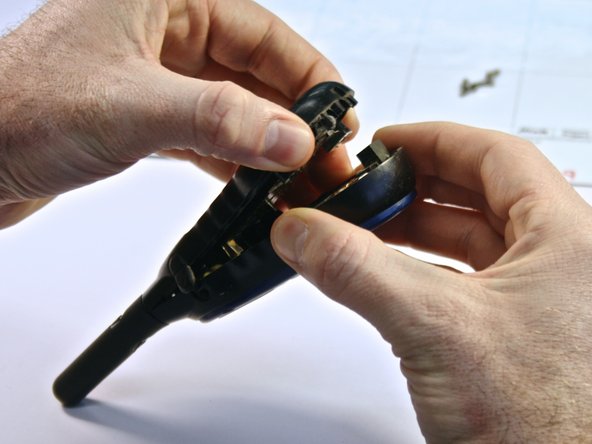
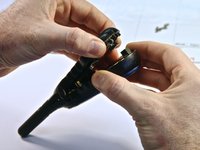
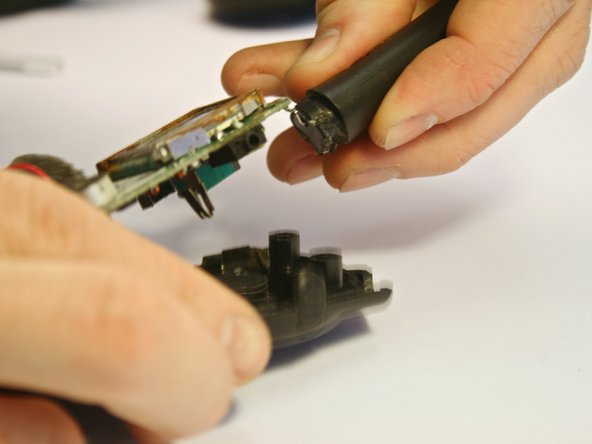
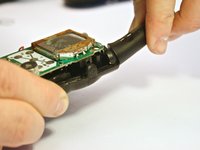
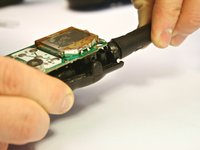
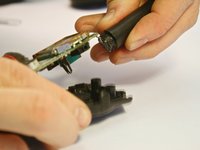
    3. Motorola Talkabout FV700R Battery Terminals Replacement: 手順 7、 3の画像 1 Motorola Talkabout FV700R Battery Terminals Replacement: 手順 7、 3の画像 2 Motorola Talkabout FV700R Battery Terminals Replacement: 手順 7、 3の画像 3
      • Gently open the backplate of the radio. Use a flathead screwdriver to slowly pry apart the two sides.

      • Be careful, as the antenna is still attached. Pulling the two sides apart too quickly could break the antenna.

      FixBotに聞いてみる

      コメントを追加

    4. Motorola Talkabout FV700R Battery Terminals Replacement: 手順 8、 2の画像 1 Motorola Talkabout FV700R Battery Terminals Replacement: 手順 8、 2の画像 2
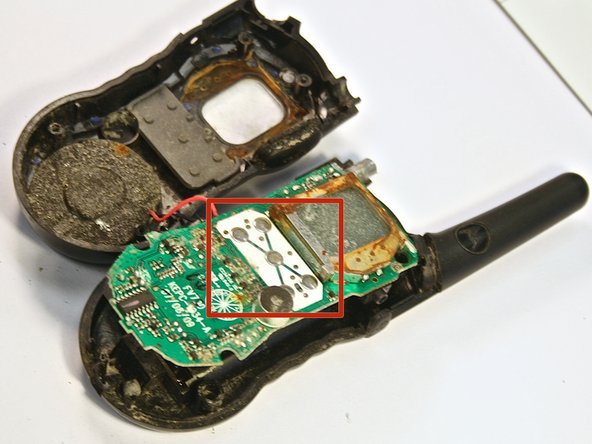
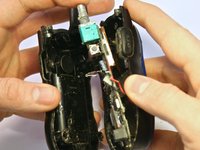
      • Gently pull the circuit board away from the front faceplate.

      • Be careful not to tug the wire connecting the circuit board to the speaker, as it is still attached to the faceplate.

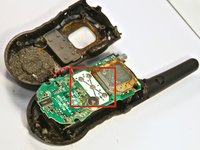
      • Do not touch the the button contacts on the circuit board (the button contacts are shown in the red box of the second picture). This can cause long-term damage to the radio unless you properly clean them (see Repairing Motorola TALKABOUT FV700 Two Way Radio Button Contacts Guide).

      FixBotに聞いてみる

      コメントを追加

    1. Motorola Talkabout FV700R Battery Terminals Replacement, Battery Terminals: 手順 9、 3の画像 1 Motorola Talkabout FV700R Battery Terminals Replacement, Battery Terminals: 手順 9、 3の画像 2 Motorola Talkabout FV700R Battery Terminals Replacement, Battery Terminals: 手順 9、 3の画像 3
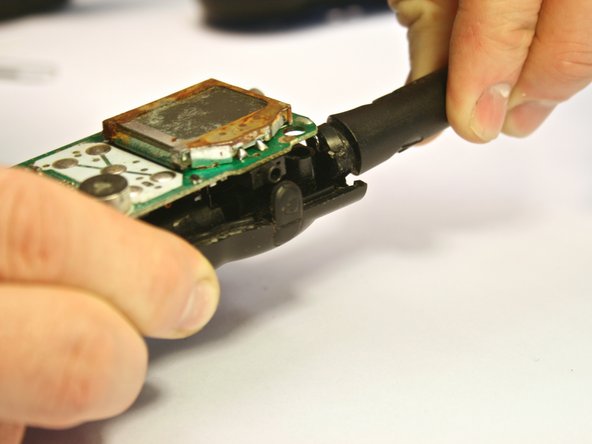
      • Now the circuit board can be removed from the back faceplate.

      • To do this, grip the back faceplate in one hand and the antenna in the other. Pull and twist the antenna away from the back faceplate. The circuit board should be removed with the antenna, as they are attached.

      FixBotに聞いてみる

      コメントを追加

    2. Motorola Talkabout FV700R Battery Terminals Replacement: 手順 10、 3の画像 1 Motorola Talkabout FV700R Battery Terminals Replacement: 手順 10、 3の画像 2 Motorola Talkabout FV700R Battery Terminals Replacement: 手順 10、 3の画像 3
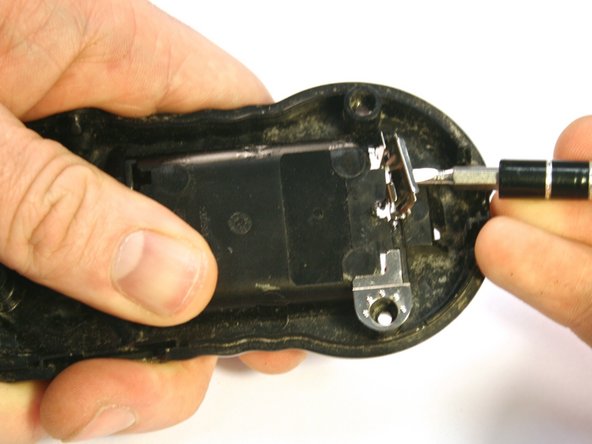
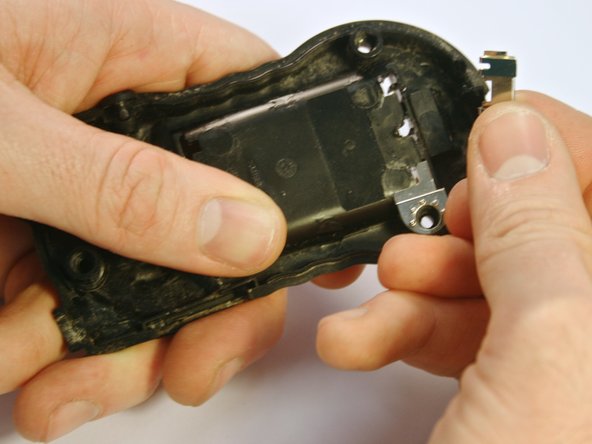
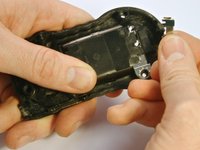
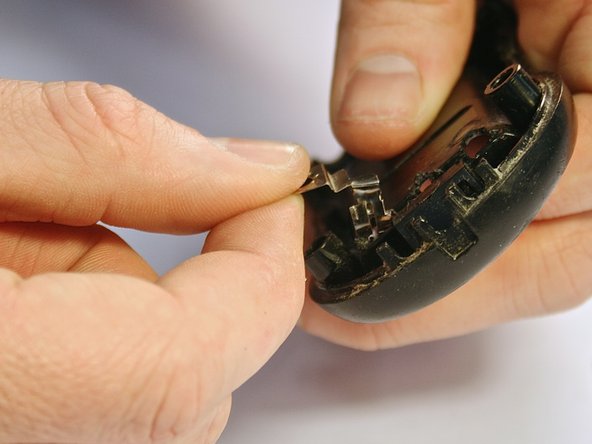
      • Once the circuit board is removed from the back plate of the radio, the battery terminals can be removed.

      • From the front side of the two-way radio, use the flathead screwdriver to pry the longer battery terminals up and out of the radio.

      FixBotに聞いてみる

      コメントを追加

    3. Motorola Talkabout FV700R Battery Terminals Replacement: 手順 11、 2の画像 1 Motorola Talkabout FV700R Battery Terminals Replacement: 手順 11、 2の画像 2
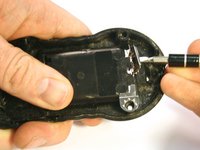
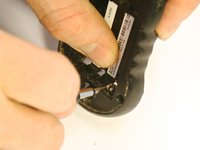
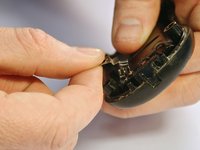
      • To remove the smaller batter terminals, you'll need to turn the radio back over to the back side.

      • Use the flathead screwdriver to push on the terminal.

      • This may take some force.

      • Once the terminal is loose, you can turn the radio over and remove it with your hand.

      FixBotに聞いてみる

      コメントを追加

終わりに

Once the faulty leads are removed, you can insert the new leads. To reassemble your device, follow these instructions in reverse order.

キャンセル: このガイドを終了できませんでした。

ある他の人がこのガイドを完成しました。

作成者

3人の作成者と共同で作成されました。

Kayla Brennan

メンバー登録日: 03/26/14

737 ポイント

6のガイドは作成済み

チーム

Clemson, Team 6-4, Benson Spring 2014 Clemson, Team 6-4, Benson Spring 2014人のメンバー

CLEM-BENSON-S14S6G4

3 メンバー

28のガイドは作成済み

1件のガイドコメント

Where can one source new terminals?

Kyle Nakamura - 返信 共有
コメントを追加

統計データ:

過去 24時間: 2

過去 7 日: 10

過去 30 日: 31

今までの合計 2,456