メインコンテンツにスキップ

Motorola RAZR2 v9m Keypad Replacement

必要な工具と部品

  1. Motorola RAZR2 v9m Keypad Replacement, Battery: 手順 1、 2の画像 1 Motorola RAZR2 v9m Keypad Replacement, Battery: 手順 1、 2の画像 2
    • Push the rear cover toward the hinge of the RAZR2. The panel will slide about 3 mm.

  2. Motorola RAZR2 v9m Keypad Replacement: 手順 2、 3の画像 1 Motorola RAZR2 v9m Keypad Replacement: 手順 2、 3の画像 2 Motorola RAZR2 v9m Keypad Replacement: 手順 2、 3の画像 3
    • Pinch the top and bottom edges of the panel and pull it away from the RAZR2.

    • The rear panel uses four small hooks to hold it in place. If the panel will not easily pull away, slide the panel more toward the hinge.

  3. Motorola RAZR2 v9m Keypad Replacement: 手順 3、 2の画像 1 Motorola RAZR2 v9m Keypad Replacement: 手順 3、 2の画像 2
    • Gently pull the white plastic tab to lift the battery away from the RAZR2.

    • The white plastic tab is attached to the phone. Only pull it enough to expose the edges of the battery.

  4. Motorola RAZR2 v9m Keypad Replacement: 手順 4、 2の画像 1 Motorola RAZR2 v9m Keypad Replacement: 手順 4、 2の画像 2
    • To remove the battery, grasp its edges pull away from the phone.

    • When installing a new battery, be sure the metal contacts on the phone line up with the ones on the battery.

  5. Motorola RAZR2 v9m Keypad Replacement, Keypad: 手順 5、 3の画像 1 Motorola RAZR2 v9m Keypad Replacement, Keypad: 手順 5、 3の画像 2 Motorola RAZR2 v9m Keypad Replacement, Keypad: 手順 5、 3の画像 3
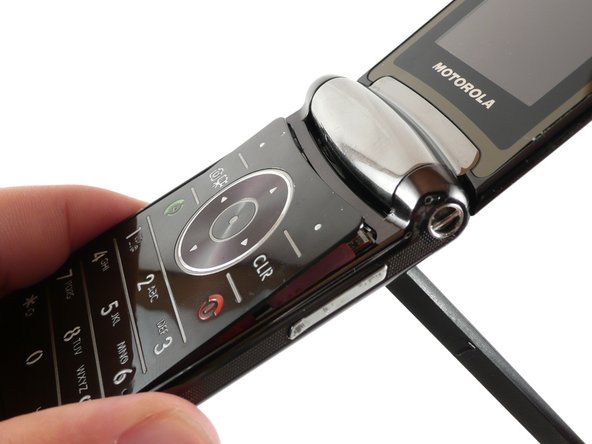
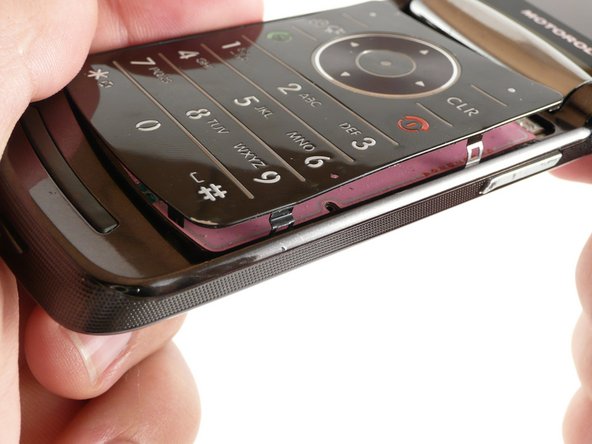
    • Flip the RAZR2 open with the battery compartment facing you.

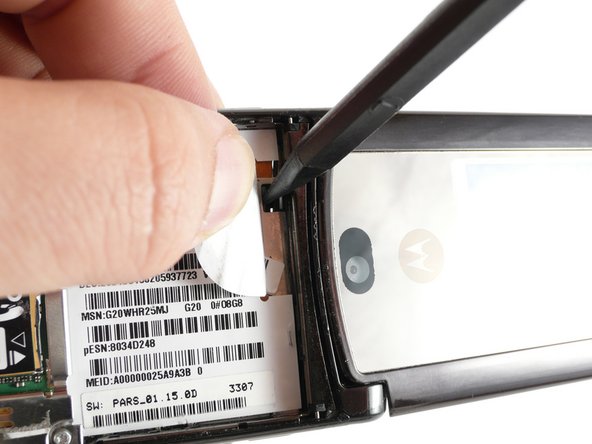
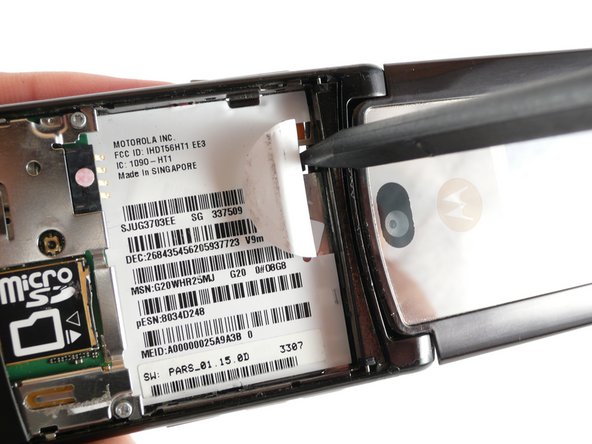
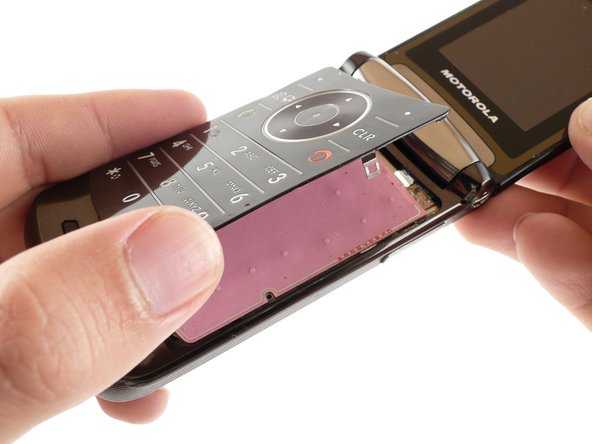
    • Pull the white battery tab away from the phone to reveal a small black gap in the battery compartment.

    • Place the spudger into this gap. Rest the spudger against the black plastic inside of the gap.

  6. Motorola RAZR2 v9m Keypad Replacement: 手順 6、 3の画像 1 Motorola RAZR2 v9m Keypad Replacement: 手順 6、 3の画像 2 Motorola RAZR2 v9m Keypad Replacement: 手順 6、 3の画像 3
    • Rest the spudger/scewdriver between the top of the black plastic and the metal body of the phone and leaver the two apart to release the top clip on the keyboard.and the top of the keypad pops out from the RAZR2.

  7. Motorola RAZR2 v9m Keypad Replacement: 手順 7、 3の画像 1 Motorola RAZR2 v9m Keypad Replacement: 手順 7、 3の画像 2 Motorola RAZR2 v9m Keypad Replacement: 手順 7、 3の画像 3
    • Use a plastic opening tool to gently pry one side of the keypad away from the RAZR2.

    • There are 2 clips on the side of the keypad. In total, there are 8 clips holding the keypad to the phone.

  8. Motorola RAZR2 v9m Keypad Replacement: 手順 8、 3の画像 1 Motorola RAZR2 v9m Keypad Replacement: 手順 8、 3の画像 2 Motorola RAZR2 v9m Keypad Replacement: 手順 8、 3の画像 3
    • Lift the keypad away from the phone.

    • When reassembling, gently squeeze the sides of the keypad until the keypad has a slight bow running down the middle from top to bottom, like a playing card. This will ensure that it slides easily into place. Take care not to damage any of the 8 clips.

終わりに

To reassemble your device, follow these instructions in reverse order.

2 の人々がこのガイドを完成させました。

作成者

4人の作成者と共同で作成されました。

Sam Roach

メンバー登録日: 06/04/13

152 ポイント

1ガイドが承認済み

チーム

University of Kentucky Louisville, Team 1-2, Chamberlain Spring 2013 University of Kentucky Louisville, Team 1-2, Chamberlain Spring 2013人のメンバー

LOUISVILLE-CHAMBERLAIN-S13S1G2

2 メンバー

7のガイドは作成済み

0 件のコメント

コメントを追加

統計データ:

過去 24時間: 0

過去 7 日: 1

過去 30 日: 6

今までの合計 1,269