このバージョンは誤った内容を含んでいる可能性があります。最新の承認済みスナップショットに切り替えてください。
必要な工具と部品
-
この手順は未翻訳です。 翻訳を手伝う。
-
Begin by removing the trim piece.
-
Using your fingers or The Spudger, get underneath the trim. Start by applying enough force to pry the trim off.
-
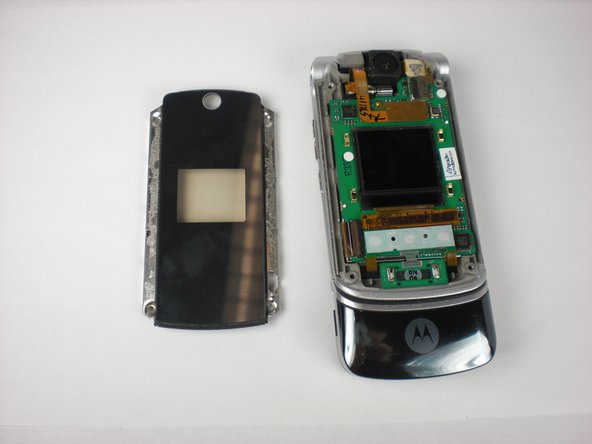
Remove the face plate.
-
-
-
この手順は未翻訳です。 翻訳を手伝う。
-
Once you have removed the trim you will see 4 gold screws at the corners of the phone. Using a T5 Torx Screwdriver, remove the screws.
-
Alternatively use a spudger to carefully lift up the glass from the metal support, there is no need to remove the screws. The glass is much cheaper and easier to find then the glass/metal
-
-
この手順は未翻訳です。 翻訳を手伝う。
-
Gently, using The Spudger towards the edge or the top of the phone and lift the face plate off.
-
Be careful during this step, the touch-sensitive keys and chip board (which is green) may remain attached to the face plate. Gently hold the chip board down as you lift the face plate.
-
Once you have removed the broken face plate, replace it with your the new one.
-
Follow all of these steps in reverse order to reassemble the phone.
-


チーム

Cal Poly, Team 11-1, Forte Winter 2010 Cal Poly, Team 11-1, Forte Winter 2010人のメンバー
CPSU-FORTE-W10S11G1
5 メンバー
6のガイドは作成済み