はじめに
In order to complete this guide you must first know how to solder. If you do not know how to do this simply look a tutorial on the internet.
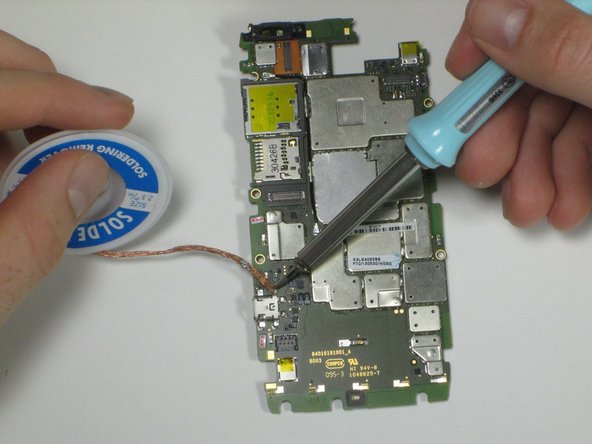
Once you have completed the Motherboard and Front Assembly prerequisite guides you will have the motherboard in hand. The USB charging port is located at the bottom left of the board, the top being where the cameras are located. Now apply your desoldering skills on the four solder joint and replace the USB charging port.
必要な工具と部品
-
-
Open the small latch on the left side of the device by lifting gently with your finger, exposing the SIM card and microSD card slots.
-
If either of these cards are present, remove them to prevent damaging them while taking apart the phone. Our device does not have either.
-
Close the latch once the two cards are removed.
-
-
-
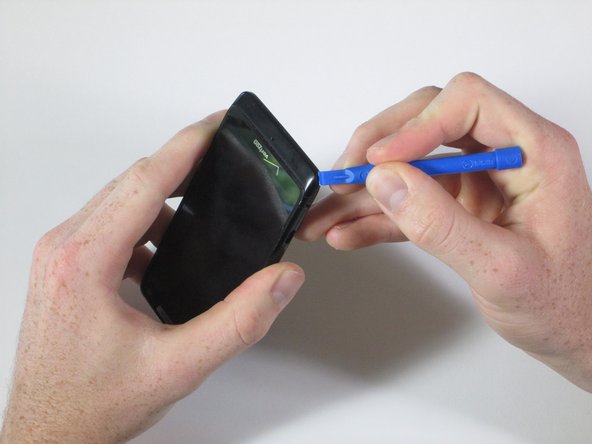
Run the plastic opening tool under the bottom edge of the phone to detach the small plastic cover below the Verizon logo.
-
It will take some force to remove this piece. Work around the bottom corners to unlatch the two hooks holding the piece in place.
-
Once the plastic cover is detached, pull the piece away with your fingers.
-
-
-
-
Like a clamshell, slowly open the device from the top. Open the remainder of the device slowly while being mindful of the flat orange wire that connects the motherboard to the front assembly.
-
Undo the snap connection in the lower left corner by inserting the plastic opening tool under the end of the orange wire connected to the motherboard. Lift gently.
-
Once the snap connection is undone, pull apart the front assembly from the rest of the phone.
-
-
-
Remove the six 4mm T5 Torx screws located along the outer edge of the motherboard.
-
-
-
Place the end of the soldering iron onto one of the solder joints. Place the soldering wick onto the joint as it begins to liquify, the solder will run up the solder wick and off of the USB charging port.
-
Repeat this for each joint.
-


To reassemble your device, follow these instructions in reverse order.
To reassemble your device, follow these instructions in reverse order.
3 の人々がこのガイドを完成させました。
チーム

Cal Poly, Team 15-1, Amido Spring 2015 Cal Poly, Team 15-1, Amido Spring 2015人のメンバー
CPSU-AMIDO-S15S15G1
4 メンバー
14のガイドは作成済み