はじめに
Use this guide to replace your Droid 2's LCD.
必要な工具と部品
-
-
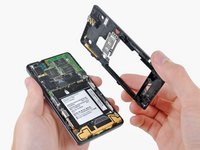
Slide the battery cover toward the bottom edge of the phone.
-
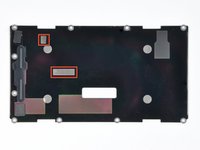
Remove the battery cover from the rear of the phone.
-
-
-
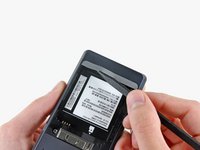
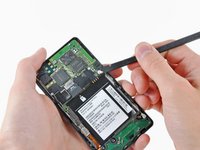
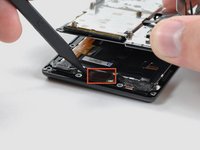
Using the tip of a spudger, peel up one corner of the silver ribbon below the battery compartment.
-
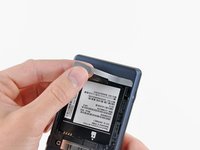
Peel the ribbon off the phone.
-
-
-
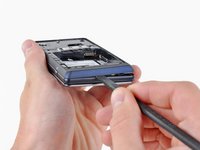
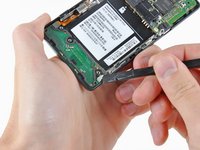
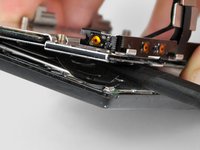
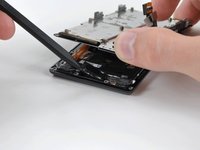
Use a spudger to pry the antenna cable connectors from their respective sockets on the motherboard and the speaker/antenna board.
-
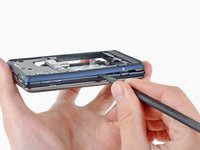
De-route the antenna cable by pulling it out of the metal clips along the side of the front case.
-
-
-
-
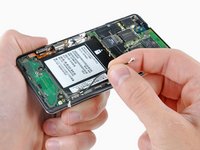
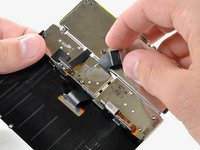
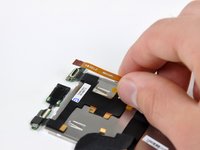
Disconnect the camera button/vibrator connector by prying it straight up off its socket on the speaker board with a spudger.
-


To reassemble your device, follow these instructions in reverse order.
9 の人々がこのガイドを完成させました。

2件のガイドコメント
Thank you very much for this tutorial. It saved me from buying a new phone! It was scary once the phone was completely disected to think that it had to somehow go back together, but I just followed the steps in reverse. I used t4 for the larger screws as t5 did not seem to fit, but it worked out great. Thanks again.