Pinch the battery pull tab located below the camera, pull it upwards, and remove the battery.
The pull tab may be tucked under the battery.
Wedge a plastic opening tool behind the panel covering the camera, pry it up, and remove it using your fingers.
The panel is held down by adhesive and may require you to wedge and pry the right side of the panel before it can be easily removed.
Turn the phone over and slide out the keyboard.
Wedge a plastic opening tool where the keyboard meets the back casing of the phone next to the headphone jack.
Carefully pry open the back casing along the keyboard's edge until at least two corners of the back casing are separated from the keyboard.
Do not fully separate the rear panel from the phone. A cable is connecting the two parts together.
Gently pry ZIF connector upwards using the flat end of a spudger tool.
The ZIF connector is glued down. Be gentle! Ripping it off or breaking it will make your phone inoperable.
You may need adhesive to keep your power cable in place when reassembling your phone.
Press your thumb against the orange power cable and pull it down slowly to disconnect the power cable from the bottom of the keyboard.
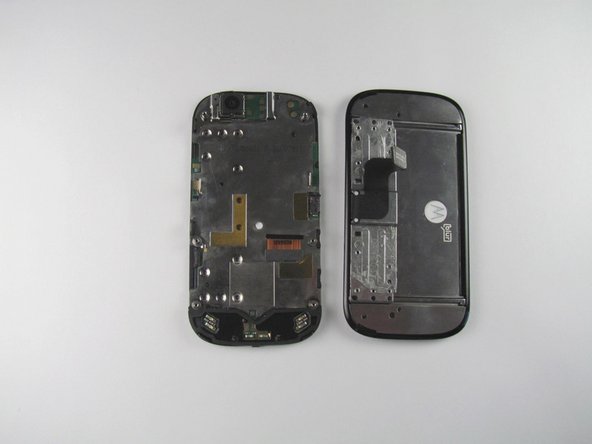
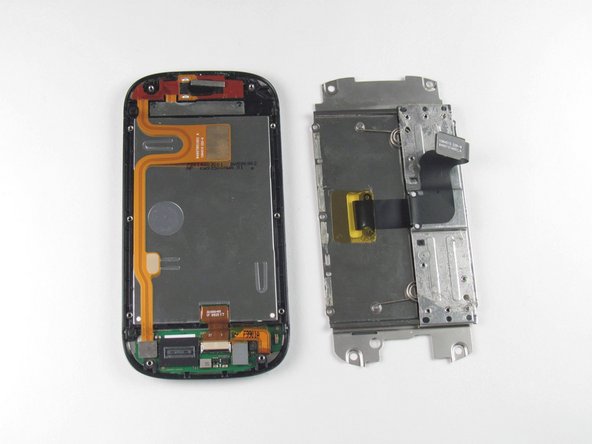
The rear casing and the rest of the phone should now be completely separated.
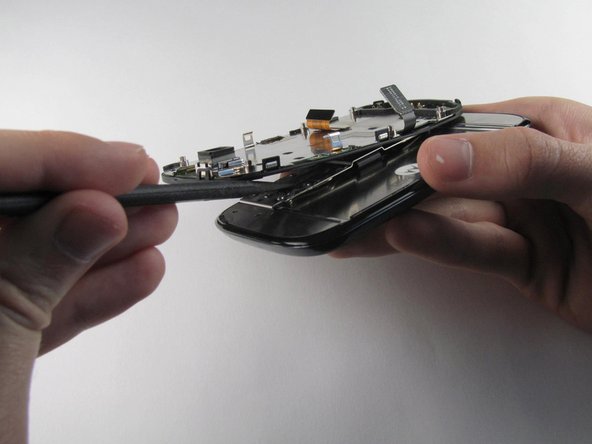
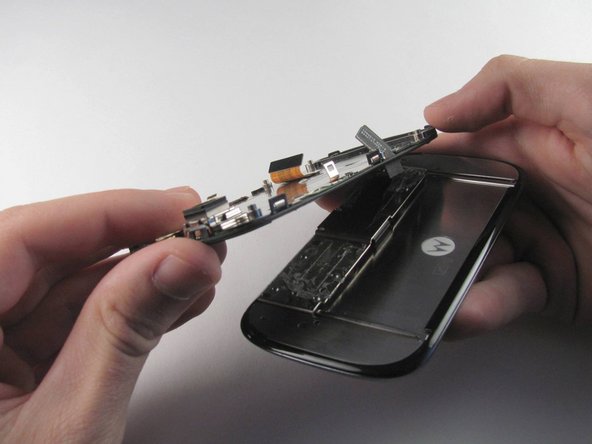
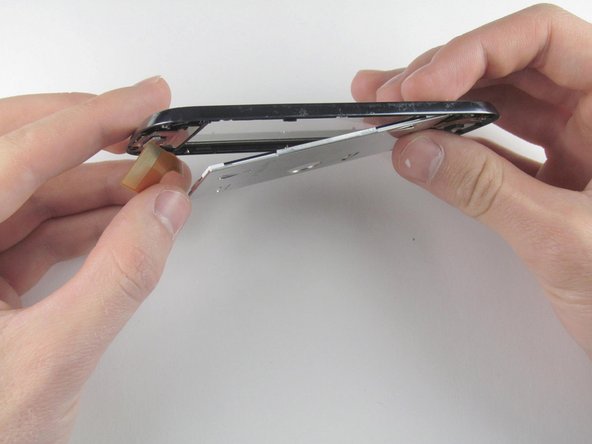
Orient the phone so that the edge closest to the camera points towards you and slide out the keyboard.
Wedge the tip of a spudger between the keyboard and the display assembly below the camera.
With steady pressure, pry the keyboard away from the display assembly.
The keyboard and display assembly are glued together, so expect some resistance.
Do not completely separate the keyboard and display assembly because the display flex cable still connects them.
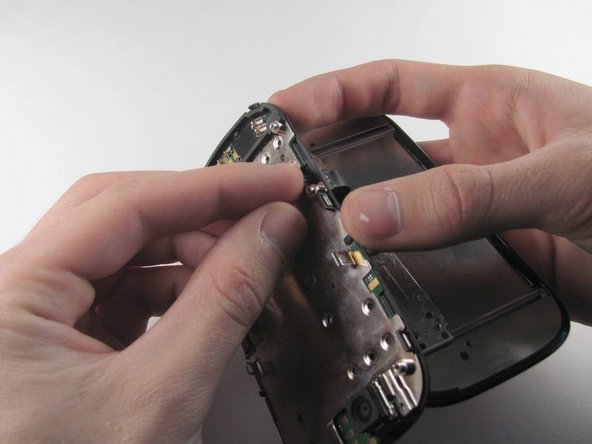
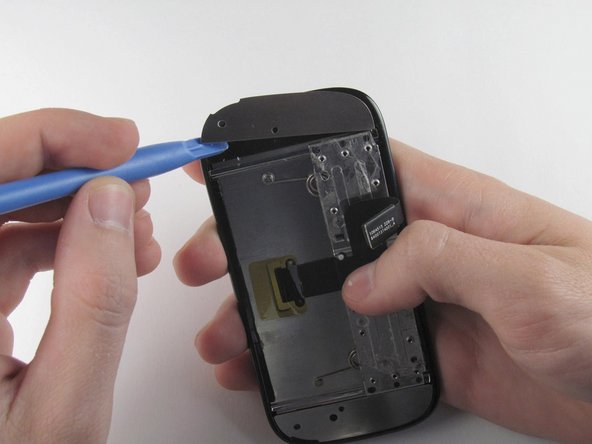
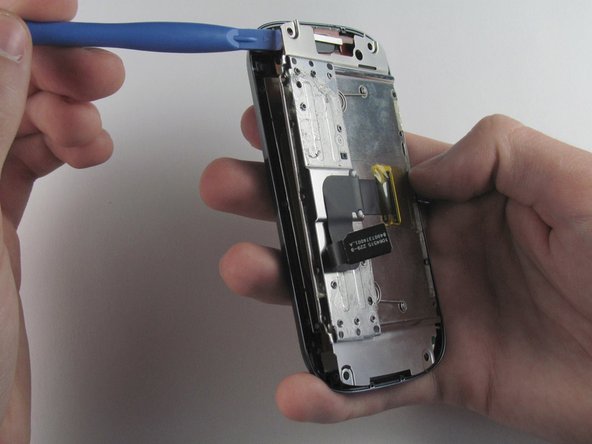
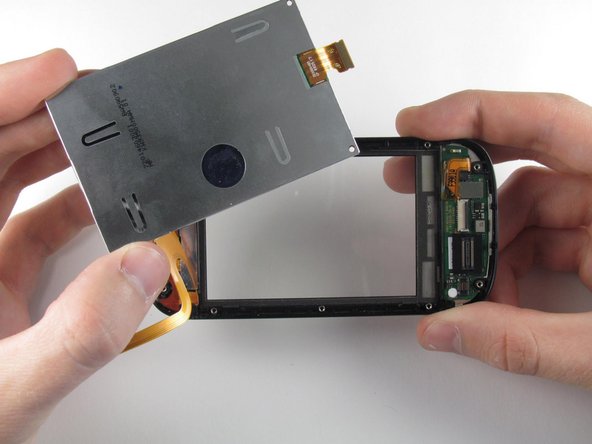
Wedge a plastic opening tool underneath one of the metal panels on the underside of the display assembly.
Pry upwards and remove the metal panel.
Repeat this step for the second metal panel located on the opposite side of the phone.
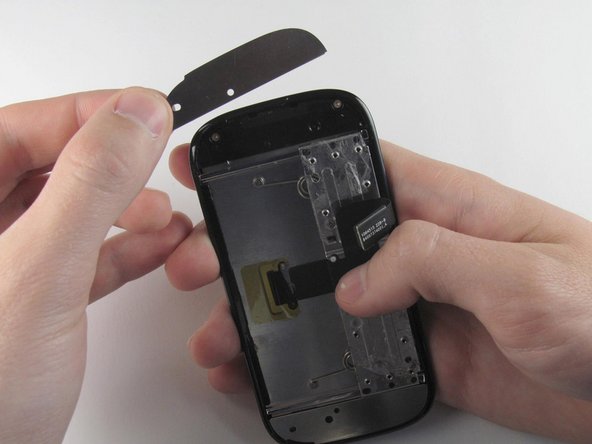
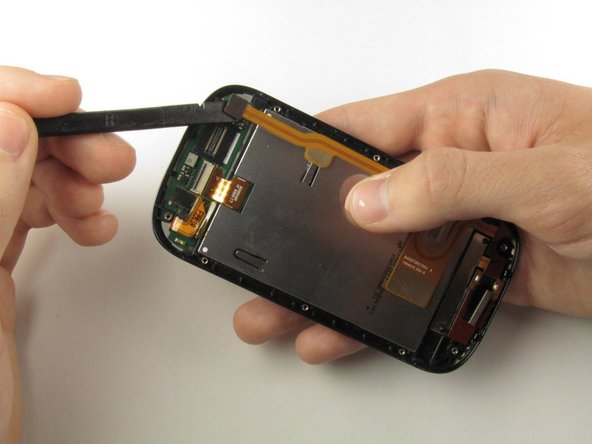
Wedge a plastic opening tool between the edge and the black pastic cover on the underside of the display assembly.
Run the plastic opening tool along the edges to separate the black plastic cover from the display assembly.
Remove the black plastic cover.
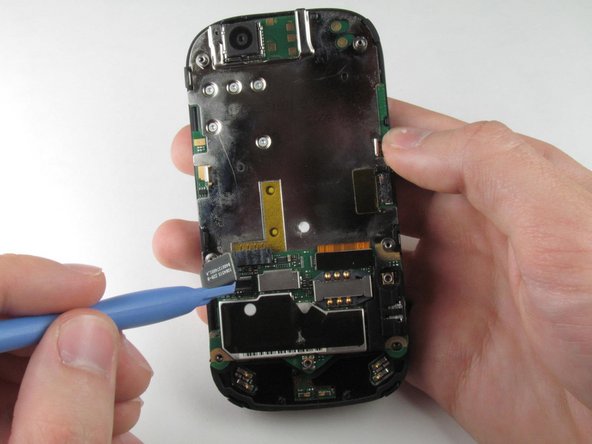
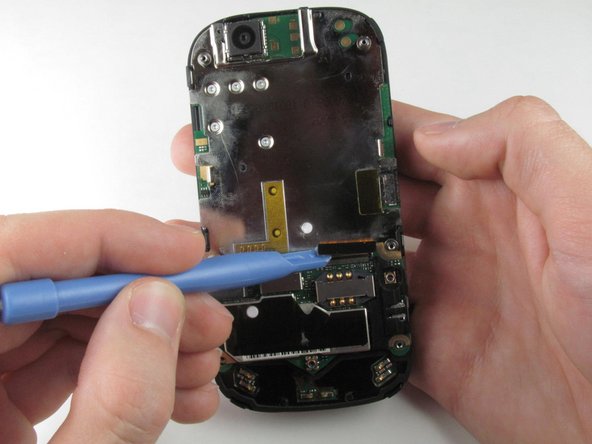
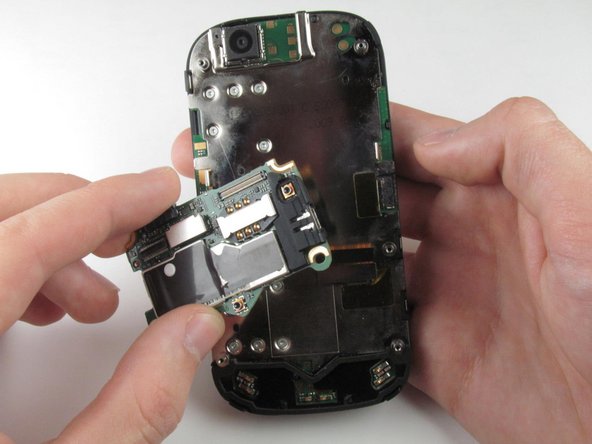
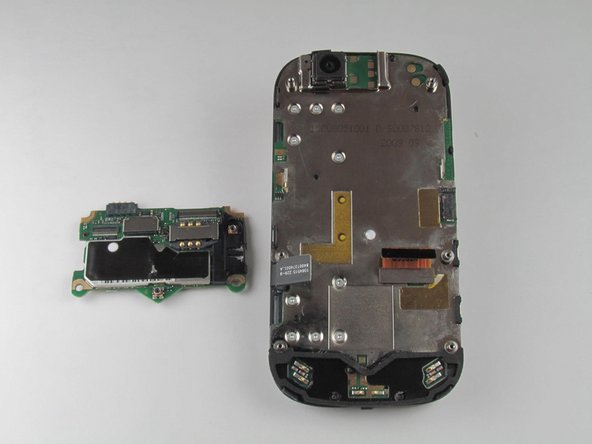
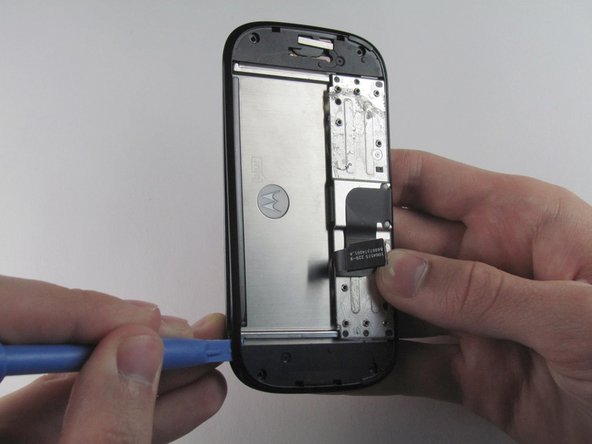
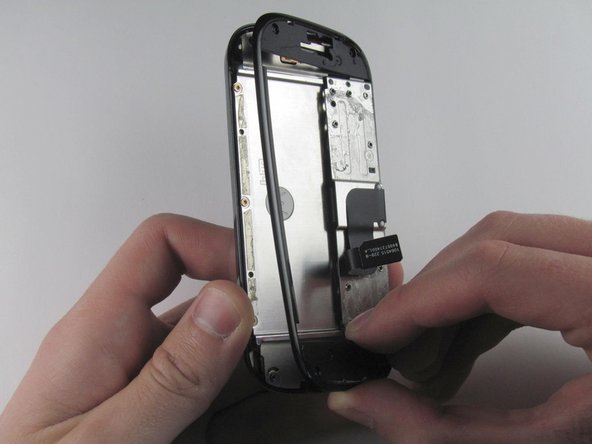
Insert a plastic opening tool between the LCD shield plate and a corner of the keyboard slider plate.
Pry apart the keyboard slider plate and LCD shield plate.
Do not completely separate them: the keyboard slider plate is still connected to the LCD shield plate via the display flex cable.
Turn the display on its side.
Carefully tilt the screen of the display until the digitizer starts to fall out.
Do not completely separate the digitizer just yet: it is still connected to the LCD case.
このガイドを埋め込む
サイズを選択し、以下のコードをコピーして、このガイドを小さなウィジェットとしてサイト/フォーラムに埋め込みます。
1つの手順
全ガイド
小サイズ - 600px
中サイズ - 800px
大サイズ - 1200px
プレビュー