メインコンテンツにスキップ

Moto X Pure Edition Back Panel Removal

アーカイブされたガイド
このガイドは将来的な使用のためにのみ保存されてます。ご自身の修理作業には更新バージョンをご利用ください。
必要条件のみ
この修理ガイドは、他のガイドの前提条件として使用されます。それ自体は不完全で、単独で使用されることはありません。

必要な工具と部品

  1. Moto X Pure Edition Back Panel Removal, Back Panel: 手順 1、 3の画像 1 Moto X Pure Edition Back Panel Removal, Back Panel: 手順 1、 3の画像 2 Moto X Pure Edition Back Panel Removal, Back Panel: 手順 1、 3の画像 3
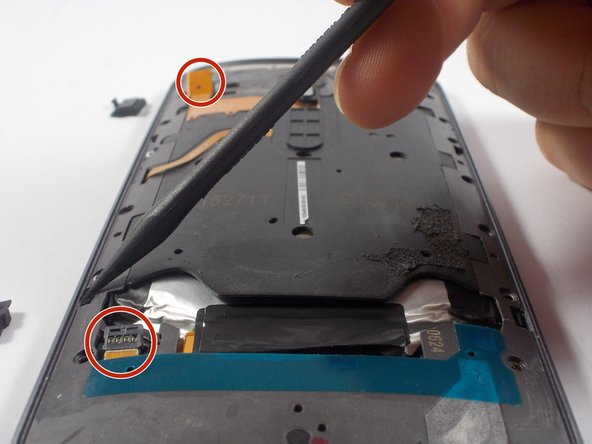
    • Disconnect the two battery connections.

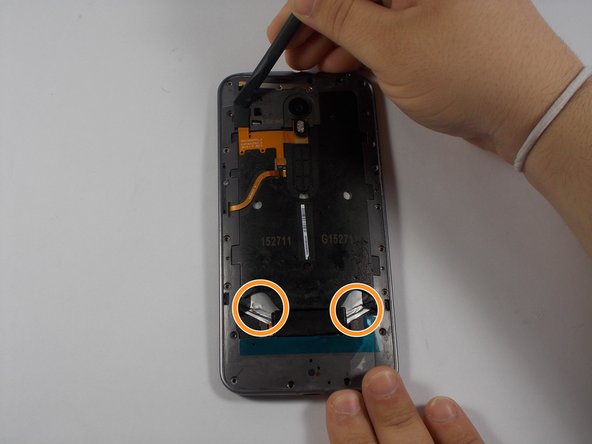
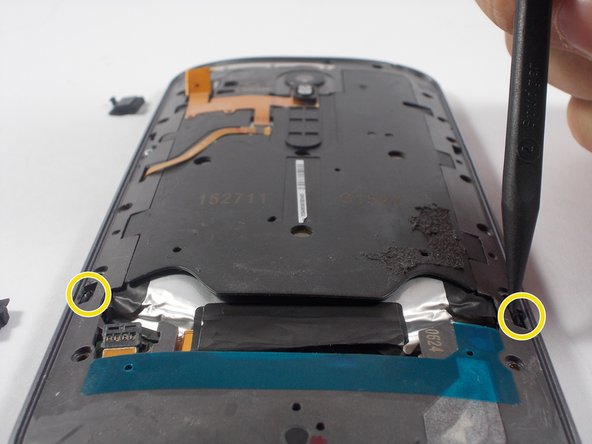
    • Remove the two parallel black tabs by pulling on them.

  2. Moto X Pure Edition Back Panel Removal: 手順 2、 3の画像 1 Moto X Pure Edition Back Panel Removal: 手順 2、 3の画像 2 Moto X Pure Edition Back Panel Removal: 手順 2、 3の画像 3
    • All screw lengths are 2.5mm

    • Using the T3 screw driver, remove all 20 T3 screws.

    • Do NOT remove the silver screw circled in orange.

    • This holds in the Power/Volume buttons and is not necessary to remove. There are 2 very tiny springs behind the volume buttons that are easy to lose if you remove this screw.

    • Using the nylon spudger, remove the two clips holding the panel in place.

終わりに

To reassemble your device, follow these instructions in reverse order.

2 の人々がこのガイドを完成させました。

作成者

7人の作成者と共同で作成されました。

Lucas Dos Santos

メンバー登録日: 03/06/16

1,053 ポイント

5のガイドは作成済み

チーム

UMass Dartmouth, Team 5-2, Landers Spring 2016 UMass Dartmouth, Team 5-2, Landers Spring 2016人のメンバー

UMASSD-LANDERS-S16S5G2

3 メンバー

15のガイドは作成済み

0 件のコメント

コメントを追加

統計データ:

過去 24時間: 0

過去 7 日: 0

過去 30 日: 0

今までの合計 148