メインコンテンツにスキップ
リペアコミュニティに参加 - アカウントの作成

Motion Computing LE1600 Display Screen Replacement

必要な工具と部品

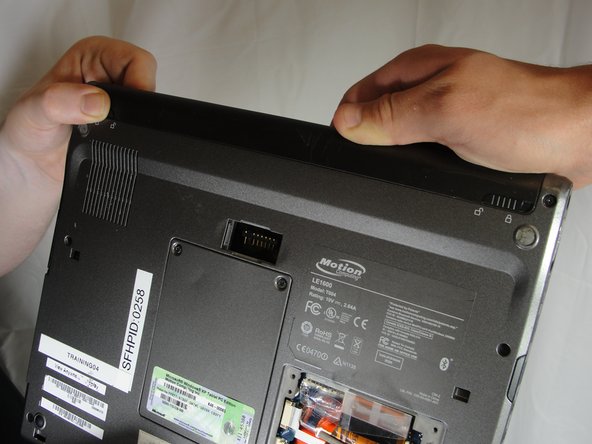
  1. Motion Computing LE1600 Display Screen Replacement, Battery: 手順 1、 1の画像 1
    • Turn the device so the screen is facing down.

    FixBotに聞いてみる
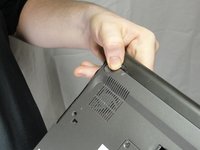
  2. Motion Computing LE1600 Display Screen Replacement: 手順 2、 2の画像 1 Motion Computing LE1600 Display Screen Replacement: 手順 2、 2の画像 2
    • Slide the battery lock switch next to the power slider to the unlocked position.

    FixBotに聞いてみる
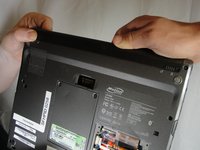
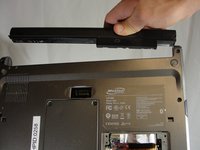
  3. Motion Computing LE1600 Display Screen Replacement: 手順 3、 3の画像 1 Motion Computing LE1600 Display Screen Replacement: 手順 3、 3の画像 2 Motion Computing LE1600 Display Screen Replacement: 手順 3、 3の画像 3
    • Slide and hold the switch by the fan vent to the unlocked position. Firmly grasp the battery and pull away from tablet.

    • When replacing the battery, place the end near the fan vent in first. Make sure to keep the other switch in the unlocked position while pushing the battery into place.

    FixBotに聞いてみる
  4. Motion Computing LE1600 Display Screen Replacement, Display Screen: 手順 4、 1の画像 1
    • Unscrew hard drive panel using a Phillips head #1 screwdriver.

    • (Our device was not given to us with a hard drive or a hard drive panel)

    FixBotに聞いてみる
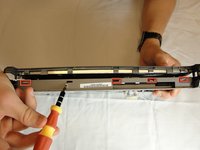
  5. Motion Computing LE1600 Display Screen Replacement: 手順 5、 3の画像 1 Motion Computing LE1600 Display Screen Replacement: 手順 5、 3の画像 2 Motion Computing LE1600 Display Screen Replacement: 手順 5、 3の画像 3
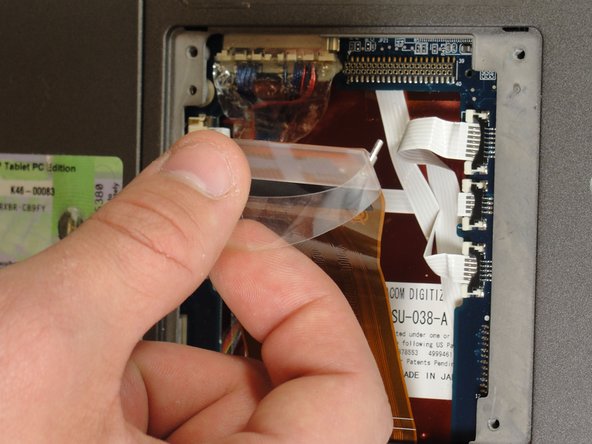
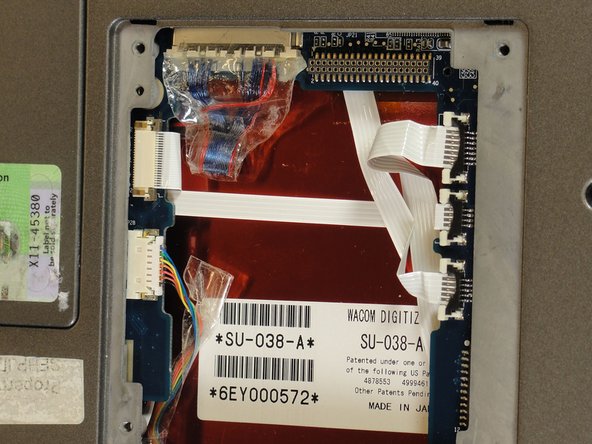
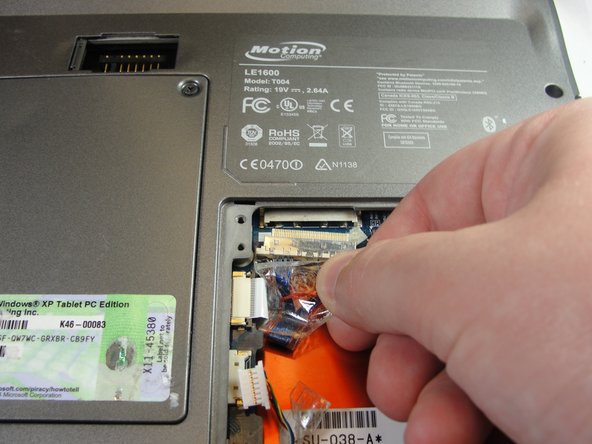
    • Pull clear plastic tab to detach hard drive from tablet.

    FixBotに聞いてみる
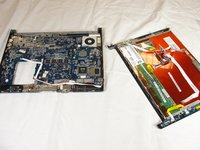
  6. Motion Computing LE1600 Display Screen Replacement: 手順 6、 2の画像 1 Motion Computing LE1600 Display Screen Replacement: 手順 6、 2の画像 2
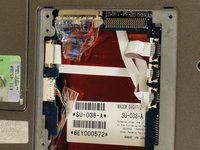
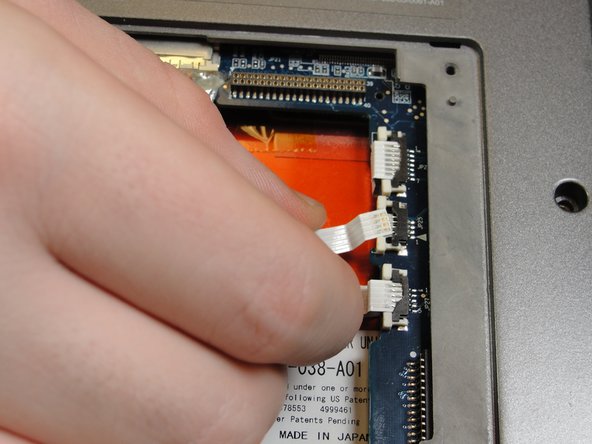
    • To disconnect the three white ribbon cables on the side closest to the hard drive connector, pull the white plastic tabs.

    FixBotに聞いてみる
  7. Motion Computing LE1600 Display Screen Replacement: 手順 7、 1の画像 1
    • Pull the brown tabs to disconnect the white ribbon cable on the other side.

    FixBotに聞いてみる
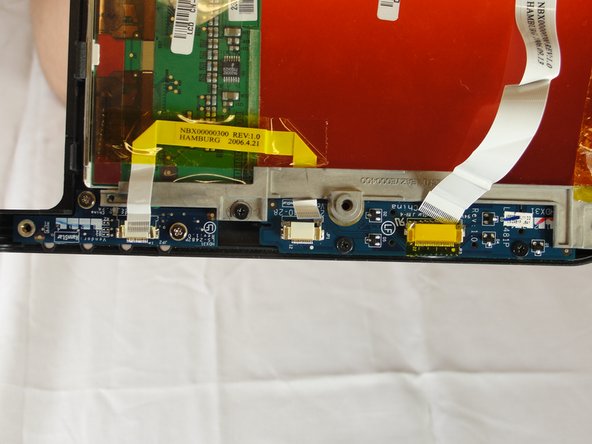
  8. Motion Computing LE1600 Display Screen Replacement: 手順 8、 2の画像 1 Motion Computing LE1600 Display Screen Replacement: 手順 8、 2の画像 2
    • Caution: do not pull on the wires, instead pull from the plastic connectors.

    • To disconnect the remaining ribbon cables, pull the plastic connectors away from their connections.

    FixBotに聞いてみる
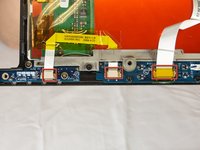
  9. Motion Computing LE1600 Display Screen Replacement: 手順 9、 1の画像 1
    • With a Phillips #1 screwdriver, Unscrew the nine 10mm screws holding the case together.

    FixBotに聞いてみる
  10. Motion Computing LE1600 Display Screen Replacement: 手順 10、 2の画像 1 Motion Computing LE1600 Display Screen Replacement: 手順 10、 2の画像 2
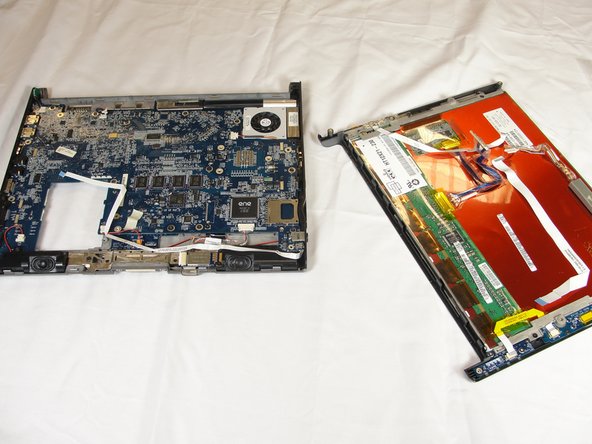
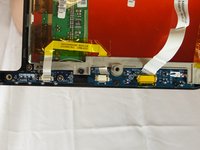
    • Using a spudger, press in the five tabs on the side where the battery was.

    • This should separate the two halves of the device. Carefully set the side with the motherboard off to the side.

    FixBotに聞いてみる
  11. Motion Computing LE1600 Display Screen Replacement: 手順 11、 2の画像 1 Motion Computing LE1600 Display Screen Replacement: 手順 11、 2の画像 2
    • Unplug the three ribbon cables by pulling on the brown tabs and unplugging cable.

    FixBotに聞いてみる
  12. Motion Computing LE1600 Display Screen Replacement: 手順 12、 2の画像 1 Motion Computing LE1600 Display Screen Replacement: 手順 12、 2の画像 2
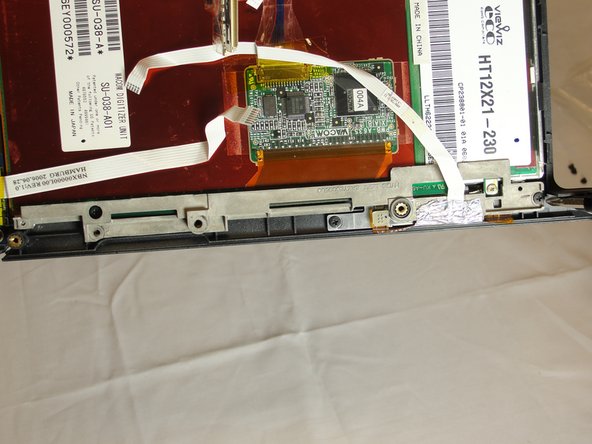
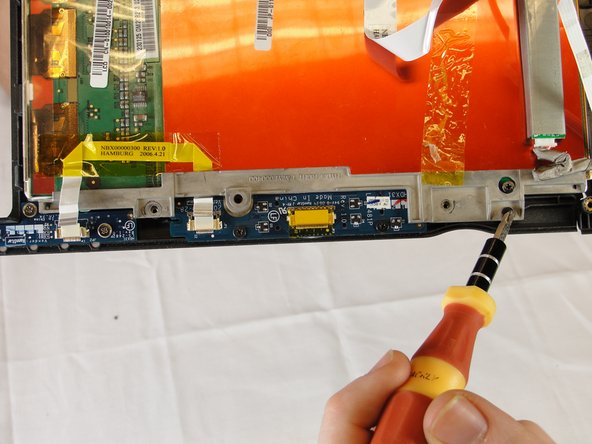
    • With a Phillips #1 screwdriver, unscrew the three 4mm screws holding the display bracket on the back side of the front buttons.

    FixBotに聞いてみる
  13. Motion Computing LE1600 Display Screen Replacement: 手順 13、 3の画像 1 Motion Computing LE1600 Display Screen Replacement: 手順 13、 3の画像 2 Motion Computing LE1600 Display Screen Replacement: 手順 13、 3の画像 3
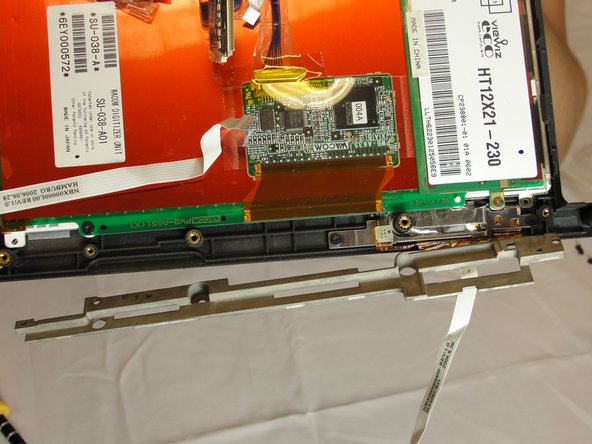
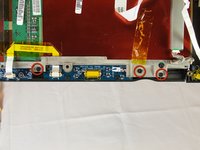
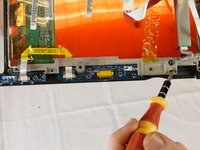
    • On the bracket behind the fingerprint scanner, unscrew the two 4mm screws holding it to the display with a Phillips #1 screwdriver.

    • Fold away right bracket from display.

    FixBotに聞いてみる
  14. Motion Computing LE1600 Display Screen Replacement: 手順 14、 2の画像 1 Motion Computing LE1600 Display Screen Replacement: 手順 14、 2の画像 2
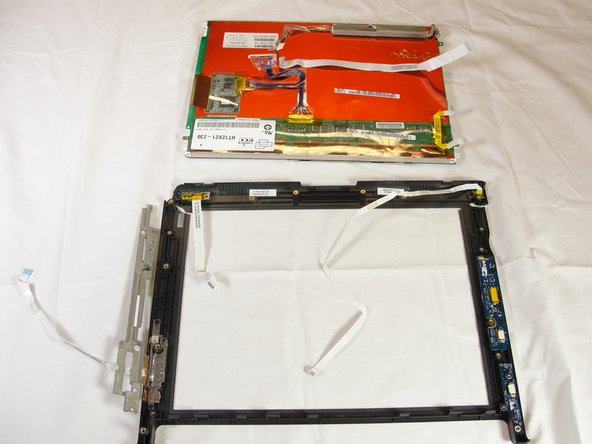
    • Pull the plastic case away from the display screen.

    FixBotに聞いてみる
終わりに

To reassemble your device, follow these instructions in reverse order.

3 の人々がこのガイドを完成させました。

作成者

4人の作成者と共同で作成されました。

Jesse Graham

メンバー登録日: 04/03/12

54 ポイント

1ガイドが承認済み

チーム

Cal Poly, Team 15-14, Forte Spring 2012 Cal Poly, Team 15-14, Forte Spring 2012人のメンバー

CPSU-FORTE-S12S15G14

5 メンバー

5のガイドは作成済み

0件のガイドコメント

コメントを追加

統計データ:

過去 24時間: 2

過去 7 日: 10

過去 30 日: 91

今までの合計 3,961