メインコンテンツにスキップ

Mission Hammr Bow String and Cables Replacement

  1. Mission Hammr Bow String and Cables Replacement, Strings and Cables: 手順 1、 1の画像 1
    • Align the arms of the bow press with the limbs of the bow.

    • Ensure the bow press and bow arms are safe to use for this particular bow.

  2. Mission Hammr Bow String and Cables Replacement: 手順 2、 1の画像 1
    • Slowly compress the bow press until the string has some slack similar to what's shown in the picture.

    • DO NOT press the bow anymore than you have to. This could result in damage to the bow and the bow press.

  3. Mission Hammr Bow String and Cables Replacement: 手順 3、 1の画像 1
    • Before you remove the string or cables make sure you know where everything goes for replacement. Take a picture if needed.

  4. Mission Hammr Bow String and Cables Replacement: 手順 4、 1の画像 1
    • Remove the string.

    • This is the easiest piece to put on and take off. Taking this off first will keep it out of the way so you can access the cables a bit more cleanly.

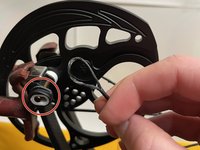
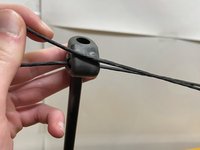
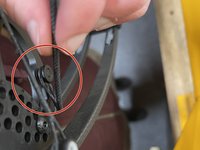
  5. Mission Hammr Bow String and Cables Replacement: 手順 5、 3の画像 1 Mission Hammr Bow String and Cables Replacement: 手順 5、 3の画像 2 Mission Hammr Bow String and Cables Replacement: 手順 5、 3の画像 3
    • Now remove the cables one at a time.

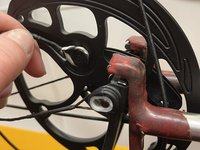
    • After removing an old cable, immediately replace it with a new one. Doing this will make it easier to ensure you are replacing the cables in the correct spots.

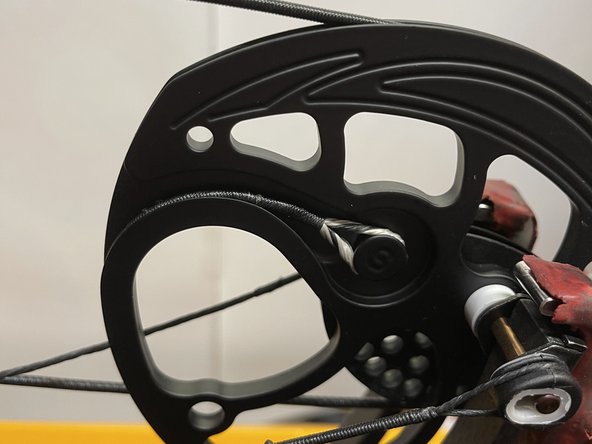
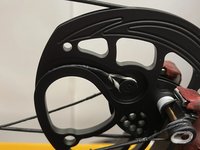
    • The place the cable hooks onto the cam is labeled with a C. The string goes where it's imprinted with an S.

  6. Mission Hammr Bow String and Cables Replacement: 手順 6、 1の画像 1
    • Once both sets of cables are replaced, make sure they are in the correct grooves before continuing.

  7. Mission Hammr Bow String and Cables Replacement: 手順 7、 2の画像 1 Mission Hammr Bow String and Cables Replacement: 手順 7、 2の画像 2
    • Replace the string.

  8. Mission Hammr Bow String and Cables Replacement: 手順 8、 1の画像 1
    • Now with the string on and in the correct groove check through everything once more.

    • With the bow press, slowly tighten the strings and cables until it looks like it did before the replacement.

    • Use your before picture for a comparison to make sure it's correct.

  9. Mission Hammr Bow String and Cables Replacement: 手順 9、 1の画像 1
    • Now with the pressure back on the bow everything should be ready to go.

    • Double check to make sure the cables align in the tuning holes and the strings and cables have successfully been replaced.

終わりに

To reassemble your device, follow these instructions in reverse order.

2 の人々がこのガイドを完成させました。

作成者

2人の作成者と共同で作成されました。

Mathew Reed

メンバー登録日: 03/23/21

187 ポイント

1ガイドが承認済み

チーム

UMass Dartmouth, Team S1-G12, O'Connell Spring 2021 UMass Dartmouth, Team S1-G12, O'Connell Spring 2021人のメンバー

UMASSD-O'CONNELL-S21S1G12

1 メンバー

2のガイドは作成済み

0 件のコメント

コメントを追加

統計データ:

過去 24時間: 0

過去 7 日: 0

過去 30 日: 3

今までの合計 549