メインコンテンツにスキップ

Microtek ScanMaker 5900 New Ribbon Cable Replacement

必要な工具と部品

  1. Microtek ScanMaker 5900 New Ribbon Cable Replacement, Remove serial port connection: 手順 1、 3の画像 1 Microtek ScanMaker 5900 New Ribbon Cable Replacement, Remove serial port connection: 手順 1、 3の画像 2 Microtek ScanMaker 5900 New Ribbon Cable Replacement, Remove serial port connection: 手順 1、 3の画像 3
    • Loosen the screws on the serial port by turning them counter clockwise by hand.

    • After loosening the screws, pull the serial port out.

  2. Microtek ScanMaker 5900 New Ribbon Cable Replacement, Remove Lid: 手順 2、 3の画像 1 Microtek ScanMaker 5900 New Ribbon Cable Replacement, Remove Lid: 手順 2、 3の画像 2 Microtek ScanMaker 5900 New Ribbon Cable Replacement, Remove Lid: 手順 2、 3の画像 3
    • Lift lid to its vertical position.

    • Pull lid straight up to remove it from the scanner.

  3. Microtek ScanMaker 5900 New Ribbon Cable Replacement, Detach plastic latches: 手順 3、 3の画像 1 Microtek ScanMaker 5900 New Ribbon Cable Replacement, Detach plastic latches: 手順 3、 3の画像 2 Microtek ScanMaker 5900 New Ribbon Cable Replacement, Detach plastic latches: 手順 3、 3の画像 3
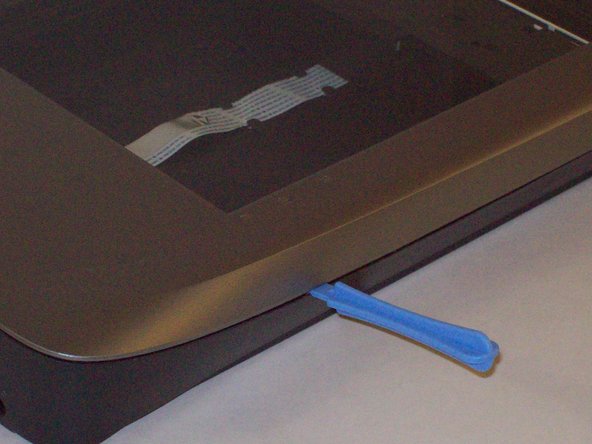
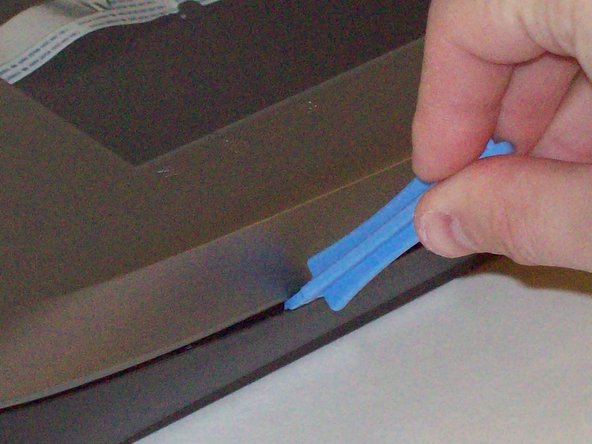
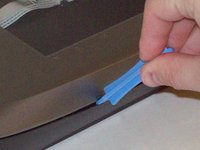
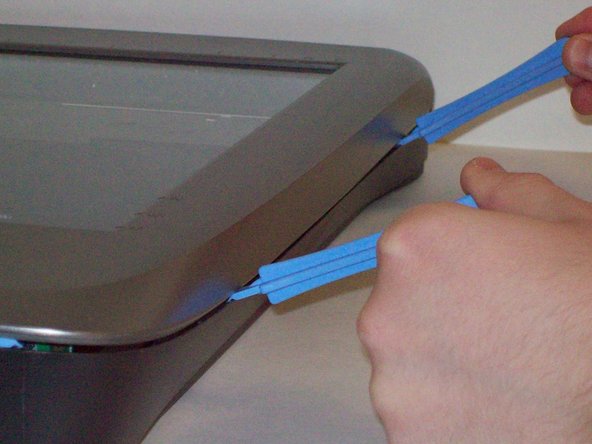
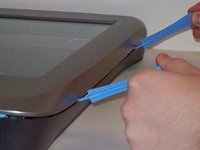
    • Push the plastic opening tools into the crack between the top and the bottom of the chassis.

  4. Microtek ScanMaker 5900 New Ribbon Cable Replacement, Continue latch detachment: 手順 4、 3の画像 1 Microtek ScanMaker 5900 New Ribbon Cable Replacement, Continue latch detachment: 手順 4、 3の画像 2 Microtek ScanMaker 5900 New Ribbon Cable Replacement, Continue latch detachment: 手順 4、 3の画像 3
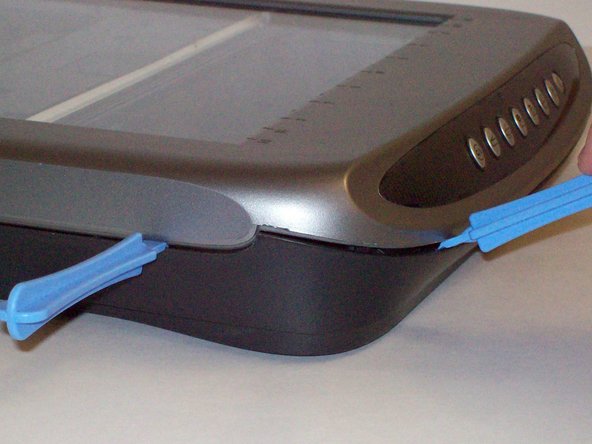
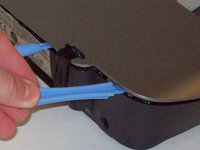
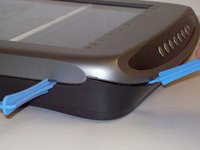
    • After placing one plastic opening tool into the slit, slide other plastic opening tools along the slit to detach the top from the bottom of the chassis.

    • Go all the way along the chassis until you can lift the upper lid.

  5. Microtek ScanMaker 5900 New Ribbon Cable Replacement, Fully remove the upper lid: 手順 5、 3の画像 1 Microtek ScanMaker 5900 New Ribbon Cable Replacement, Fully remove the upper lid: 手順 5、 3の画像 2 Microtek ScanMaker 5900 New Ribbon Cable Replacement, Fully remove the upper lid: 手順 5、 3の画像 3
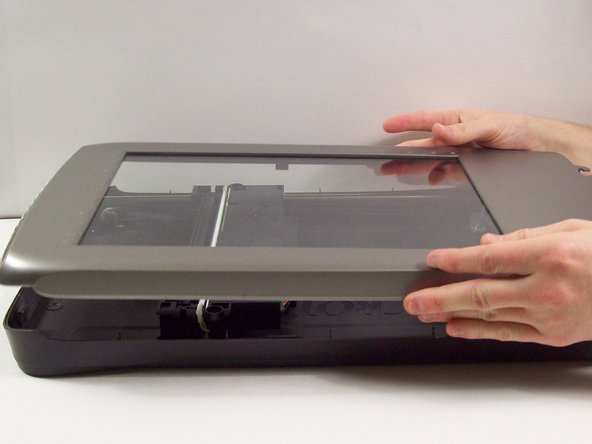
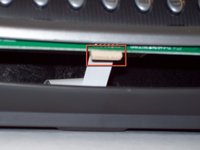
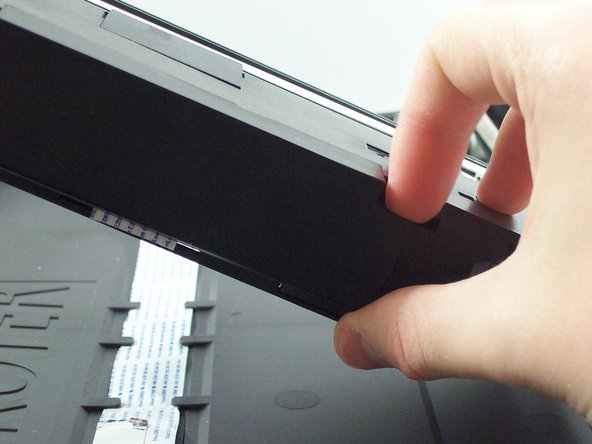
    • Do not fully remove the lid until you remove the ribbon cable attached to the front of the upper lid.

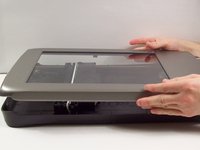
    • Do this by grabbing the upper lid from the sides and rotating it ninety degrees so it is perpendicular to the bottom lid.

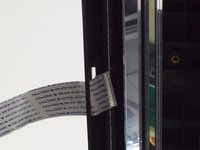
    • Grab the ribbon cable and gently pull it out of its slot with your fingers.

    • The upper lid can now safely be removed from the bottom lid.

  6. Microtek ScanMaker 5900 New Ribbon Cable Replacement, Remove outer plastic housing: 手順 6、 3の画像 1 Microtek ScanMaker 5900 New Ribbon Cable Replacement, Remove outer plastic housing: 手順 6、 3の画像 2 Microtek ScanMaker 5900 New Ribbon Cable Replacement, Remove outer plastic housing: 手順 6、 3の画像 3
    • Lift up the central plastic housing inside the scanner.

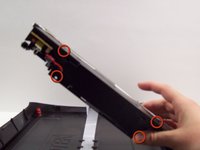
    • There are four plastic tabs located on the outer plastic housing. Push on each of these and pull to remove it.

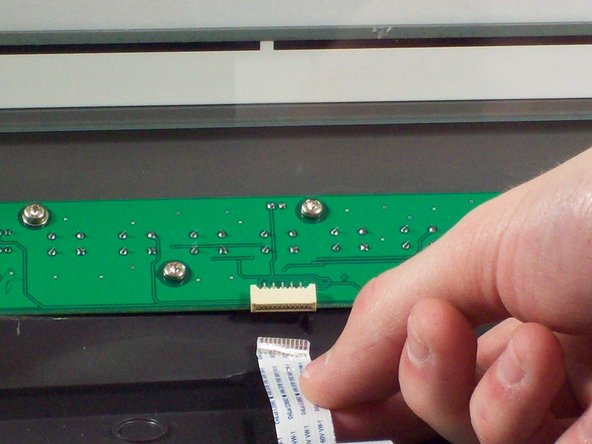
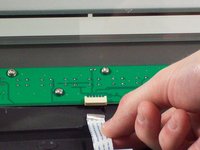
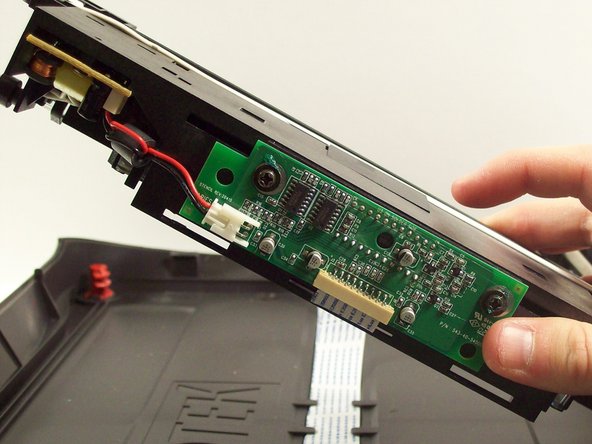
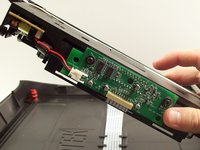
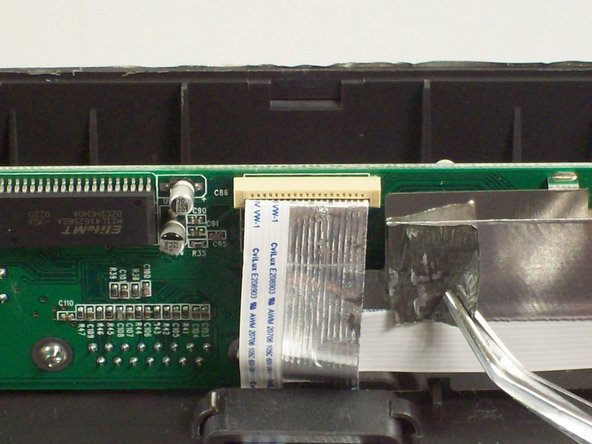
    • Underneath you will see that the ribbon cable is attached to the circuit board.

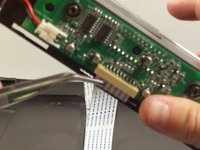
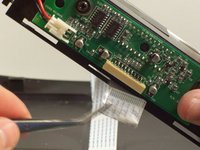
  7. Microtek ScanMaker 5900 New Ribbon Cable Replacement, Remove ribbon cable from circuit board: 手順 7、 2の画像 1 Microtek ScanMaker 5900 New Ribbon Cable Replacement, Remove ribbon cable from circuit board: 手順 7、 2の画像 2
    • Grab onto ribbon cable with tweezers and gently pull until it come outs.

  8. Microtek ScanMaker 5900 New Ribbon Cable Replacement, Remove ribbon cable from central plastic housing: 手順 8、 2の画像 1 Microtek ScanMaker 5900 New Ribbon Cable Replacement, Remove ribbon cable from central plastic housing: 手順 8、 2の画像 2
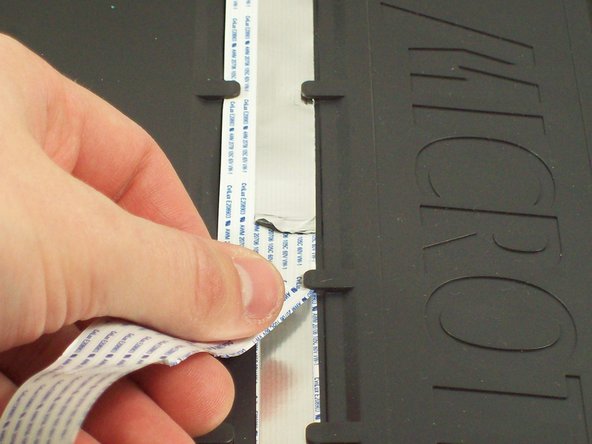
    • Simply remove the ribbon cable from within the holes it is wrapped through.

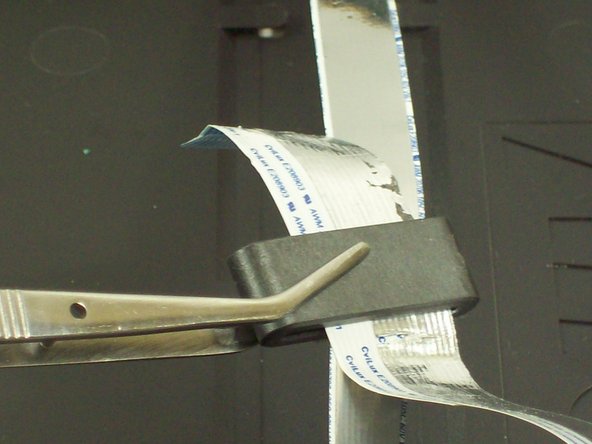
  9. Microtek ScanMaker 5900 New Ribbon Cable Replacement, Remove the ribbon cable from between the plastic prongs on the bottom of the scanner.: 手順 9、 1の画像 1
    • Grab the ribbon cable, and gently pull it off of the bottom of the scanner.

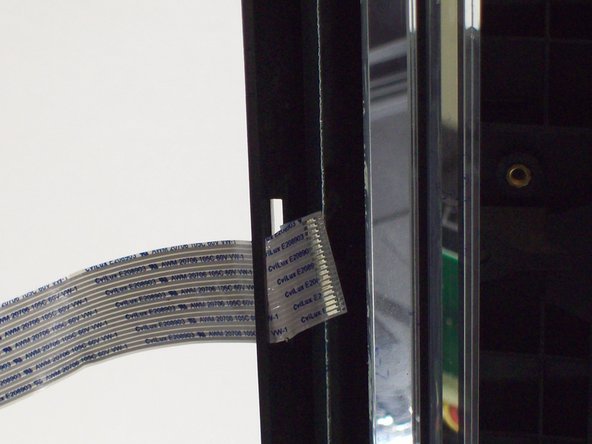
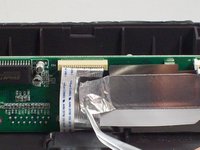
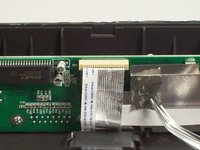
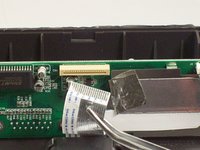
  10. Microtek ScanMaker 5900 New Ribbon Cable Replacement, Remove ribbon cable from circuit board: 手順 10、 3の画像 1 Microtek ScanMaker 5900 New Ribbon Cable Replacement, Remove ribbon cable from circuit board: 手順 10、 3の画像 2 Microtek ScanMaker 5900 New Ribbon Cable Replacement, Remove ribbon cable from circuit board: 手順 10、 3の画像 3
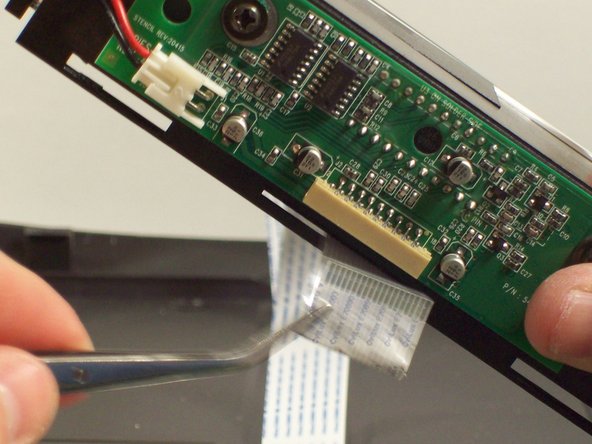
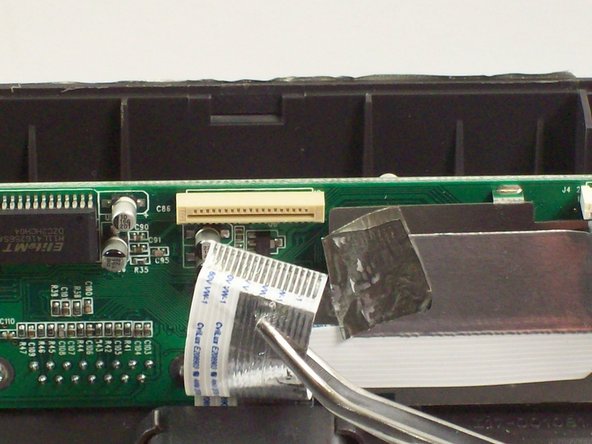
    • Peel back the sticky metal from the other side of the ribbon cable.

    • Use tweezers to gently remove the ribbon cable from the circuit board.

  11. Microtek ScanMaker 5900 New Ribbon Cable Replacement, Remove ribbon cable: 手順 11、 3の画像 1 Microtek ScanMaker 5900 New Ribbon Cable Replacement, Remove ribbon cable: 手順 11、 3の画像 2 Microtek ScanMaker 5900 New Ribbon Cable Replacement, Remove ribbon cable: 手順 11、 3の画像 3
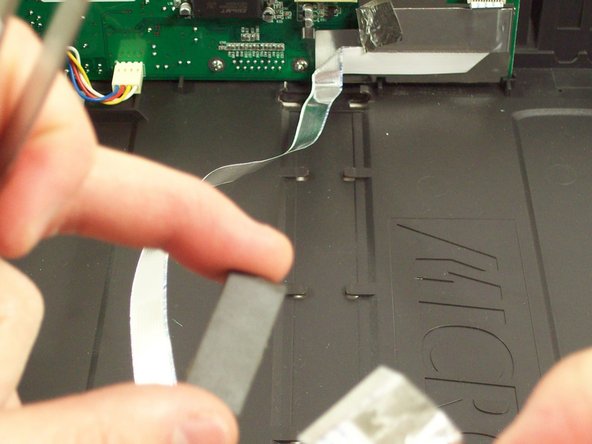
    • Remove the metal housing for the ribbon cable at the base of the scanner.

    • Use the tweezers to slide off the metal housing.

    • The ribbon cable is now completely free to be replaced.

終わりに

To reassemble your device, follow these instructions in reverse order.

作成者

3人の作成者と共同で作成されました。

Taylor Nesheim

メンバー登録日: 10/11/11

59 ポイント

7のガイドは作成済み

チーム

Cal Poly, Team 6-9, Regan Fall 2011 Cal Poly, Team 6-9, Regan Fall 2011人のメンバー

CPSU-REGAN-F11S6G9

2 メンバー

22のガイドは作成済み

0 件のコメント

コメントを追加

統計データ:

過去 24時間: 0

過去 7 日: 1

過去 30 日: 4

今までの合計 1,643