メインコンテンツにスキップ

Microsoft Surface Pro 2 SSD Replacement

必要な工具と部品

  1. Microsoft Surface Pro 2 SSD Replacement, SSD: 手順 1、 3の画像 1 Microsoft Surface Pro 2 SSD Replacement, SSD: 手順 1、 3の画像 2 Microsoft Surface Pro 2 SSD Replacement, SSD: 手順 1、 3の画像 3
    • Remove the two T5 Torx screws, then take off the kickstand.

  2. Microsoft Surface Pro 2 SSD Replacement: 手順 2、 3の画像 1 Microsoft Surface Pro 2 SSD Replacement: 手順 2、 3の画像 2 Microsoft Surface Pro 2 SSD Replacement: 手順 2、 3の画像 3
    • Use an iOpener or heat gun to melt the adhesive.

    • Insert 21 opening picks under the display.

    • Slowly lift off the display.

  3. Microsoft Surface Pro 2 SSD Replacement: 手順 3、 3の画像 1 Microsoft Surface Pro 2 SSD Replacement: 手順 3、 3の画像 2 Microsoft Surface Pro 2 SSD Replacement: 手順 3、 3の画像 3
    • Remove the four ribbon cables connecting to the motherboard with a spudger.

    • Remove the 52 screws securing the motherboard to the metal plates and the plastic bezel.

    • Lift off the motherboard.

  4. Microsoft Surface Pro 2 SSD Replacement: 手順 4、 1の画像 1
    • Unscrew the two screws on the mSATA SSD and remove the SSD. (Note: This image is from a first generation Surface Pro, but it works)

終わりに

To reassemble your device, follow these instructions in reverse order.

23 の人々がこのガイドを完成させました。

作成者

1人の作成者と共同作成されました。

Ronnie

メンバー登録日: 10/22/12

3,495 ポイント

5のガイドは作成済み

13 件のコメント

How do you glue the back on? It looks like the adhesive that holds it on is messed up bad when it's removed.

Nate Barnes - 返信

Hi Nate,

Have you figured this out? I was wondering the same thing.

Adi V -

You have to use double sided tape for electronics. They sell it on amazon. Use 5mm or wider to make sure the screen doesn’t fall out. Heat after application to make sure the glue sets properly.

Aaron Payer -

Wow, I have been contemplating one of these but after seeing that picture with the heat gun, it looks like you might as well consider it a sealed box.

Mark T - 返信

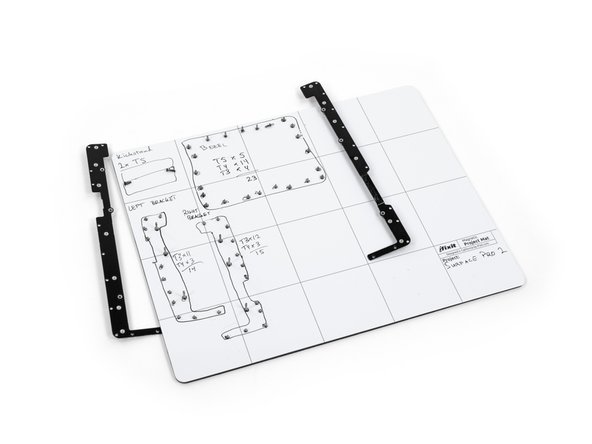
Screen came off just fine using a hair dryer, but my Surface Pro 2 differs from these directions. Specifically, I got stuck not being able to remove the bezel because I don't have a T2 bit. My bezel screws are 5 x T5, 14 x T3, and 4 x T2. That doesn't match the photo shown here in step 3.

Boyd Patterson - 返信

コメントを追加

統計データ:

過去 24時間: 4

過去 7 日: 60

過去 30 日: 303

今までの合計 94,953