メインコンテンツにスキップ

Microsoft Band 2 defective battery connection/ribbon Replacement

必要な工具と部品

  1. Microsoft Band 2 defective battery connection/ribbon Replacement, defective battery connection/ribbon: 手順 1、 3の画像 1 Microsoft Band 2 defective battery connection/ribbon Replacement, defective battery connection/ribbon: 手順 1、 3の画像 2 Microsoft Band 2 defective battery connection/ribbon Replacement, defective battery connection/ribbon: 手順 1、 3の画像 3
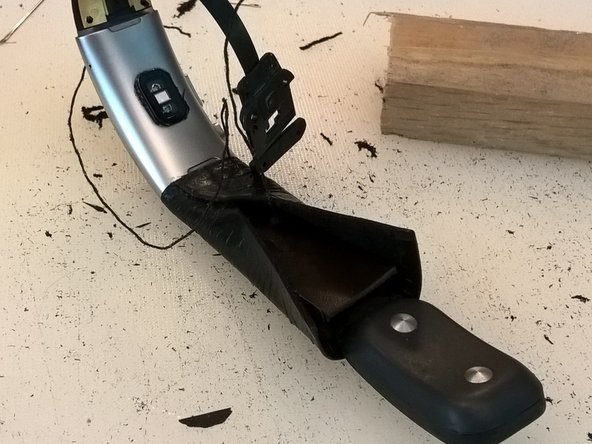
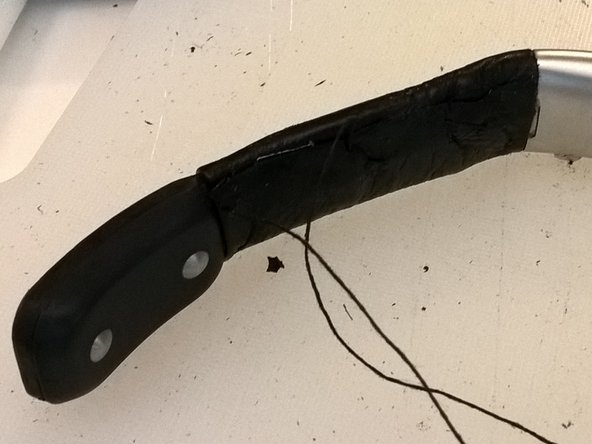
    • Carve away *almost* all of the rubber of the straps. (Leave the rubber surrounding the battery/heart rate clasp end.)

  2. Microsoft Band 2 defective battery connection/ribbon Replacement: 手順 2、 3の画像 1 Microsoft Band 2 defective battery connection/ribbon Replacement: 手順 2、 3の画像 2 Microsoft Band 2 defective battery connection/ribbon Replacement: 手順 2、 3の画像 3
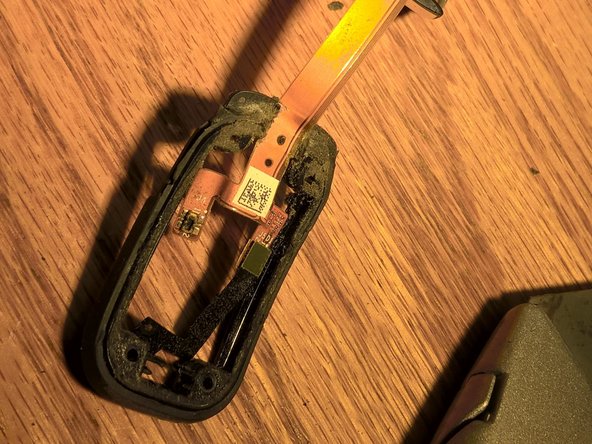
    • Partly dissassemble the battery clasp end: pry up the silver clasp face that is taped down, unscrew the four T3 Torx , remove that cover, remove the battery

  3. Microsoft Band 2 defective battery connection/ribbon Replacement: 手順 3、 2の画像 1 Microsoft Band 2 defective battery connection/ribbon Replacement: 手順 3、 2の画像 2
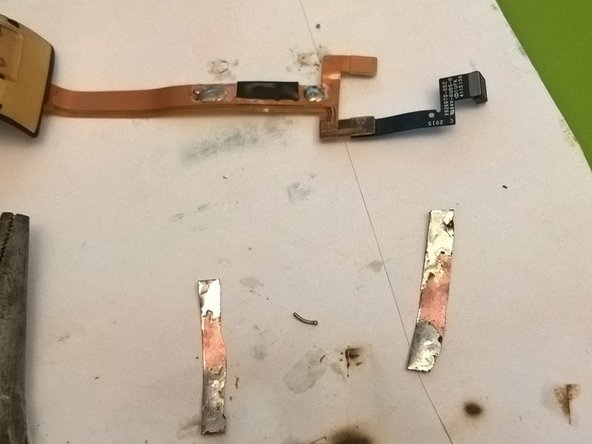
    • Remove the plastic 'sandwiching' the ribbon as it travels into the clasp end, with a Dremel or knife. (Picture 2 illustrates the removed plastic.)

  4. Microsoft Band 2 defective battery connection/ribbon Replacement: 手順 4、 2の画像 1 Microsoft Band 2 defective battery connection/ribbon Replacement: 手順 4、 2の画像 2
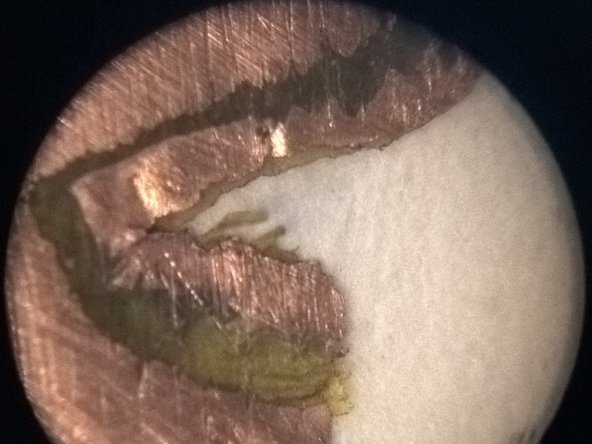
    • Sand the ribbon to expose the conductors on both sides. Be careful to keep the insulator in between the two conductors intact, so they don't short. The second picture shows a 10x image of the layers of copper and insulator.

  5. Microsoft Band 2 defective battery connection/ribbon Replacement: 手順 5、 3の画像 1 Microsoft Band 2 defective battery connection/ribbon Replacement: 手順 5、 3の画像 2 Microsoft Band 2 defective battery connection/ribbon Replacement: 手順 5、 3の画像 3
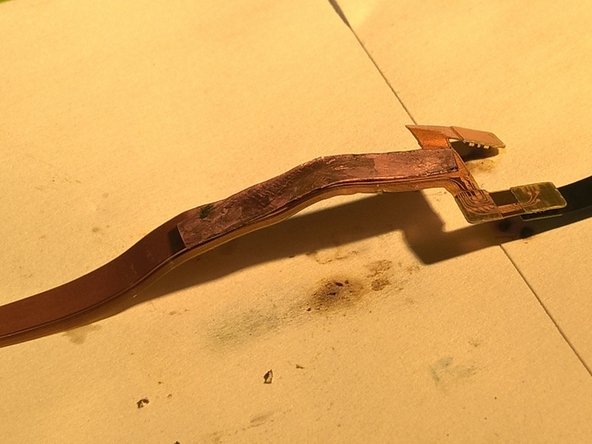
    • Wrap the repaired break with insulating tape. Sand away outer insulator on both sides to make soldering locations for jumper strips.

  6. Microsoft Band 2 defective battery connection/ribbon Replacement: 手順 6、 1の画像 1
    • Use Sugru to wrap/stabilize the repair and integrate it into the clasp end's rubber.

  7. Microsoft Band 2 defective battery connection/ribbon Replacement: 手順 7、 1の画像 1
    • Drill two holes into clasp-end plastic tabs, and two holes on each side of watch face's 'shoulders', as anchor points for thread to fasten strap leather. (Hole locations are the black dots on the gold metal near the silver casing.)

  8. Microsoft Band 2 defective battery connection/ribbon Replacement: 手順 8、 3の画像 1 Microsoft Band 2 defective battery connection/ribbon Replacement: 手順 8、 3の画像 2 Microsoft Band 2 defective battery connection/ribbon Replacement: 手順 8、 3の画像 3
    • Build new leather straps; fasten using thread through holes & glue.

終わりに

Your Rand 2 should (!) hold a charge now. Not sure how durable this repair is.

2 の人々がこのガイドを完成させました。

作成者

1人の作成者と共同作成されました。

Kirk McDermid

メンバー登録日: 08/20/17

171 ポイント

1ガイドが承認済み

0 件のコメント

コメントを追加

統計データ:

過去 24時間: 0

過去 7 日: 0

過去 30 日: 6

今までの合計 3,272