Use a 7/16 inch socket to remove the nuts and accompanying bolts securing the belt guard bracket to the rear belt guard.
You may need to hold the bolts in place with a 7/16 inch wrench during removal.
Don't misplace the washers that are removed during this step.
During reassembly, you may need to slightly loosen the two head bolts securing the belt guard bracket in order to properly align the bracket with the mounting holes in the rear belt guard.
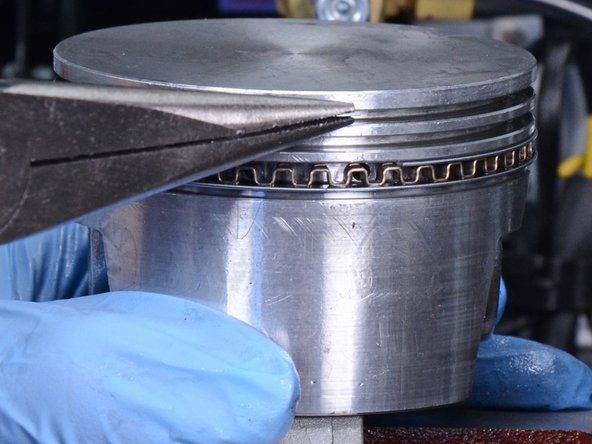
Insert the left end of the replacement top oil ring rail into the oil ring groove directly above the oil ring expander.
The top oil ring rail, bottom oil ring rail, and oil ring expander all share the same oil ring groove. The top oil ring rail will be sitting directly on top of the oil ring expander.
Continue inserting the top oil ring rail into the groove by working your way around the piston clockwise.
Make sure the top oil ring rail is completely inserted into the groove.
The composite compression and wiper rings are not designed to be bent in a way that moves their ends horizontally away from one another. Doing so excessively may cause the rings to break.
The compression and wiper rings are designed to be bent mainly in the vertical direction, and they're stronger and more flexible in this direction only, so keep this in mind during the procedure.
Position the smaller diameter of the wiper ring on the bottom of the wiper ring groove, so that the smaller diameter is closer to the oil ring, and the larger diameter closer to the top surface of the piston.
This shelf functions to pull oil off of the cylinder wall during the downward strokes of the piston.