メインコンテンツにスキップ

この分解は進行中です。 – 最新版を見るには定期的に再読み込みします。

必要な工具と部品

  1. この手順は未翻訳です。 翻訳を手伝う。

    : 手順 1、 2の画像 1 : 手順 1、 2の画像 2
    • Has an additional USB port for charging.

    • Input: 9V 1500mA

    • Output: 5V 1000mA

    • Frequency: 100-150kHz

    • USB output: 5V 1000mA

    • Size 145mm X 81mm X 10mm

  2. この手順は未翻訳です。 翻訳を手伝う。

    : 手順 2、 2の画像 1 : 手順 2、 2の画像 2
    • Top and bottom shells are separated by 10 plastic clips.

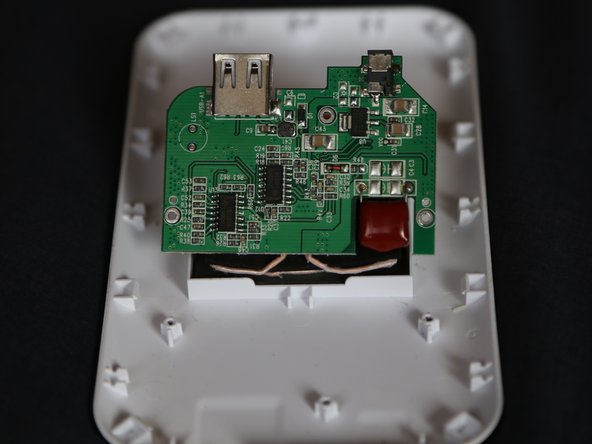
    • To open, insert plastic opening tool or plastic knife and push inward and towards the top shell.

    • Start from near the USB port and work your way around. The corners are pretty hard and the clips are pretty sturdy.
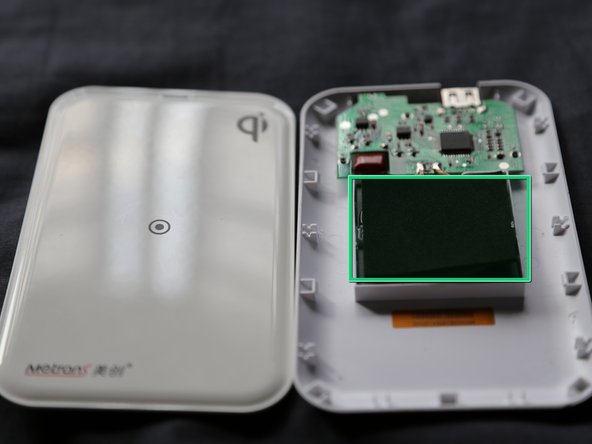
    • Viola! Its open!

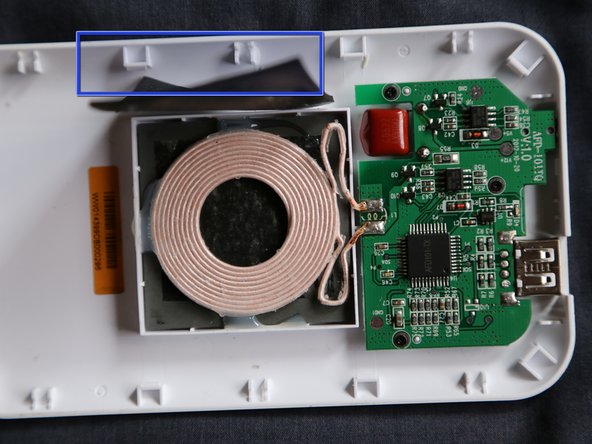
    • Holes there are for ventilation for the coil

  3. この手順は未翻訳です。 翻訳を手伝う。

    : 手順 3、 3の画像 1 : 手順 3、 3の画像 2 : 手順 3、 3の画像 3
    • More pictures.

    • Coil is covered by a foam pad held down by a little glue.

作成者

1人の作成者と共同作成されました。

Sean

メンバー登録日: 08/30/10

181 ポイント

1ガイドが承認済み

コメント 1 件

can't wait to see the next steps :-)

Fixie - 返信

コメントを追加

統計データ:

過去 24時間: 0

過去 7 日: 1

過去 30 日: 7

今までの合計 4,438