はじめに
The seals on the turbo elbow are designed to keep unfiltered air from being sucked directly in to your turbo.
The top seal is renowned for being difficult to install and even seasoned mechanics install it in such a way that reduces its effectiveness. Replace yours, and install it properly!
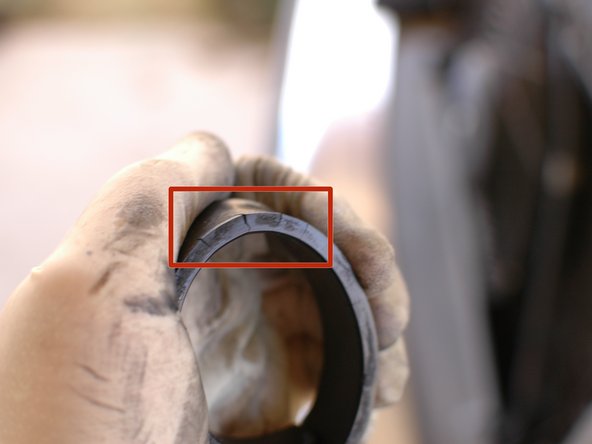
Also, the lower seal on the turbo is prone to premature again due to exposure to heat from the turbo. It will dry out and become brittle, sealing less effectively.
In either case you could be letting unfiltered air reach your turbo. Help keep your turbo alive a lot longer by replacing these seals. Learn a few tricks, too, to make it easier.
必要な工具と部品
-
-
Open your hood.
-
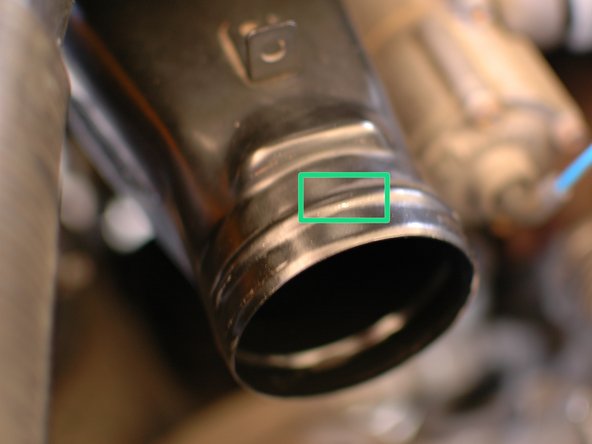
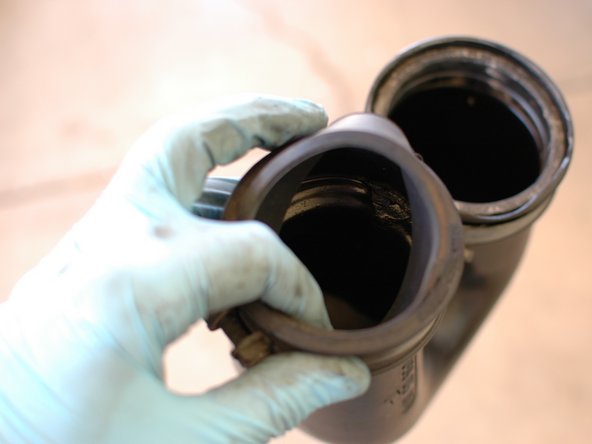
Find the turbo elbow, just in front of the air filter housing, attached to its lower outlet.
-
-
-
-
Allow a brief discussion of the design issue...
-
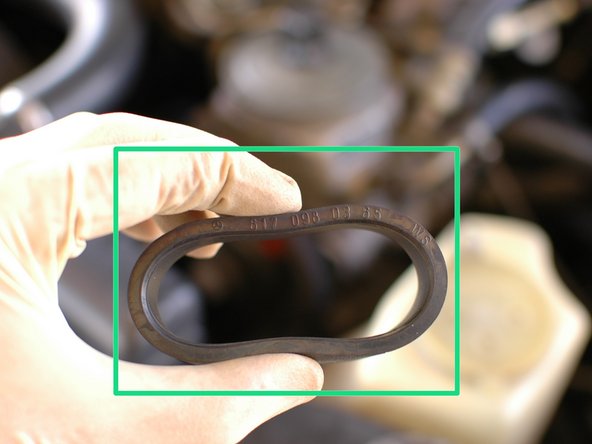
The seal for the upper elbow has a groove built in to it.
-
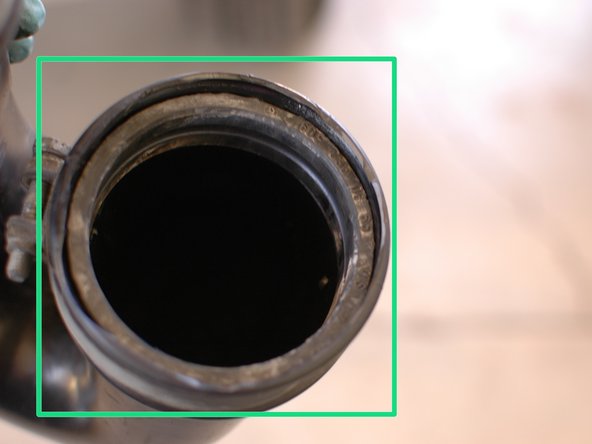
The neck on the air filter housing where this seal goes has a matching ridge.
-
This prevents the new seal from easily slipping on to the neck and it often gets pushed back in to the elbow, preventing a proper seal.
-
A potential fix for this will be addressed later in the guide.
-
-
-
Now it's time to install the new seals.
-
One trick that seems to work to make the upper seal easier to install is to cut off the raised lip on the upper elbow. This lip seems to be of dubious value, and causes a lot of trouble.
-
It can be cut off with a sharp razor blade, though be careful when doing this.
-
As you can see, after modification the new upper seal sits in the upper end of the elbow easily. It will still seal well when clamped down as the lip is not part of the sealing surface.
-


To reassemble your device, follow these instructions in reverse order.
To reassemble your device, follow these instructions in reverse order.
4 の人々がこのガイドを完成させました。

チーム

コメント 1 件
Is it common to have oil pooling in this elbow? Maybe my oil separator is not doing its thing. Or maybe i have too much blow by. Either way, how much is an acceptable amount of oil here?