はじめに
How to disassemble the emergency lights, intermittent or hazard, button for cleaning the contacts, repairing loose pieces, or clogging. Or if you want to change an old cover or a broken casing.
必要な工具と部品
-
-
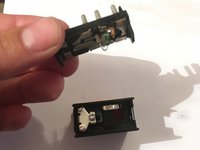
First you must remove the switch for it revises the other guides of this page
-
-
-
-
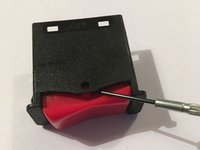
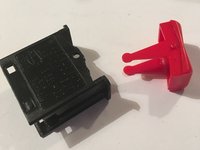
This step is optional, in case you have to change the red cover, or repair it.
-
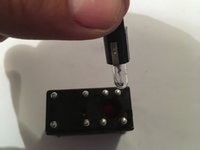
With the thin blade screwdriver, you must pry between the red shaft and the black plastic CAUTION! Do not insert the screwdriver too much, because when leveraging you can break the legs of the red switch, which activates the mechanism
-
-
-
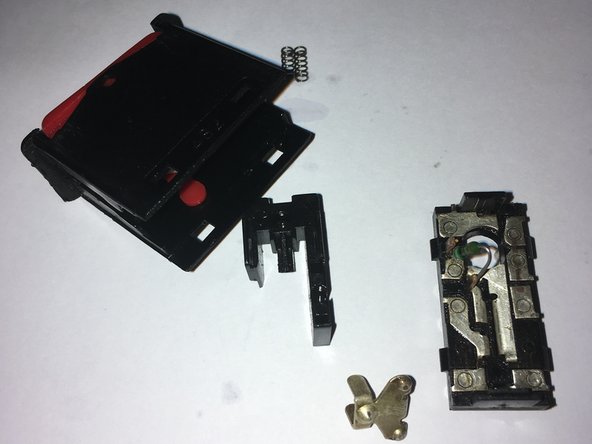
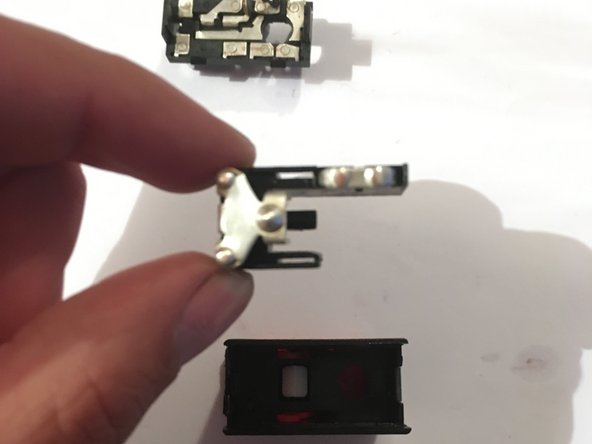
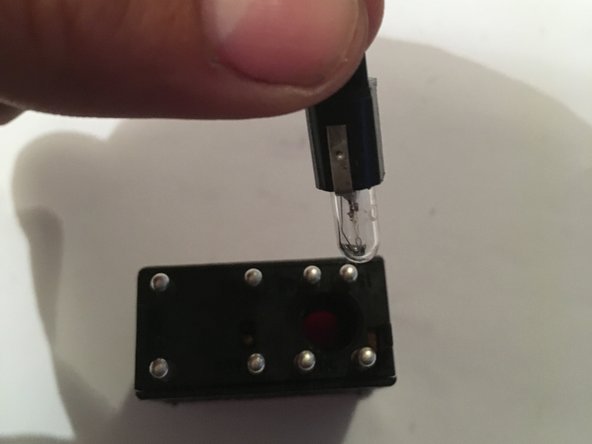
finally we take the contact panel and place it in the switch body, we press until it clicks! Be careful to place the pieces so that the hole for the vial is aligned.
-
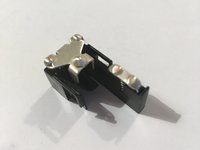
Finally if you removed the red switch enter again until you click! The triangle icon should go to the side where the ampule is.
-


For reassembling your device, follow these instructions in the reverse order.
For reassembling your device, follow these instructions in the reverse order.
6 の人々がこのガイドを完成させました。
以下の翻訳者の皆さんにお礼を申し上げます:
100%


これらの翻訳者の方々は世界を修理する私たちのサポートをしてくれています。 あなたも貢献してみませんか?
翻訳を始める ›
2件のガイドコメント
Hey, thanks for the guide…I'm wondering about something, that maybe you could help me with… I love the look of the older ,pre 1980 hazard switch, is it possible to change the newer style switch, to the older bigger switch…even just to change the cover, to make it look like the old one would be fine…..What do you think?…thañks…Michael
Hellow there, the older switch is diferent, it works by pushing it down to activate it, rahter than pivoting like the newer style, I thing the easy solution is to massure the old style switch and bore the center consol to make it fit, the console is easy to remove, and its all plastic, or wood, so shouldent be hard to bore the hole. The switch stays in place by pressure
Carlos -