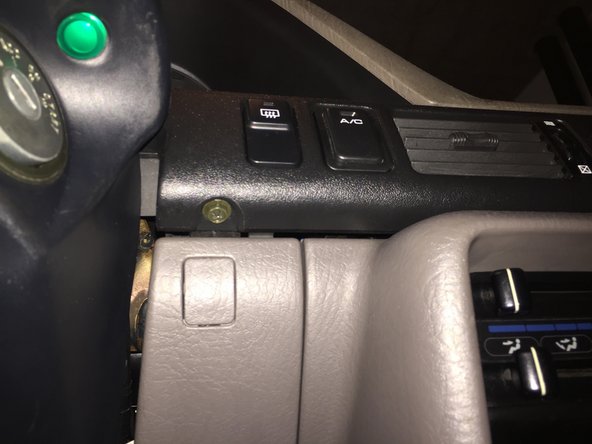
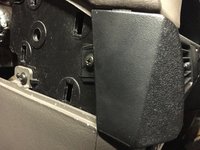
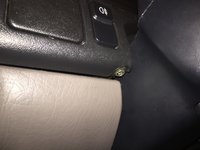
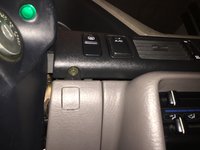
メインコンテンツにスキップ

Mazda 323 BG Dashboard Replacement

必要な工具と部品

  1. Mazda 323 BG Dashboard Replacement, Mazda 323 BG Dashboard Replacement: 手順 1、 1の画像 1
    • Upgrading your Dashboard or what ever, you might want to open your Dashboard, this is the Easy Way...

  2. Mazda 323 BG Dashboard Replacement: 手順 2、 3の画像 1 Mazda 323 BG Dashboard Replacement: 手順 2、 3の画像 2 Mazda 323 BG Dashboard Replacement: 手順 2、 3の画像 3
    • Open your door, you will see a Plastic Cover, remove it with a screwdriver or by hand.

  3. Mazda 323 BG Dashboard Replacement: 手順 3、 3の画像 1 Mazda 323 BG Dashboard Replacement: 手順 3、 3の画像 2 Mazda 323 BG Dashboard Replacement: 手順 3、 3の画像 3
    • Remove the 3 screws holding the cover in place.

  4. Mazda 323 BG Dashboard Replacement: 手順 4、 1の画像 1
    • Remove the 2 screws above of the Dashboard.

  5. Mazda 323 BG Dashboard Replacement: 手順 5、 1の画像 1
    • Now to the magic: usualy, one must remove the steering wheel in order to continue. There are 2 easy alternatives:

  6. Mazda 323 BG Dashboard Replacement: 手順 6、 1の画像 1
    • Option 1: With height adjustable steering wheel: remove the screw holding the top steering column trim and lower the column to its lowest by releasing the lever. Remove the top steering column trim.

  7. Mazda 323 BG Dashboard Replacement: 手順 7、 2の画像 1 Mazda 323 BG Dashboard Replacement: 手順 7、 2の画像 2
    • Option 2: Without height adjustable steering column: Remove all 4 screws of the steering column trim. Afterwards: remove the large golden screws. Be carefull whilst removing the last one: hold the column tight with one hand or it will fall, since it is screwed to nothing else.

  8. Mazda 323 BG Dashboard Replacement: 手順 8、 1の画像 1
    • After Option 1 or 2: Pull the trim out of its holding clips. Disconnect all wires, except for clock and hazard switch. Slowly remove the trim, in case of Option 1: you might have to slightly bend the trim, be carefull. Afterwards: Rotate the trim 180° around the clock wire.

  9. Mazda 323 BG Dashboard Replacement: 手順 9、 1の画像 1
    • Finally: Remove the 4 screws holding the dashboard. Disconnect the 3 connectors and speed wire and you are done!

終わりに

To reassemble your device, follow these instructions in reverse order.

ある他の人がこのガイドを完成しました。

作成者

1人の作成者と共同作成されました。

Frank

メンバー登録日: 12/21/17

196 ポイント

1ガイドが承認済み

コメント 1 件

That’s not the dashboard that’s a cluster removal

Matthew Canavan - 返信

コメントを追加

統計データ:

過去 24時間: 4

過去 7 日: 14

過去 30 日: 51

今までの合計 6,006