メインコンテンツにスキップ

Maylong M-270 Battery Replacement

必要な工具と部品

  1. Maylong M-270 Battery Replacement, Motherboard: 手順 1、 2の画像 1 Maylong M-270 Battery Replacement, Motherboard: 手順 1、 2の画像 2
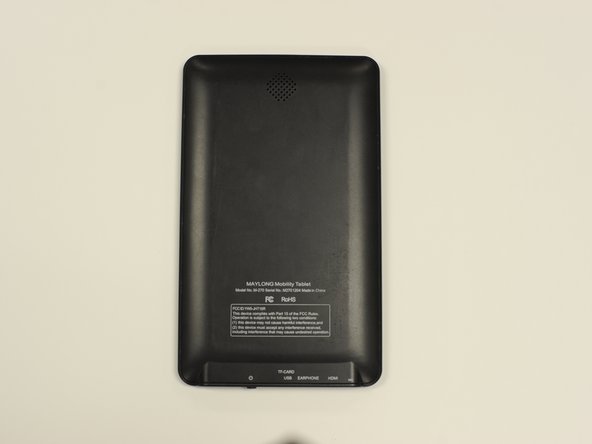
    • Use the plastic opening tool to separate the back cover plate from the front.

    • Insert the plastic opening tool in between the back plate cover and the top cover, then slide along edges to pry open.

  2. Maylong M-270 Battery Replacement: 手順 2、 2の画像 1 Maylong M-270 Battery Replacement: 手順 2、 2の画像 2
    • Locate the two ribbons attached to the device's motherboard.

    • Flip the small black plastic catches down by using the small end of the spudger.

    • Remove the ribbons by gently pulling them away from the motherboard.

  3. Maylong M-270 Battery Replacement: 手順 3、 2の画像 1 Maylong M-270 Battery Replacement: 手順 3、 2の画像 2
    • Remove the two screws from the motherboard.

    • Remove the four screws and metal holds from the edge of the device.

  4. Maylong M-270 Battery Replacement: 手順 4、 1の画像 1
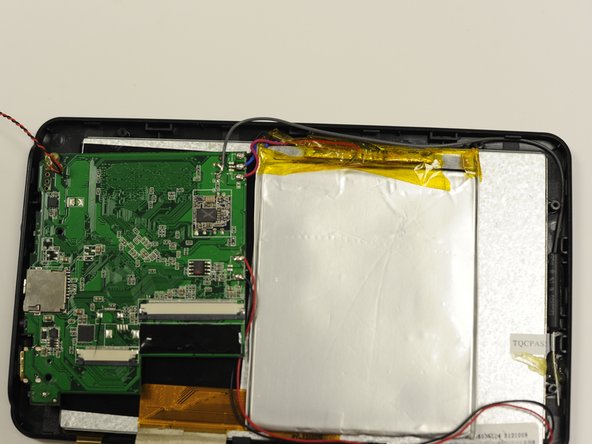
    • Remove the motherboard by gently pulling it away from the bottom of the device.

  5. Maylong M-270 Battery Replacement, Battery: 手順 5、 2の画像 1 Maylong M-270 Battery Replacement, Battery: 手順 5、 2の画像 2
  6. Maylong M-270 Battery Replacement: 手順 6、 3の画像 1 Maylong M-270 Battery Replacement: 手順 6、 3の画像 2 Maylong M-270 Battery Replacement: 手順 6、 3の画像 3
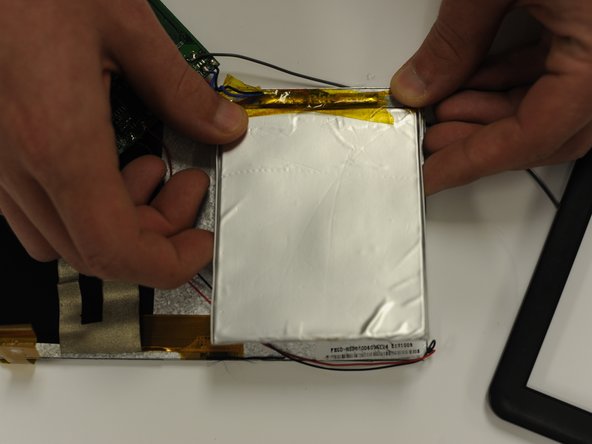
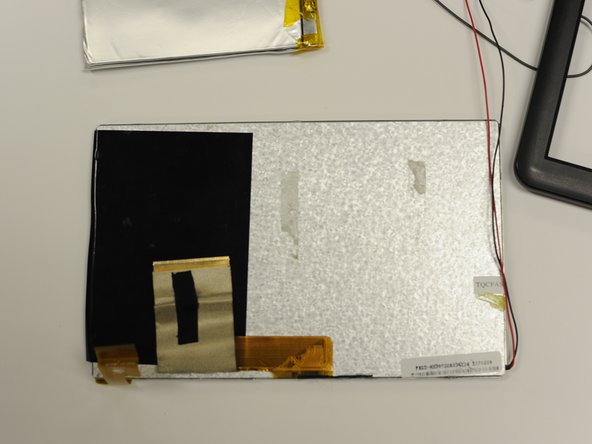
    • Remove the battery by using the spudger to gently pry the battery away from metal case around the front screen.

終わりに

To reassemble your device, follow these instructions in reverse order.

作成者

3人の作成者と共同で作成されました。

Adam Sanders

メンバー登録日: 03/24/15

222 ポイント

2のガイドは作成済み

チーム

University of Alabama, Team 1-3, Naidoo Spring 2015 University of Alabama, Team 1-3, Naidoo Spring 2015人のメンバー

UA-NAIDOO-S15S1G3

4 メンバー

4のガイドは作成済み

0 件のコメント

コメントを追加

統計データ:

過去 24時間: 0

過去 7 日: 1

過去 30 日: 6

今までの合計 706