はじめに
Follow this guide to replace the woofer inside your MartinLogan Motion 4i model MO4IBL.
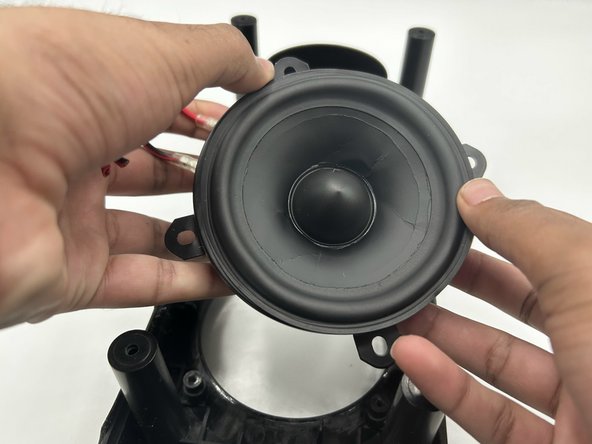
The woofer in a speaker generates low frequencies. A speaker with a failing woofer makes a fizzing sound.
You must have the back cover removed from the Speaker to start repairs. If you have already removed the back cover, please skip to step 7.
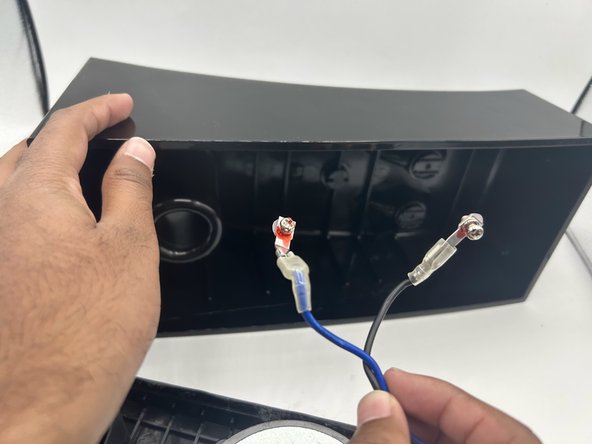
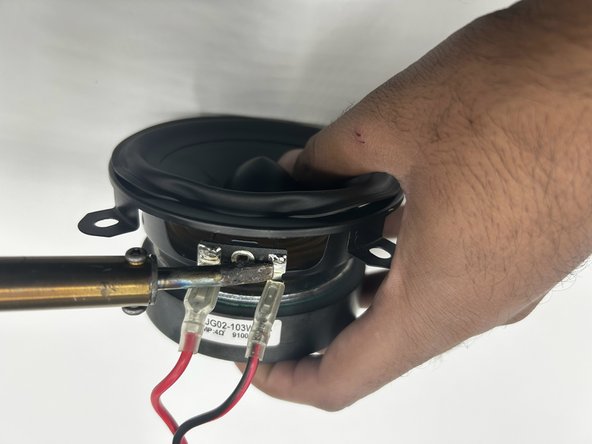
In step 9 you will need a soldering iron to take out 2 wires off the woofer.
Before beginning, the woofer is highly magnetic so keep your phone and other electronic devices away from it
必要な工具と部品
-
-
Remove the speaker grill from the face of the speaker by using both hands to grip both ends of the speaker grill and pulling up to release the magnetic ends.
-
-


To reassemble your device, follow these instructions in reverse order.
To reassemble your device, follow these instructions in reverse order.

チーム

University of North Texas, Team 1-3, Kilpatrick Fall 2023 University of North Texas, Team 1-3, Kilpatrick Fall 2023人のメンバー
UNT-KILPATRICK-F23S1G3
4 メンバー
5のガイドは作成済み