メインコンテンツにスキップ

Marshall Kilburn Tweeters Replacement

必要な工具と部品

  1. Marshall Kilburn Tweeters Replacement, Battery: 手順 1、 2の画像 1 Marshall Kilburn Tweeters Replacement, Battery: 手順 1、 2の画像 2
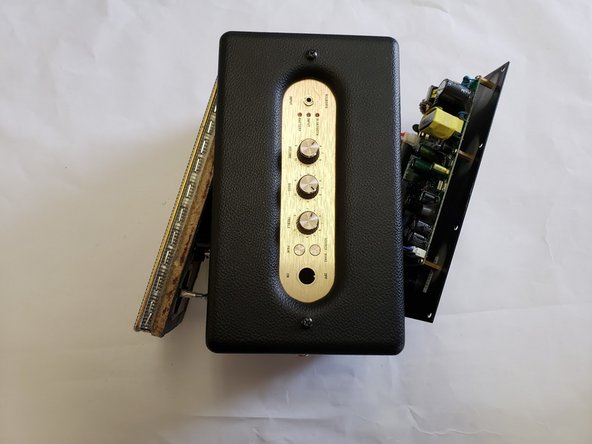
    • Place the unit face down as shown in the picture, exposing the battery cover.

    • Remove the two 4.0mm long screws holding the cover on using a T10 driver.

  2. Marshall Kilburn Tweeters Replacement: 手順 2、 1の画像 1
    • Remove the battery cover using a fingernail or nylon spudger.

  3. Marshall Kilburn Tweeters Replacement: 手順 3、 1の画像 1
    • Remove the battery and unplug the power lead.

  4. Marshall Kilburn Tweeters Replacement, Power Switch: 手順 4、 3の画像 1 Marshall Kilburn Tweeters Replacement, Power Switch: 手順 4、 3の画像 2 Marshall Kilburn Tweeters Replacement, Power Switch: 手順 4、 3の画像 3
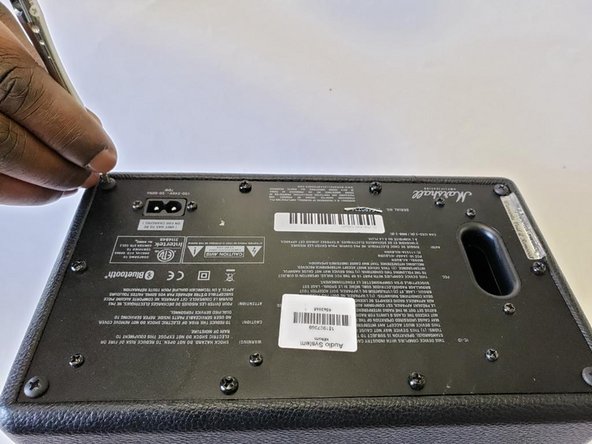
    • Place speaker as shown in image and remove the four corner 45.5mm back cover screws with a Phillips #2 driver.

    • Using a Phillips #2 driver, remove the six remaining 21.5mm outer back cover screws.

  5. Marshall Kilburn Tweeters Replacement: 手順 5、 2の画像 1 Marshall Kilburn Tweeters Replacement: 手順 5、 2の画像 2
    • Remove the back cover by using the vent hole as a grip.

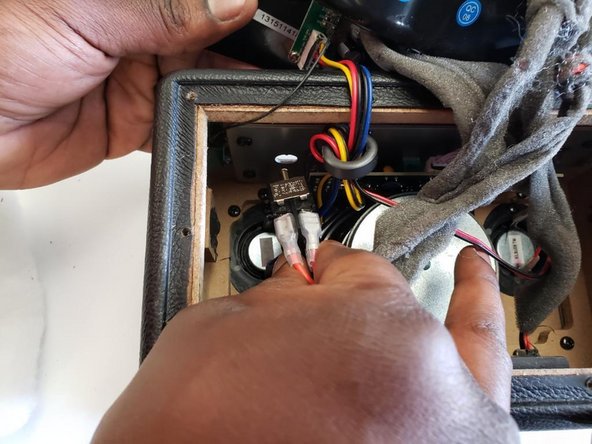
    • Gently pull out the back cover and let it hang on the side of the speaker that has the knobs and power switch.

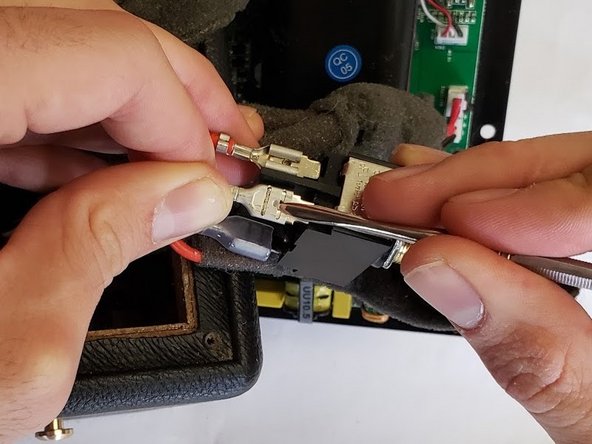
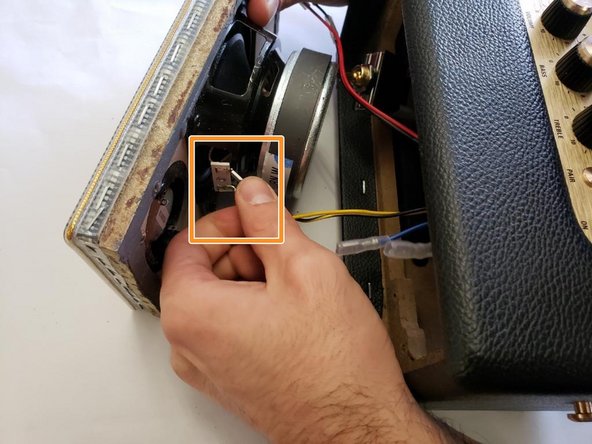
    • Unplug the main power lead from the control board; this allows the back to be opened more, allowing easy access to the power switch.

  6. Marshall Kilburn Tweeters Replacement: 手順 6、 3の画像 1 Marshall Kilburn Tweeters Replacement: 手順 6、 3の画像 2 Marshall Kilburn Tweeters Replacement: 手順 6、 3の画像 3
    • Pull the back cover attached to the motherboard to the side as shown in first image.

    • Remove the white insulator from the stereo speaker and place it to the side.

  7. Marshall Kilburn Tweeters Replacement: 手順 7、 2の画像 1 Marshall Kilburn Tweeters Replacement: 手順 7、 2の画像 2
    • Place the speaker up right, and unscrew the golden bolt around the power switch with your hands, or a wrench.

    • Gently pull out the power switch as shown in the image.

  8. Marshall Kilburn Tweeters Replacement: 手順 8、 3の画像 1 Marshall Kilburn Tweeters Replacement: 手順 8、 3の画像 2 Marshall Kilburn Tweeters Replacement: 手順 8、 3の画像 3
    • Use a slim spudger to wedge out the four red wires attached to the power switch.

  9. Marshall Kilburn Tweeters Replacement, Main Speaker: 手順 9、 3の画像 1 Marshall Kilburn Tweeters Replacement, Main Speaker: 手順 9、 3の画像 2 Marshall Kilburn Tweeters Replacement, Main Speaker: 手順 9、 3の画像 3
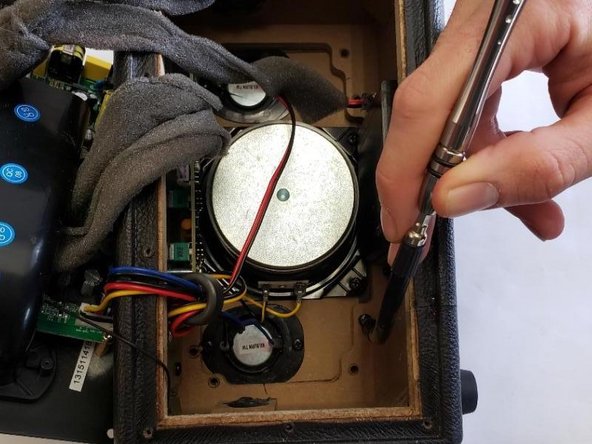
    • Unscrew the eight 22.5mm screws of the speaker cover and the device using a Phillips #2 screwdriver.

    • Gently push the speaker cover out of the stereo speaker.

    • Make sure to slowly push out the speaker cover, and not too far because it is still connected to the stereo speaker.

  10. Marshall Kilburn Tweeters Replacement: 手順 10、 3の画像 1 Marshall Kilburn Tweeters Replacement: 手順 10、 3の画像 2 Marshall Kilburn Tweeters Replacement: 手順 10、 3の画像 3
    • Disconnect the blue wires connected to the tweeter.

    • Disconnect the yellow wires connected to the main speaker.

    • Disconnect the red wires connected to the second tweeter.

  11. Marshall Kilburn Tweeters Replacement: 手順 11、 2の画像 1 Marshall Kilburn Tweeters Replacement: 手順 11、 2の画像 2
    • Unscrew the four 13.5mm screws connecting the main speaker to the speaker cover, with a Phillips #2 screwdriver.

  12. Marshall Kilburn Tweeters Replacement, Tweeters: 手順 12、 1の画像 1
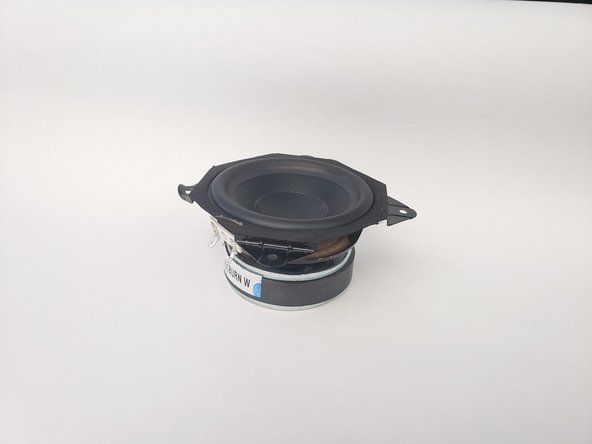
    • Remove the four 13.5mm screws that are placed on the tweeters with a Phillips #2 screwdriver.

終わりに

To reassemble your device, follow these instructions in reverse order.

2 の人々がこのガイドを完成させました。

作成者

3人の作成者と共同で作成されました。

Brad Schiffner

メンバー登録日: 01/14/19

112 ポイント

1ガイドが承認済み

チーム

0 件のコメント

コメントを追加

統計データ:

過去 24時間: 0

過去 7 日: 6

過去 30 日: 18

今までの合計 2,776