メインコンテンツにスキップ

Magellan RoadMate 5250T-LM Screen Replacement

必要な工具と部品

  1. Magellan RoadMate 5250T-LM Screen Replacement, Screen: 手順 1、 2の画像 1 Magellan RoadMate 5250T-LM Screen Replacement, Screen: 手順 1、 2の画像 2
    • Holding the device in place, remove all four 5 mm screws from the back of the device using a Philips Head #000 screwdriver.

    • Place screws aside. Make sure they are easily accessible for reassembling the device.

  2. Magellan RoadMate 5250T-LM Screen Replacement: 手順 2、 2の画像 1 Magellan RoadMate 5250T-LM Screen Replacement: 手順 2、 2の画像 2
    • Lift the back cover using a spudger.

    • Remove back cover slowly and carefully to prevent damage.

  3. Magellan RoadMate 5250T-LM Screen Replacement: 手順 3、 1の画像 1
    この手順で使用する道具:
    Tweezers
    $4.99
    購入する
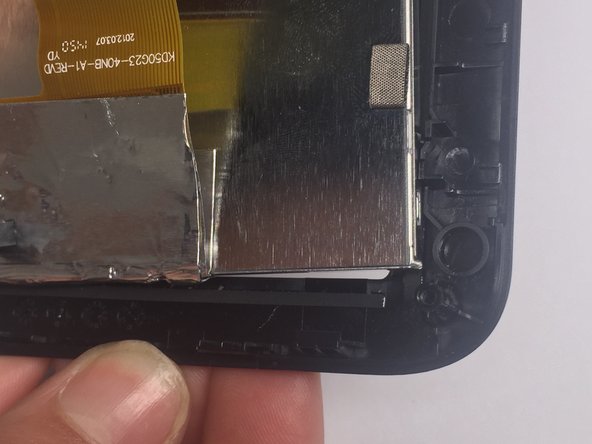
    • Peel back the tape securing the display connector to the motherboard.

    • To ensure proper reassembly, do not remove or fold edges of tape.

    • Use a nylon spudger to flip up the black tab on the ZIF connector.

    • Pull the ribbon cable out with tweezers.

    • The ribbon cable may fall out once the tape is removed.

  4. Magellan RoadMate 5250T-LM Screen Replacement: 手順 4、 2の画像 1 Magellan RoadMate 5250T-LM Screen Replacement: 手順 4、 2の画像 2
    • Undo the four clamps holding down the display.

    • Remove the display from the front cover.

終わりに

To reassemble your device, follow these instructions in reverse order.

作成者

4人の作成者と共同で作成されました。

Jaimee Mound

メンバー登録日: 01/31/16

101 ポイント

1ガイドが承認済み

チーム

University of Alabama, Team 1-7, Sydow campbell Spring 2016 University of Alabama, Team 1-7, Sydow campbell Spring 2016人のメンバー

UA-SYDOW CAMPBELL-S16S1G7

4 メンバー

3のガイドは作成済み

0 件のコメント

コメントを追加

統計データ:

過去 24時間: 0

過去 7 日: 6

過去 30 日: 9

今までの合計 345