メインコンテンツにスキップ

Mad Catz Street Fighter IV FightPad USB Cable Replacement

必要な工具と部品

  1. Mad Catz Street Fighter IV FightPad USB Cable Replacement, Rear and Side Case: 手順 1、 1の画像 1
    • Use tweezers to completely remove the sticker from the rear of controller.

  2. Mad Catz Street Fighter IV FightPad USB Cable Replacement: 手順 2、 1の画像 1
    • Find the seven 8.3 mm Phillips screws on the rear of the controller and remove them.

  3. Mad Catz Street Fighter IV FightPad USB Cable Replacement: 手順 3、 2の画像 1 Mad Catz Street Fighter IV FightPad USB Cable Replacement: 手順 3、 2の画像 2
    • Use a plastic opening tool to separate the rear and front casing by inserting it in-between the two cases.

    • Use the plastic opening tool to pry the two cases apart.

  4. Mad Catz Street Fighter IV FightPad USB Cable Replacement: 手順 4、 2の画像 1 Mad Catz Street Fighter IV FightPad USB Cable Replacement: 手順 4、 2の画像 2
    • Remove the two rubber side grips.

  5. Mad Catz Street Fighter IV FightPad USB Cable Replacement, RS-DP-LS Switch: 手順 5、 2の画像 1 Mad Catz Street Fighter IV FightPad USB Cable Replacement, RS-DP-LS Switch: 手順 5、 2の画像 2
    • Locate RS-DP-LS switch.

    • Pull upwards on the switch to remove it.

  6. Mad Catz Street Fighter IV FightPad USB Cable Replacement, Circuit Board: 手順 6、 1の画像 1
    • Locate the four 8.3 mm Phillips screws on the circuit board and remove them.

  7. Mad Catz Street Fighter IV FightPad USB Cable Replacement: 手順 7、 3の画像 1 Mad Catz Street Fighter IV FightPad USB Cable Replacement: 手順 7、 3の画像 2 Mad Catz Street Fighter IV FightPad USB Cable Replacement: 手順 7、 3の画像 3
    • Hold the controller cable at the area just before it meets the controller and slowly lift upwards to slide it out of its plastic slot and remove the circuit board.

    • Be careful with the wires connected to the circuit board itself as they are thin and delicate.

    • When reassembling the controller, make sure that the bottom plastic piece is fully inserted into its slot before replacing the circuit board.

  8. Mad Catz Street Fighter IV FightPad USB Cable Replacement, USB Cable: 手順 8、 3の画像 1 Mad Catz Street Fighter IV FightPad USB Cable Replacement, USB Cable: 手順 8、 3の画像 2 Mad Catz Street Fighter IV FightPad USB Cable Replacement, USB Cable: 手順 8、 3の画像 3
    • Orient the motherboard so that the side with the rubber buttons is facing up.

    • Remove the rubber buttons by pulling up on the on the rubber pad on the points where the rubber cylinders that poke through the motherboard are so that each cylinder slides out nicely.

    • Removing the rubber buttons is optional but recommended to do before soldering.

  9. Mad Catz Street Fighter IV FightPad USB Cable Replacement: 手順 9、 1の画像 1
    • Locate the broken or disconnected wire by gently pulling up on the five wires connected to the motherboard

  10. Mad Catz Street Fighter IV FightPad USB Cable Replacement: 手順 10、 1の画像 1
    • Push or pull the broken or disconnected wire through its respective hole on the front side of the motherboard so that the metal part of the wire is sticking out the back side of the motherboard.

    • Use the soldering kit to solder the wire onto the back side of the motherboard.

    • You may need to desolder the old solder in the hole before pulling the wire through and soldering it to the motherboard.

    • If the rubber sleeve of the wire prevents the metal part of the wire from going through the hole then use tweezers to pull the rubber sleeve back to expose more of the metal part.

終わりに

To reassemble your device, follow the instructions starting from step eight in reverse order.

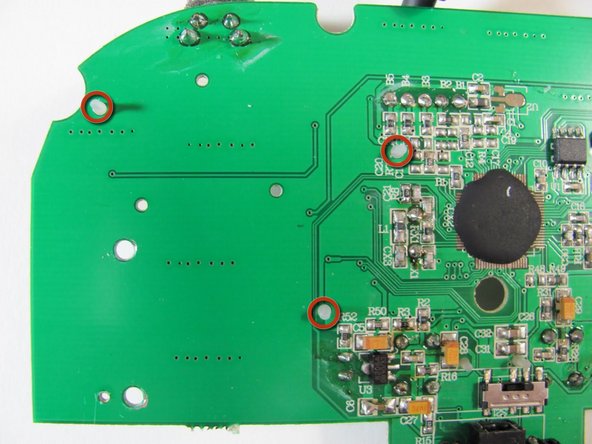
For specific instructions on soldering, check out the iFixit soldering guide.

ある他の人がこのガイドを完成しました。

作成者

4人の作成者と共同で作成されました。

Eric

メンバー登録日: 09/26/12

117 ポイント

3のガイドは作成済み

チーム

Cal Poly, Team 1-7, Propen Fall 2012 Cal Poly, Team 1-7, Propen Fall 2012人のメンバー

CPSU-PROPEN-F12S1G7

4 メンバー

14のガイドは作成済み

0 件のコメント

コメントを追加

統計データ:

過去 24時間: 0

過去 7 日: 3

過去 30 日: 11

今までの合計 2,373