はじめに
The trackpad is used to move the cursor on the screen. It is located below the keyboard.
必要な工具と部品
-
-
The battery compartment is located in the front-right side of the laptop.
 FixBotに聞いてみる
-
-
-
To insert the battery, gently slide it into the compartment until it clicks in place.
-
To remove, slide the button highlighted in the red rectangle to the right to release the battery and slide it from the compartment.
-
-
-
With the laptop upside down and with the battery removed, use a Torx #9 screw driver to remove the three .84 in. screws shown.
-
-
-
-
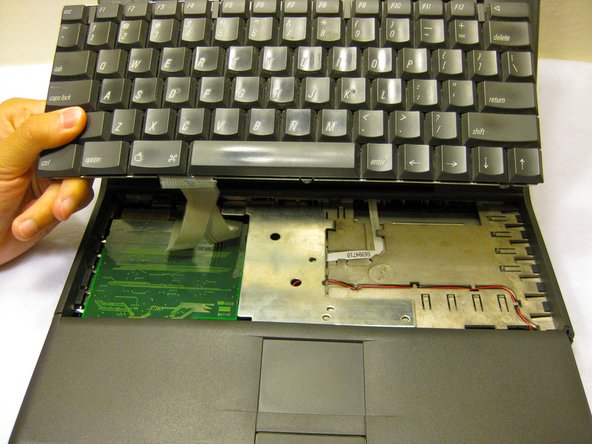
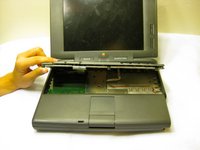
Carefully pull up on the front of the keyboard to pop it out from the case.
-
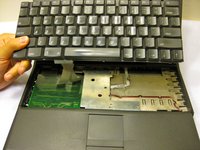
Then slide the back out so the keyboard becomes nearly free.
-
-
-
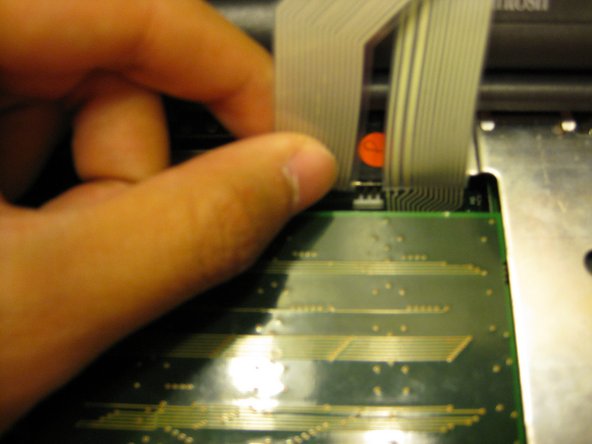
Disconnect the ribbon that is connecting the keyboard to the rest of the computer.
-
Pull the keyboard out and repair or replace as needed.
-
-
-
Remove the front plastic panel of the laptop by carefully lifting it up and forward.
-
-
-
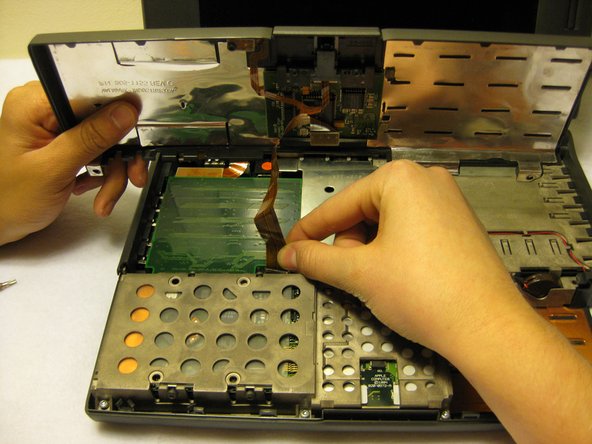
Remove the orange stripped ribbon that connects the trackpad to the device by carefully pulling the ribbon from its connector up and out.
-
-
-
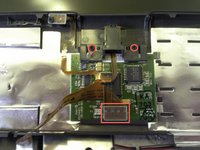
With a Torx #9 screwdriver, remove the two .20 in. screws circled in red that are holding the trackpad in place. This will disconnect the mouse button.
-
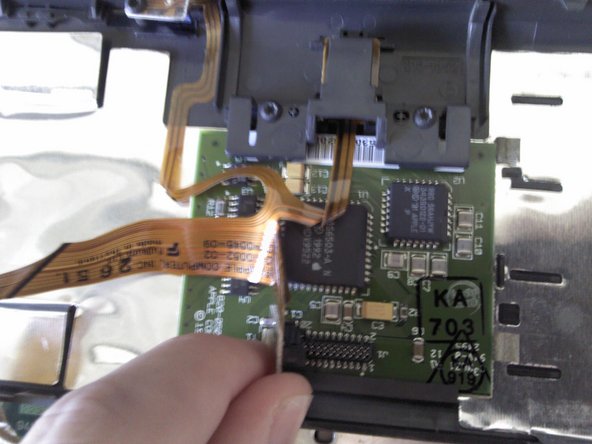
Following this action, disconnect the ribbon highlighted with the red rectangle connecting the trackpad to the laptop.
-
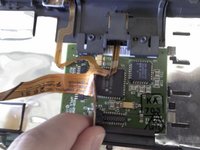
Remove the mouse button by sliding it out from the top of the orange ribbon.
-



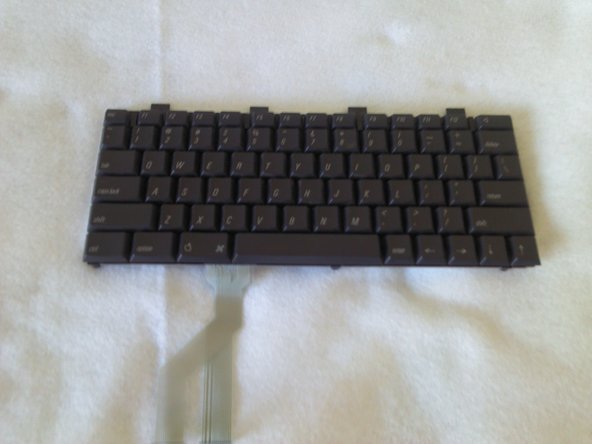
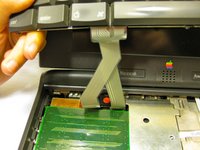
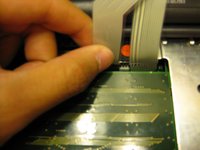






To reassemble your device, follow these instructions in reverse order.
2 の人々がこのガイドを完成させました。

チーム

Cal Poly, Team 6-1, Regan Fall 2011 Cal Poly, Team 6-1, Regan Fall 2011人のメンバー
CPSU-REGAN-F11S6G1
4 メンバー
6のガイドは作成済み
