はじめに
Use guide to replace a worn or broken keyboard.
必要な工具と部品
-
-
Orient the computer so the battery is facing you.
-
Slide the gray plastic battery cover to the right.
 FixBotに聞いてみる
-
-
-
Orient the computer right side up with the rear facing you.
-
Open the Input/Output (I/O) door.
-
-
-
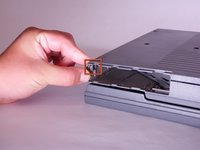
Carefully bend the door into an arch until one of the pins releases from its slot.
-
Once one of the pins is free, remove the I/O door from the computer.
-
-
-
Orient the computer with the bottom facing up and rear facing you. You should be able to read the Macintosh label in this position.
-
-
-
Use a T8 torx screwdriver to remove the 6.8mm long screw above and to the right of the modem jack.
-
Twist counter clockwise to remove the screw.
-
-
-
-
Use a T10 torx screwdriver to remove the four, 18mm long screws from the lower case.
-
-
-
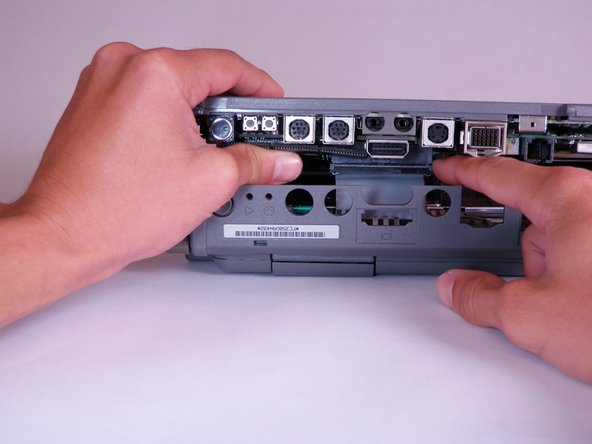
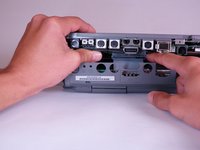
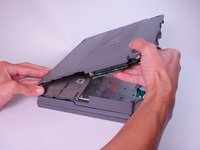
Place your hands on the lower case, just above the I/O panel, and slowly lift the lower case a few inches above the main body of the computer.
-
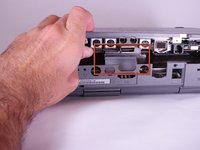
Release the large, gray interconnect ribbon cable just behind the I/O panel.
-
-
-
Place your thumb on the upper case, inside the empty battery slot, and your index finger near your thumb on the left side of the lower case.
-
Pinch your thumb and index finger towards each other to release the clip. Without releasing pressure on the pinch grip, use your index finger to push the lower case upwards.
-
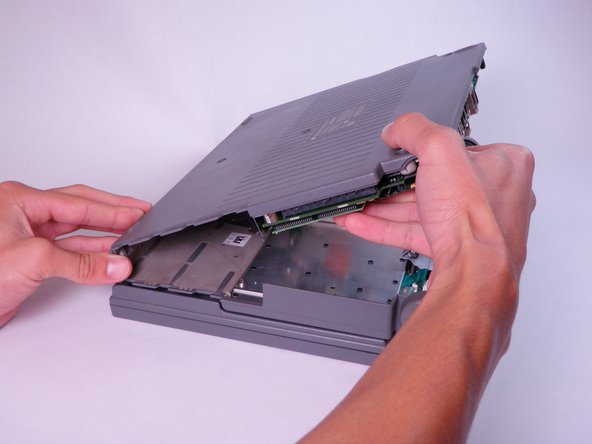
Lift the lower case to remove it.
-
-
-
Locate the trackball assembly. It is in the upper case and can be identified by a green circuit board.
-
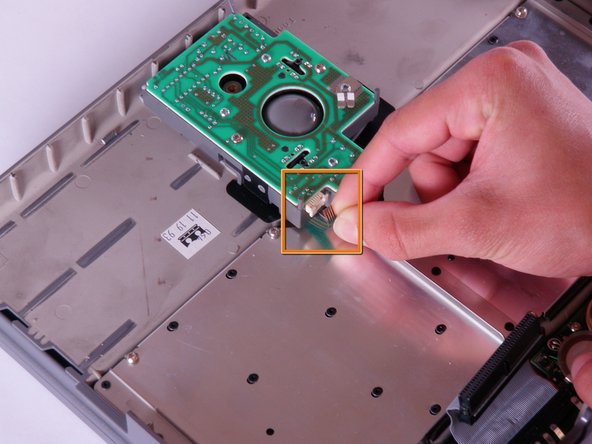
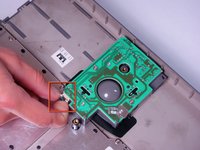
Open the white tab fastener by pulling out on each side. and remove the green and silver ribbon cable.
-
Remove the green and silver ribbon cable by gently pulling it away from the opened tab fastener.
-
-
-
Use a T8 torx screwdriver to remove the six, 6.8mm long screws from the top of the green circuit board.
-
-
-
Remove all four components of the trackball assembly by lifting upward.
-
The four components of the trackball assembly should include: the green circuit board, a metal support, the track ball, and the casing.
-
-
-
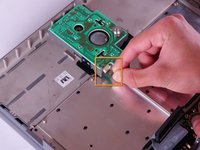
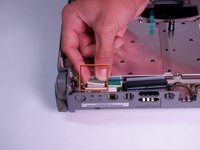
Open the left most white tab fastener in the lower left corner by pulling up on each side.
-
Remove the ribbon cable by gently pulling it away from the opened tab fastener.
-
-
-
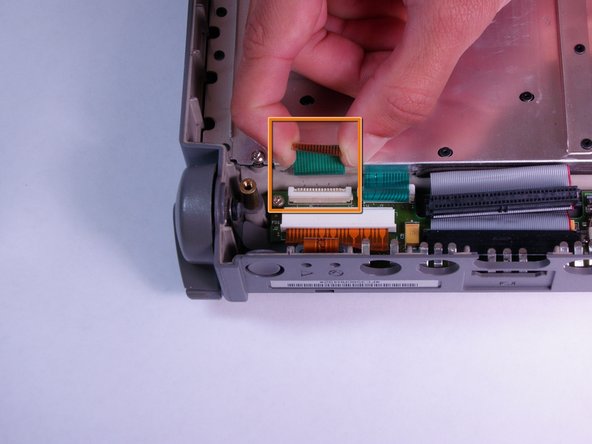
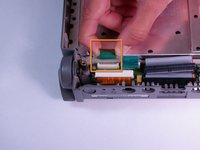
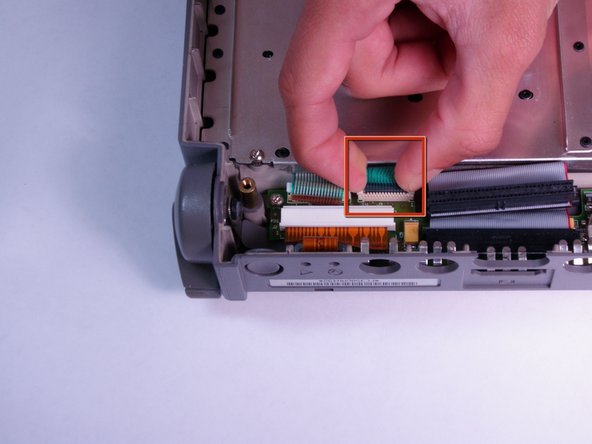
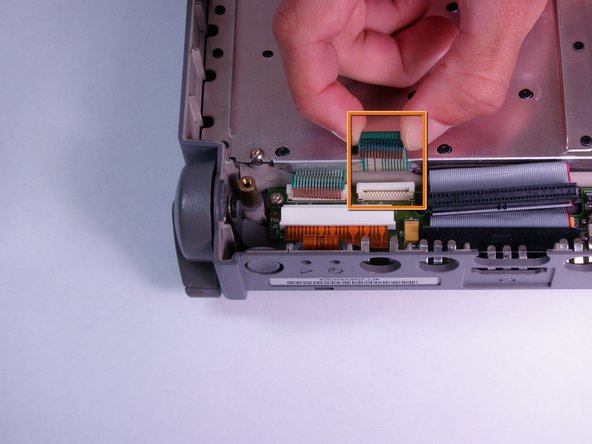
Open the right of the two small, white tab fasteners by pulling up on both sides.
-
Remove the green and silver ribbon cable from the tab fastener.
-
-
-
Use a T8 torx screwdriver to remove the seven, 6.8mm long screws from the metallic panel.
-
-
-
Remove the keyboard by lifting it vertically away from the main body of the computer.
-








To reassemble your device, follow these instructions in reverse order.

チーム

Cal Poly, Team 6-3, Regan Fall 2011 Cal Poly, Team 6-3, Regan Fall 2011人のメンバー
CPSU-REGAN-F11S6G3
4 メンバー
12のガイドは作成済み
