このバージョンは誤った内容を含んでいる可能性があります。最新の承認済みスナップショットに切り替えてください。
必要な工具と部品
-
-
この手順は未翻訳です。 翻訳を手伝う。
-
Remove the six 4.1 to 4.4 mm T6 Torx screws securing the logic board to the upper case.
-
Remove the two 4.1 to 4.5 mm T6 Torx screws securing the MagSafe board to the upper case.
-
On some models, these screws may be T7. Be careful not to strip away the head with a smaller bit.
-
-
この手順は未翻訳です。 翻訳を手伝う。
-
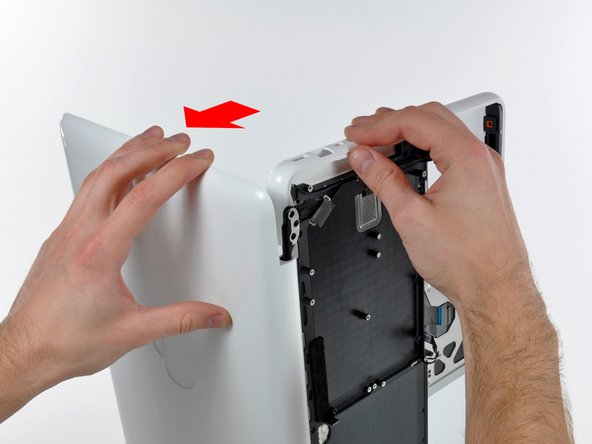
Open your MacBook so the display is perpendicular to the upper case.
-
Place your opened MacBook on a table as pictured.
-
While holding the display and upper case together with your left hand, remove the remaining T8 Torx screw from the lower display bracket.
-
Before retightening the T8 Torx screws, close the display and adjust it so that the back edges of the upper case and display are aligned and the gaps at the ends of the hinge are equal.
-
-
この手順は未翻訳です。 翻訳を手伝う。
-
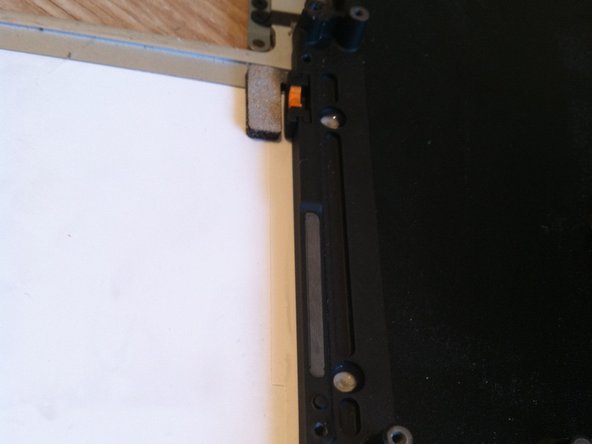
There are four orange and black rubber inserts that the hard drive sits in. One side has full circles and the other side has half circles. (The other side of the half circles are located on the hard drive bracket that was previously removed).
-
The new upper case may not have these inserts. Be sure to remove them from the old and insert into the new.
-
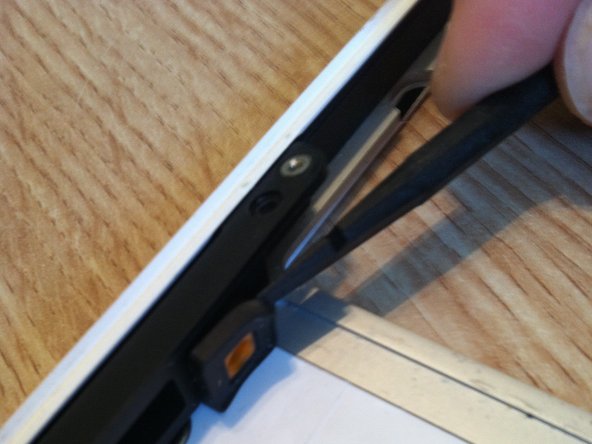
The inserts are easily pried out with a spudger or a flat tipped screwdriver. They are not glued in, but instead have notched sides to hold them in place.
-


12 の人々がこのガイドを完成させました。
