For precautionary purposes, we advise that you disconnect the battery connector from the logic board to avoid any electrical discharge. This step is optional and is not required.
Use the flat end of a spudger to lift the battery connector up out of its socket on the logic board.
It may be easier to use your fingernails to lift up on both sides of the connector.
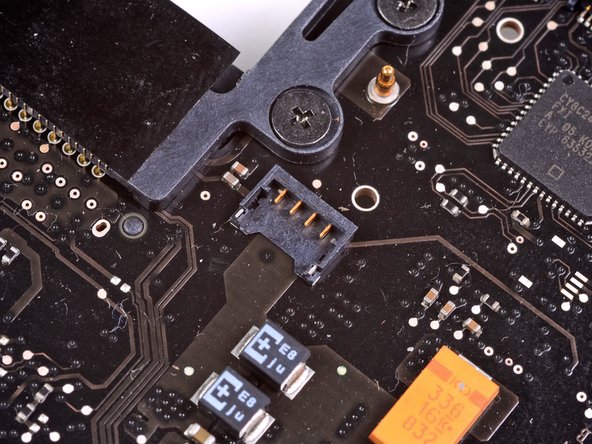
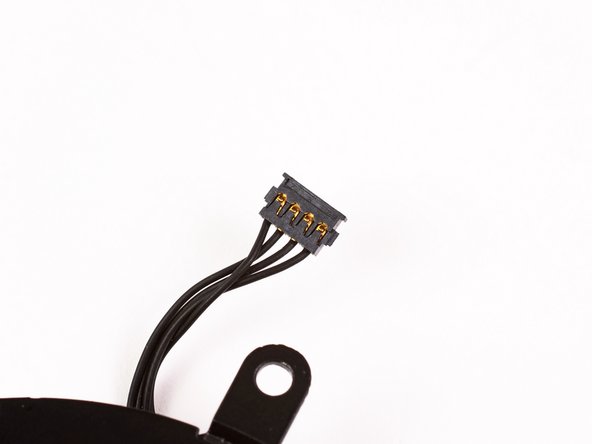
Use the flat end of a spudger to pry the fan connector straight up off the logic board.
It is useful to twist the spudger axially from beneath the fan cable wires to release the connector.
The fan socket and the fan connector can be seen in the second and third pictures. Be careful not to break the plastic fan socket off the logic board as you use your spudger to lift the fan connector straight up and out of its socket. The layout of the logic board shown in the second picture may look slightly different than your machine but the fan socket is the same.
Replaced the fan with an used one. After booting the fan made a very loud sound as if it was running on max speed. A SMC reset fixed the issue and the fan returned to normal speed and sound.
Wish I had read Maurices comment. I did this fix because my fan had a noisy bearing. But I found the sound of the fan running at full speed after the replacement to be more annoying. So I swapped it back. didn’t think top reset the SMC.