この翻訳は、ソースガイドの最新の更新を反映していない可能性があります。 翻訳の更新に協力してください。 または ソースガイドを参照してください。
必要な工具と部品
-
-
この手順は未翻訳です。 翻訳を手伝う。
-
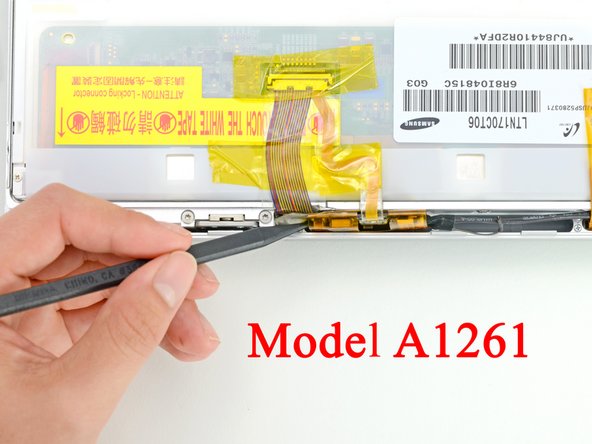
Disconnect the two antenna cables from the AirPort Extreme card, the iSight and inverter cables from the left side of the logic board, and the display data cable from the right side of the logic board. Be careful to slide the connectors as they may become damaged otherwise.
-
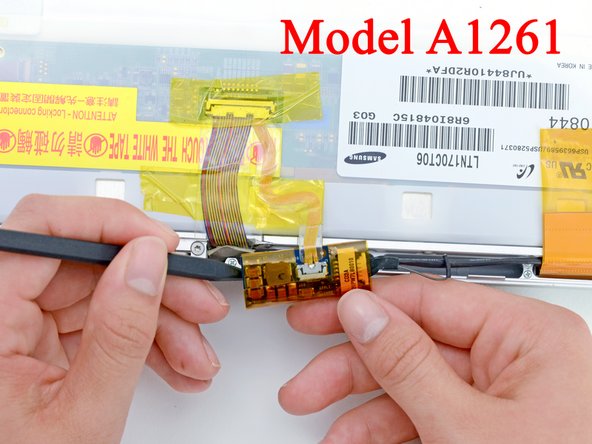
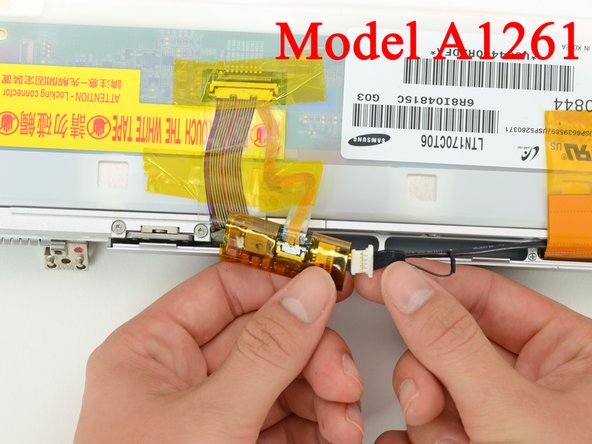
Carefully peel the iSight and inverter cables off the top of the left fan and de-route the AirPort antenna cables from the channel in the left speaker.
-
-
この手順は未翻訳です。 翻訳を手伝う。
-
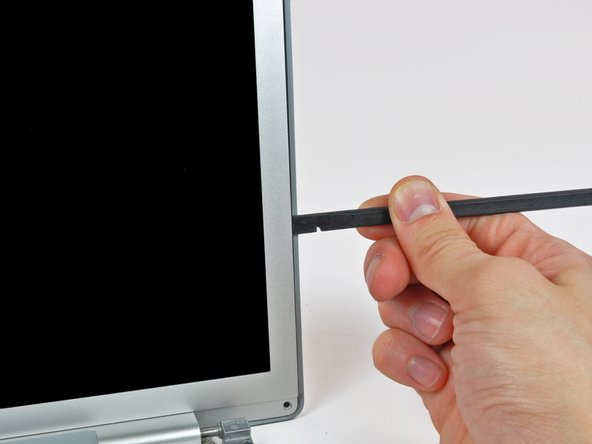
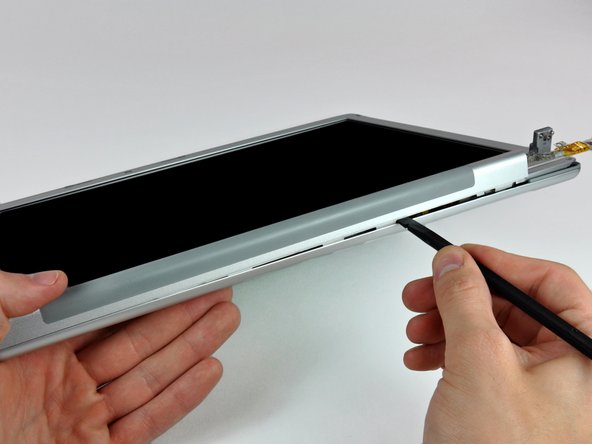
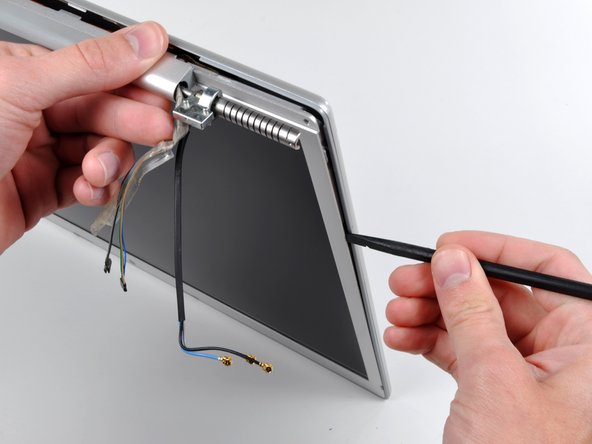
Insert the flat end of a spudger perpendicular to the face of the display between the plastic strip attached to the rear bezel and the front bezel.
-
With the spudger still inserted, rotate it away from the display to separate the front and rear bezels.
-
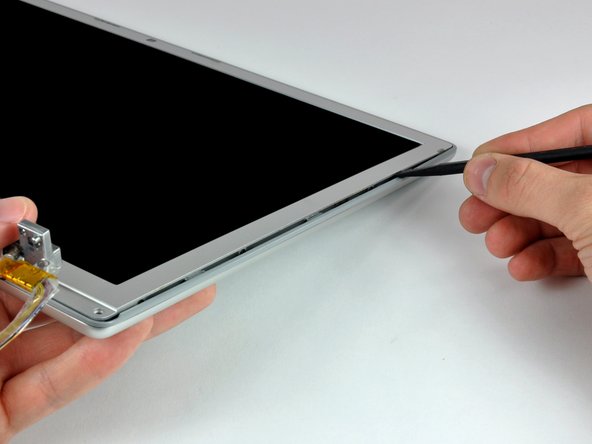
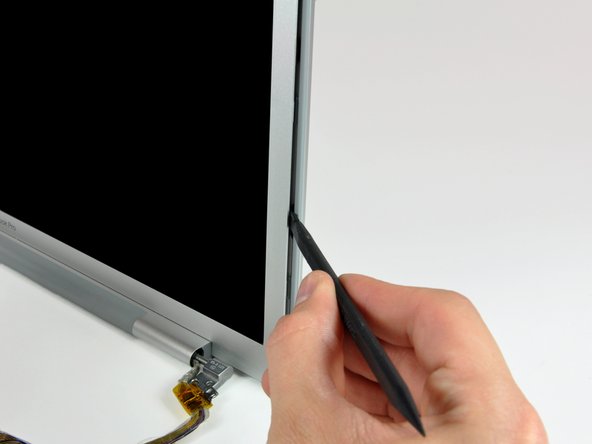
Work along the right edge of the display until the rear bezel is evenly separated from the front bezel.
-
-
この手順は未翻訳です。 翻訳を手伝う。
-
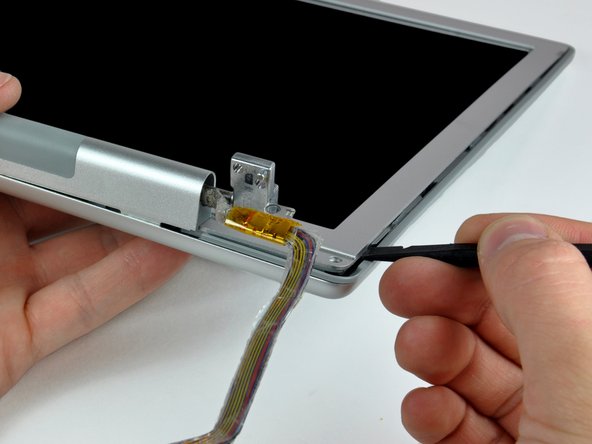
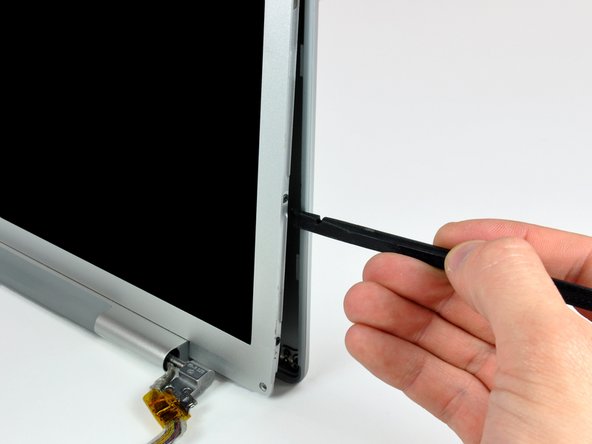
Insert the flat end of a spudger into the gap between the rear display bezel and the clutch cover.
-
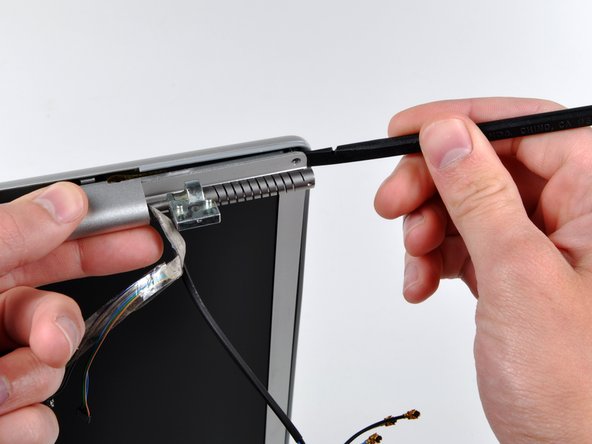
Twist the spudger to separate the lower edge of the rear display bezel from the clutch cover.
-
Work along the lower edge of the rear bezel until it is evenly separated from the clutch cover.
-


13 の人々がこのガイドを完成させました。

4 件のコメント
Fantastic thankyou very very much great step throughs.
I'm interested in getting the inverter for this mac computer, since I'm hurting the MacBook Pro 17 inverter "Models A1151 Display Inverter Replacement