はじめに
ワイヤレス接続に問題がありますか?このガイドを参照して、MacBook Pro 15インチ Unibody Mid 2012 AirPort/Bluetoothボードを交換しましょう。
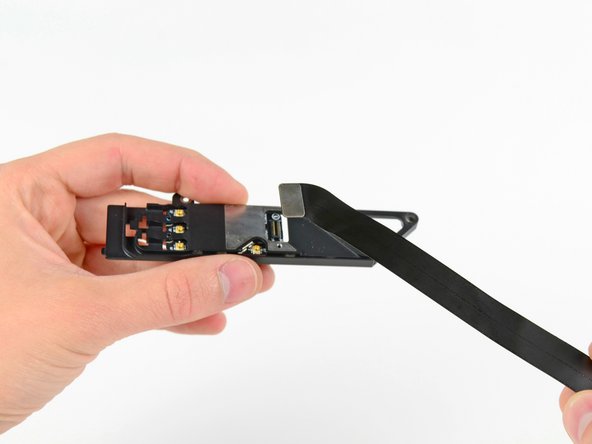
必要な工具と部品


デバイスを再組み立てする際は、これらの手順を逆の順番に従って作業を進めてください。
デバイスを再組み立てする際は、これらの手順を逆の順番に従って作業を進めてください。
43 の人々がこのガイドを完成させました。
以下の翻訳者の皆さんにお礼を申し上げます:
100%

Midori Doiさんは世界中で修理する私たちを助けてくれています! あなたも貢献してみませんか?
翻訳を始める ›

21 件のコメント
Pessoal; Será que temos com trocar essa peça Bluetooth 2.1 por um 4.0?
-----
Folks; Do we have to change this piece Bluetooth 2.1 for a 4.0?
-----
My computer was having trouble with the internet and after much research I came to the conclusion it was my airport/bluetooth board. A bunch of stores I went to said it would cost me around $200-$300 to replace ($100 for board and $100-$200 for installation). Then I found this cite and all of its manuals. I was able to order the part online from this site for only ~$50 and following the steps in the instructions was super easy. Would definitely give 10/10 for this website and manual.
I'd also like to point out I ordered the ifixit tool kit as well (just cause it looked awesome and I have no will power), but only the 2 tools mentioned in the instructions were needed. So no need to go overboard such as myself
Good chance it is the ribbon. I replaced the board with the one I ordered from this site. Worked great for about 2 months then had the same issue. Figured out it couldn't be the board that was causing the problem. So I played with it and I think it's my ribbon connections. All I do is every few months when I start to get the problem I open it up and reconnect the connections on the ribbon and it's good for another 2 months. I assume a permanent solution would be to buy a new ribbon but I haven't done that yet
I second this. My old computer started having bluetooth issues and I needed more power, so I bought a new one and gave the old to my wife. WiFi went out shortly thereafter. PRAM resets worked for a few minutes, but never very long. Replaced the ribbon (very easy, a bit cheaper), and bluetooth works great now, and wifi too. I would try the ribbon first (cheaper and much easier to do).