はじめに
このガイドを使ってダメージが入ったり、壊れた右側ファンを交換します。
必要な工具と部品
-
-
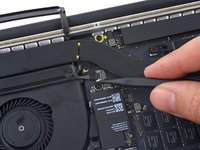
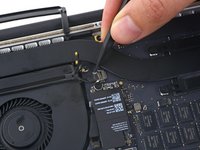
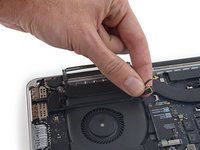
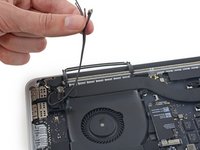
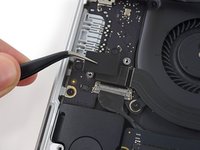
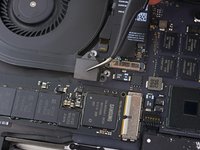
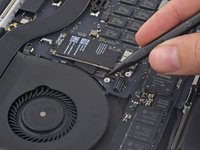
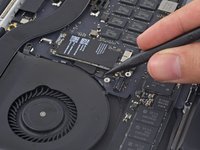
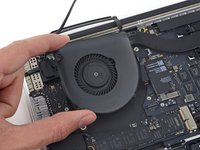
ピンセットもしくはスパッジャーを使って、AirPortボード上のソケットからAirPortアンテナケーブルの3箇所をこじ開けて外し、作業の邪魔にならないように反対側に折り曲げます。
-
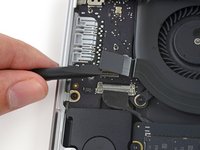
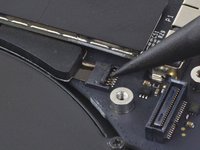
再接続の際は、コネクタをソケット上の位置に揃えて、スパッジャーの平面側を使ってしっかりと押さえ込んで装着します。
-
-


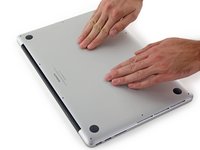


デバイスを再組み立てする際は、これらのインストラクションを逆の順番に従って作業を進めてください。
47 の人々がこのガイドを完成させました。
以下の翻訳者の皆さんにお礼を申し上げます:
100%

Midori Doiさんは世界中で修理する私たちを助けてくれています! あなたも貢献してみませんか?
翻訳を始める ›

7件のガイドコメント
Great tutorial. I did not notice the screw length in the beginning. Thanks. :)
Strange noise came out of my mac. I found a screw on my right fan fell off and got stuck in the right fan.
James Bond - 返信
Complimenti davvero, una guida veramente ben fatta. Il mio mac ringrazia :)
completed my first mac repair ever, so excited.
I was hearing a strange buzzing / grinding noise coming from my right speaker. After ensuring it wasn’t the speakers, I realized it was the fan (would only start making the noise when the fans were kicking into high gear). I opened it up and found that one of the screws on the right fan wasn’t attached to the logic board: Step 14, top right screw (orange) attaches to a silver nut (?) which should be attached to the logic board. The adhesive that attaches the nut to the logic board had detached! Gotta find what type of adhesive I need to get for this, but putting this here for anyone with a similar problem.