はじめに
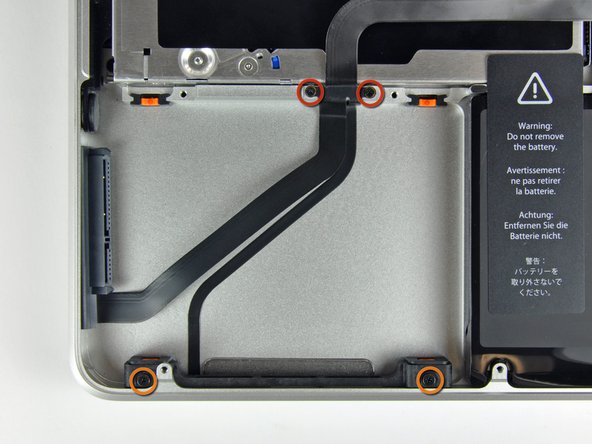
このガイドを使って、ハードドライブケーブルを交換します。新しいハードドライブケーブルは新しい赤外線センサーも含んでいます。
必要な工具と部品


デバイスを再組み立てする際は、こららのインストラクションを逆の順番に従って作業を進めてください。
デバイスを再組み立てする際は、こららのインストラクションを逆の順番に従って作業を進めてください。
211 の人々がこのガイドを完成させました。
以下の翻訳者の皆さんにお礼を申し上げます:
100%

Midori Doiさんは世界中で修理する私たちを助けてくれています! あなたも貢献してみませんか?
翻訳を始める ›

6 件のコメント
Fantiastic!!
I had an SSD installed but it stopped working after a few months and I got the flashing question mark folder. It was very odd as the disk drive still worked, and the SSD did externally. Heard it could be the SATA as SSDs are more sensitive to damaged cables, so replaced it on the off chance and it worked! Definitely recommend trying this first if you have had the same problem
Wow, this worked so GOOD! ...and those derps at the local Apple retailer told me to "let the computer go, and take a look at the new ones we have here!"
Did troubleshooting with ifixit, ordered part from ifixit and followed step-by-step guide provided by ifixit! You guys rule!
Many thanks from Sweden!
This worked like a charm. My mid 2010 MacBook Pro is back. Although it was temping to claim my Mac as dead and buy the latest baddest MacBook, I had to try a $50 fix. It worked. I saved over $1200 now. I want to see how long my 2010 Mac lasts now. Thanks ifixit.com.
This went very smoothly. I had already tried replacing the hard drive, so there were only a few new steps for me. Glad I didn't have to take apart the bracket and light in the last step. Time machine is chugging away as I speak, and my 2010 is not on the scrap heap just yet.
David Haye - 返信
This is the second time this cable has failed in this machine (Apple fixed it once for free). Seeing the FIVE right-angle bends the cable makes to get from the disk to the motherboard connector makes it clear why this part fails. Being able to buy this cable from iFixit and follow the step-by-step guide is GREAT--since Apple refuses to touch machines after they are five years old.
One hint for reassembly: first pin the cable down with the four screws, then attach the motherboard connection, then use something to temporarily hold the disk connector/cable out of the way, then pre-place the sensor/light cable against the case so you know where you want it to go, then cheat the paper glue cover off of the sensor/light cable as you smooth it against the case. Then the disk connector goes onto the disk, the disk seats easily, and then the retaining bracket is trivial.
Removing the sensor/light/disk-seat from the case was a little fiddly. It feels "stuck" because the cable is GLUED to the case!