はじめに
MagSafe DC-In ボードの交換をするにはこのガイドを参照してください。
必要な工具と部品
-
-
底ケースと上部ケースを留めている次のネジを10本外します。
-
2.3 mm P5ペンタロープネジー2本
-
3.0 mm P5 ペンタロープネジー8本
-
この作業中、外した各ネジの管理を安全に行ってください。再組み立ての際は、デバイスのダメージを防ぐため、正しい位置に装着してください。
-
-
-
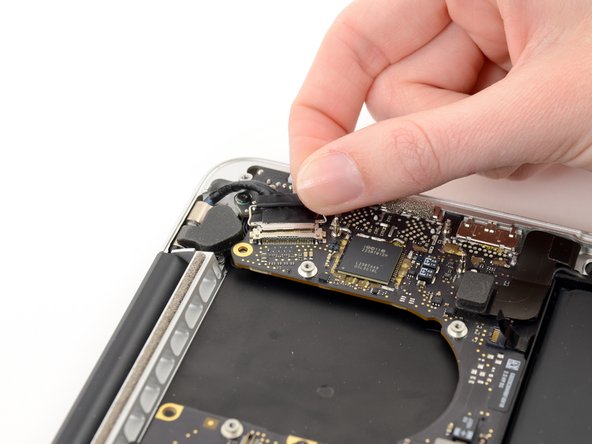
ロジックボードに留められたヒートシンクから次のネジを外します。
-
2.4 mm #00プラスネジー1本
-
3.4 mm T5トルクスネジー1本
-
2.7 mm T5トルクスネジー4本
-
-
-
-
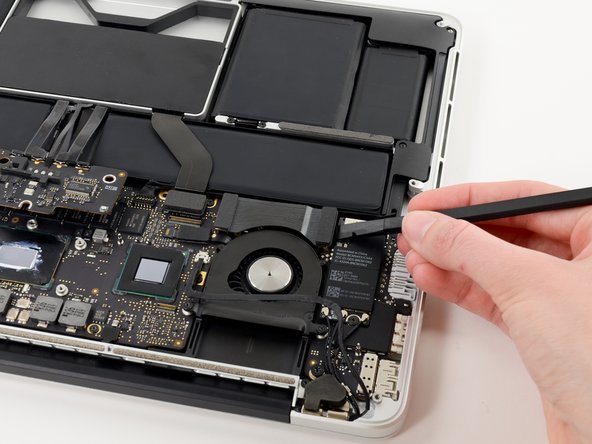
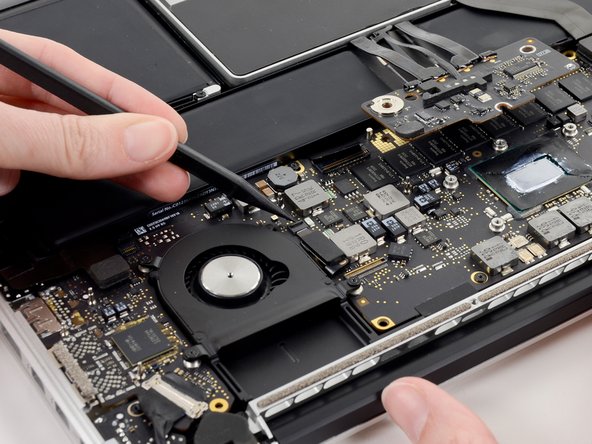
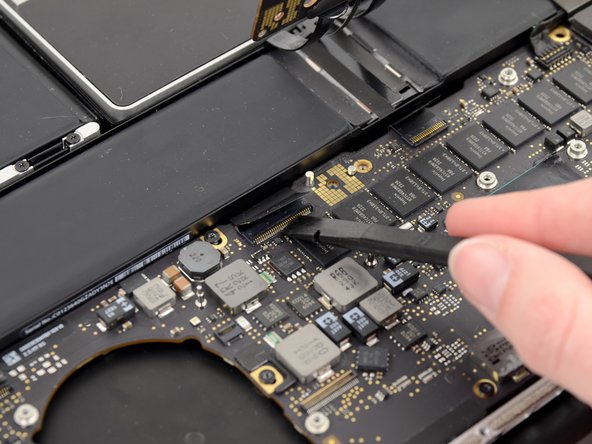
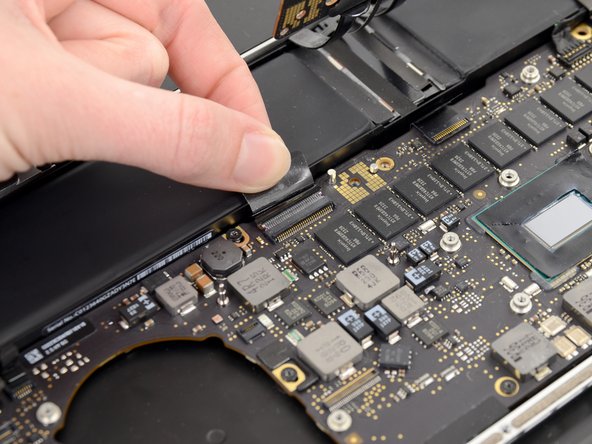
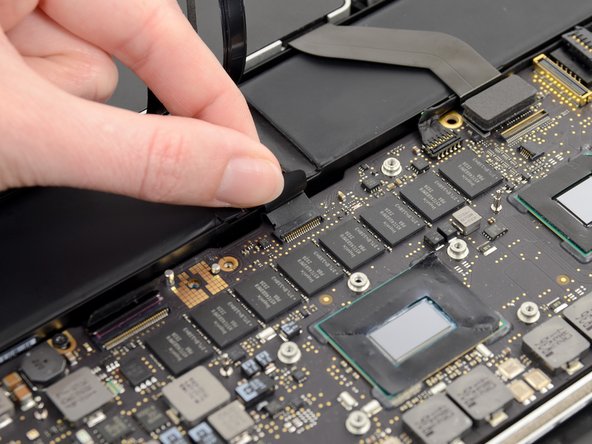
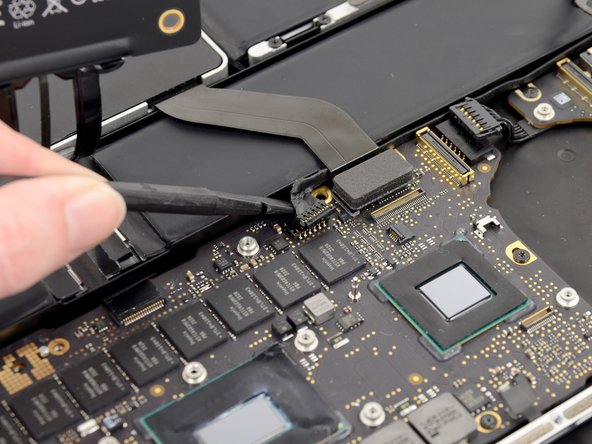
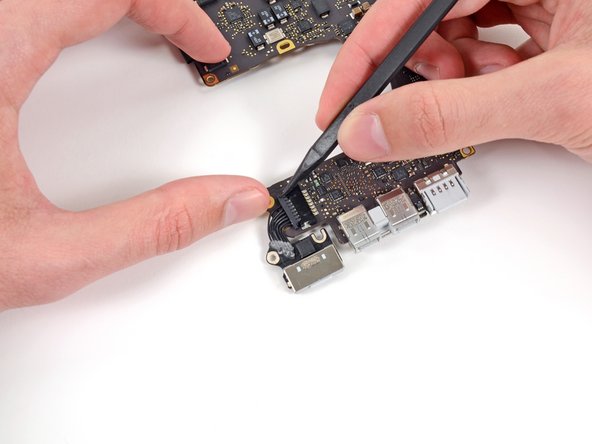
スパッジャーの先端を使って、右側のファンリボンケーブルのZIF ソケット上にある固定フラップを持ち上げます。
-
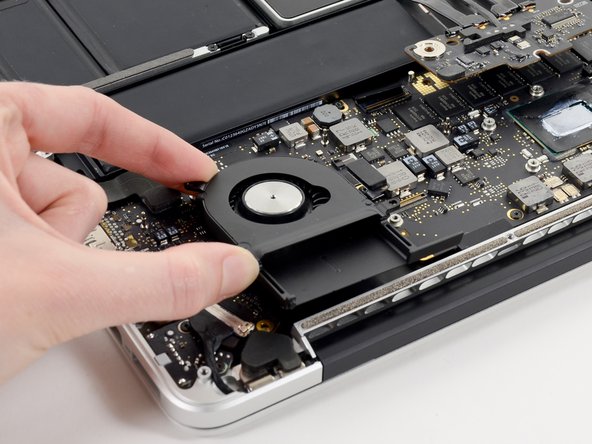
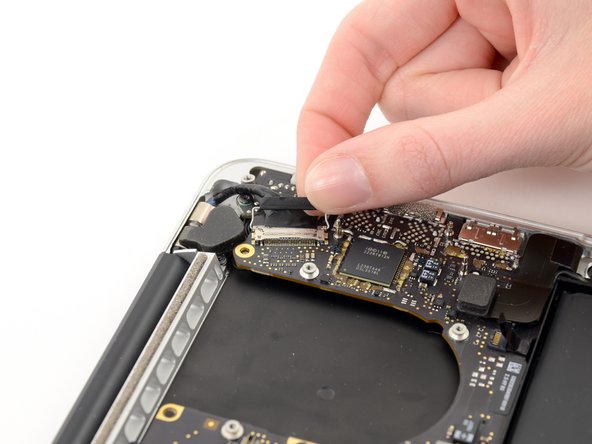
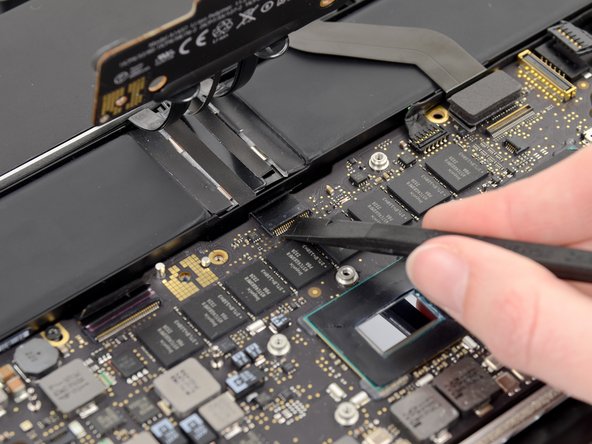
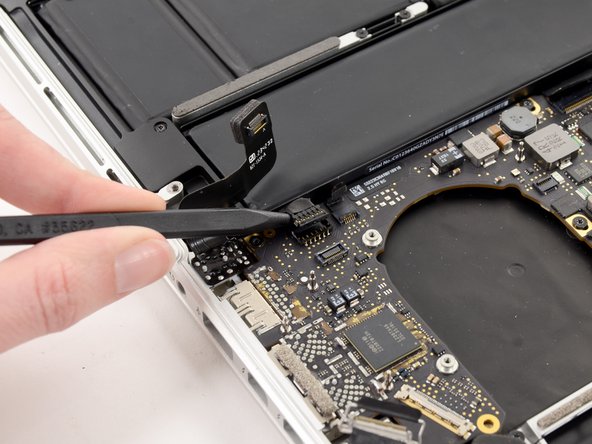
右側のファンリボンケーブルをロジックボード上のソケットからまっすぐ持ち上げます。
-


デバイスを再組み立てする際は、これらのインストラクションを逆の順番に従って作業を進めてください。
デバイスを再組み立てする際は、これらのインストラクションを逆の順番に従って作業を進めてください。
14 の人々がこのガイドを完成させました。
以下の翻訳者の皆さんにお礼を申し上げます:
100%

これらの翻訳者の方々は世界を修理する私たちのサポートをしてくれています。 あなたも貢献してみませんか?
翻訳を始める ›

コメント 1 件
Great tutorial. I would add two comments. Firstly between steps 14 and 15 there is a cable that needs to be unconnected (see other tutorials where it is detailed) - it needs to be "walked" out, and you ned to remember to reconnect this. Secondly when putting the logic board back in be sure not to trap any of the connectors underneath it. It is a real struggle! I ended up undoing the 6 screws that hold the main battery assembly in and lifting this slightly to give me space and allow me to reinsert the ribbon cables on that side of the board. The reason I needed to disassemble my laptop was that it kept going into sleep mode, sometimes every few seconds. Apple wanted to charge £550 to fix it. I found the problem was with the micro-switch that detects if the lid is closed (it would work fine in clamshell mode). Switch is between the thunder port and USB sockets. Sprayed with contact cleaner, isopropyl and antistatic spray and dried with hairdryer, been working a treat since! Cost of a pentalobe driver!