はじめに
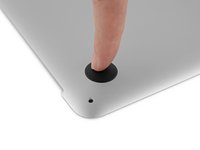
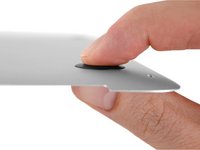
MacBook Proのフットパッドの調子が悪いですか?このガイドを使って、綺麗なフットパッドを揃えましょう。
必要な工具と部品
-
この手順で使用する道具:Magnetic Project Mat$19.95
-
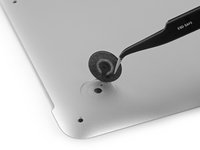
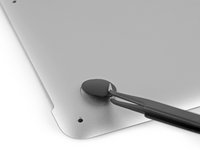
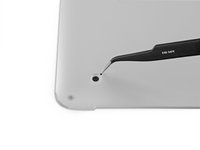
底ケースと上部ケースを留めている次のネジを10本外します。
-
2.3 mm P5ペンタロープネジー2本
-
3.0 mm P5 ペンタロープネジー8本
-
この作業中、外した各ネジの管理を安全に行ってください。再組み立ての際は、デバイスのダメージを防ぐため、正しい位置に装着してください。
-
-


デバイスを再組み立てする際は、これらの手順を逆の順番に従って作業を進めてください。
デバイスを再組み立てする際は、これらの手順を逆の順番に従って作業を進めてください。
60 の人々がこのガイドを完成させました。
以下の翻訳者の皆さんにお礼を申し上げます:
100%

Midori Doiさんは世界中で修理する私たちを助けてくれています! あなたも貢献してみませんか?
翻訳を始める ›

8 件のコメント
On the inside of the cover of my A1502 Early 2015 MBP, two of the four feet are covered by large black stickers. So, how do we remove the little piece left behind when we remove any foot that is damaged? Do we just cut through the large black sticker or remove it?
This review was helpful, but it didn’t mention the black stickers on the inside of the lower case. I ended up poking a small hole through the black stickers to get the remaining pieces of previous feet out.
Just peel them back as far as needed, then re-stick them back when you're done. In my case, one did re-stick easily, while the other one didn't, I used a small piece of electrical tape to stick it back. It doesn't really matter that much, either way.
I picked the broken pieces caught underneath the stickers through the little hole from the outer side of the case with pointy tweezers.
Bernhard -
Jason and Taylor, the stickers you mention are on Step 4 of this guide.