はじめに
壊れたディスプレイアセンブリを交換する手順です。
必要な工具と部品
-
-
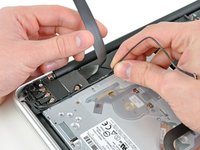
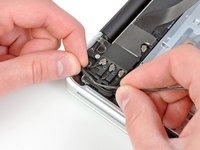
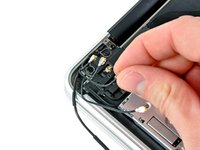
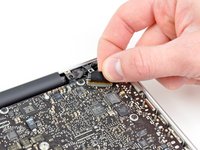
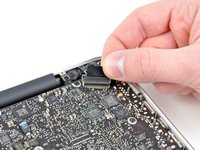
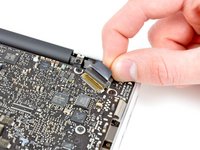
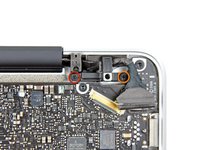
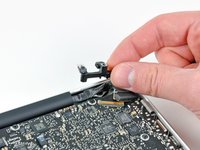
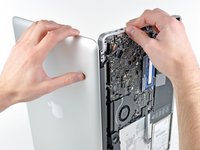
スパッジャーの平面側先端を使って、AirPort/Bluetoothリボンケーブルのコネクターをロジックボード上のソケットから上向きにして引き上げます。
-
-


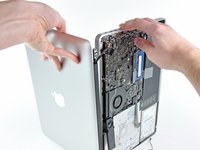
デバイスを再組み立てする際は、これらのインストラクションを逆の順番に従って作業を進めてください。
148 の人々がこのガイドを完成させました。
以下の翻訳者の皆さんにお礼を申し上げます:
100%

Midori Doiさんは世界中で修理する私たちを助けてくれています! あなたも貢献してみませんか?
翻訳を始める ›

17件のガイドコメント
Although this guide a difficulty rating I wasn't sure how long it would take a fairly adept novice to complete the R&R of the display. I took my time and did the tear down in 1 hour. I separated the fasteners by placing each section on a loop of tape above the work. The replacement of the new display took me about 2 hours. As the guide says it was just the tear down in reverse. Things that added to the replacement were getting the first 2 screws aligned and in place; re-routing the antenna and camera cables and making sure the camera cable socket connector was in correctly. The good news is it worked on the first power-up. Great guide.
Unfortunately no, they are not interchangeable.
Does the display come with the back cover included. I don't know the correct name for the part. I just mean the silver cover with the apple thingy in it.