はじめに
The guide for replacing the LCD and/or inverter on the MacBook is very long and involved. This method is faster with fewer steps but you have to modify one of the clutch cover retainer clips to do it smoothly.
必要な工具と部品
-
-
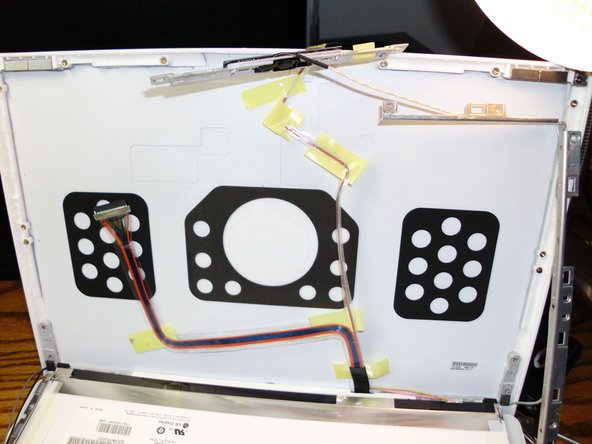
Although not necessary, I've removed the keyboard and battery to reduce weight, preventing the unit from constantly falling over. Here the bezel has been removed.
-
It's likely the clips will stick to the bezel. Remove them and place them back in the metal frame around the LCD. Cover them when prying them off the bezel unless you like looking on the floor for tiny parts.
-
-
-
Remove more screws
-
The back of the iSight camera comes up without removing screws on either side. Be careful not to lose track of the lens cover. It may or may not stay with the bezel.
-
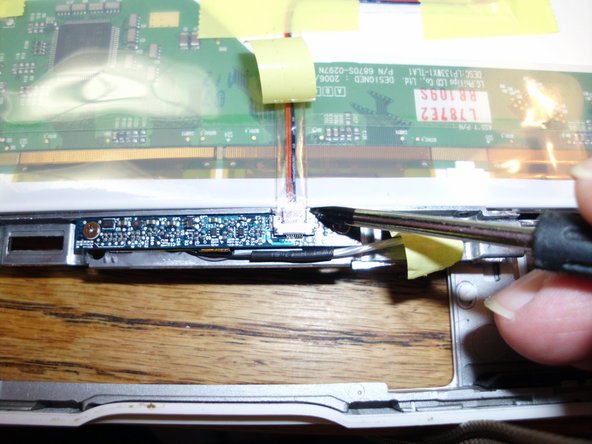
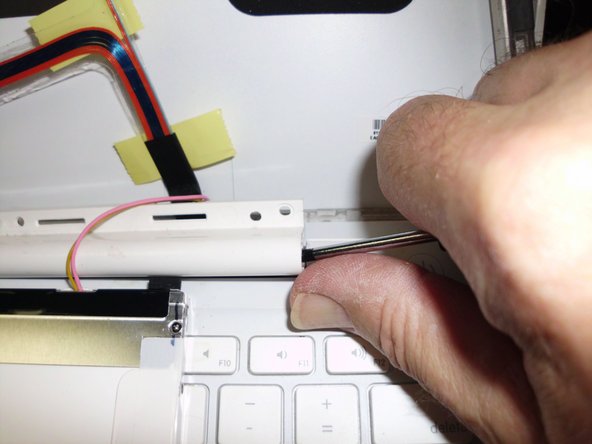
Third photo here... A blade or better, a spudger here to disconnect the cable here. Pry and slide this connection (towards the top of this photo).
-
-
-
-
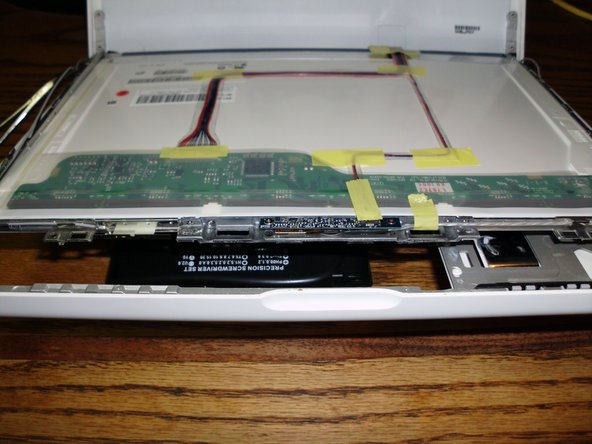
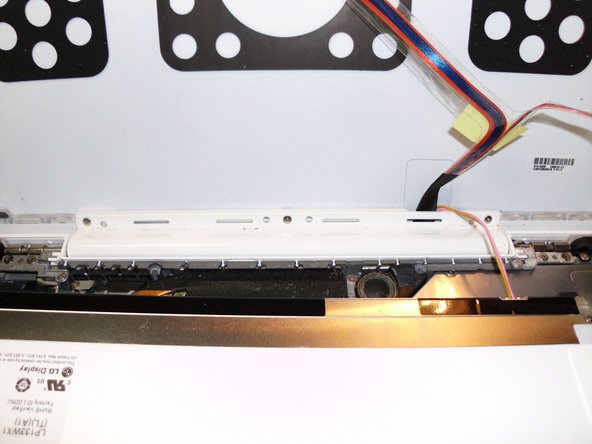
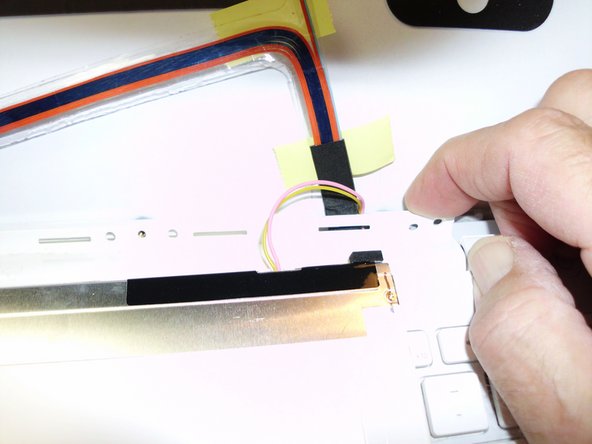
See Step 7 and come back to here. 3 screws must be removed first. Lift clutch cover up slightly
-
Getting the clutch cover up is going to be the most difficult part. You'll feel like you're going to break it. There are also two little plastic parts on each end of the clutch cover. They're easy enough to remove so you don't use them as a fulcrum. Be careful though - they also tend to fly fast and high when being pried out.
-
-
-
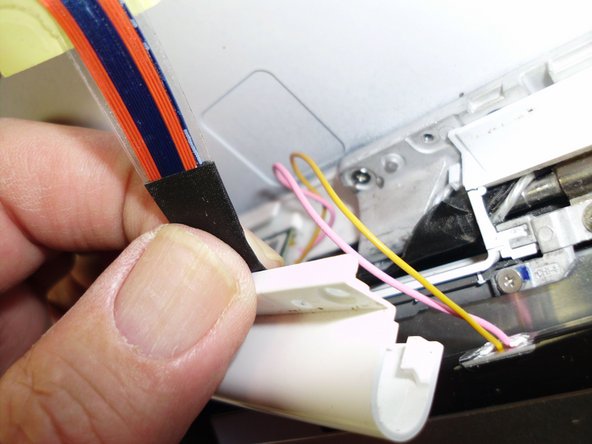
Reveal plug in to inverter board
-
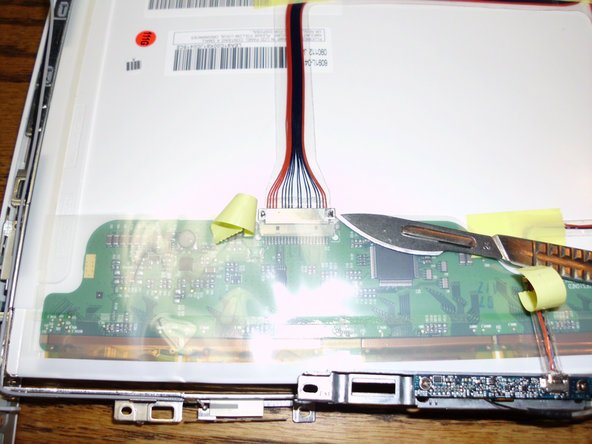
Use small hemostat or tweezers to grasp end of inverter plug in and pull out.
-
The LCD is now free to be removed.
-
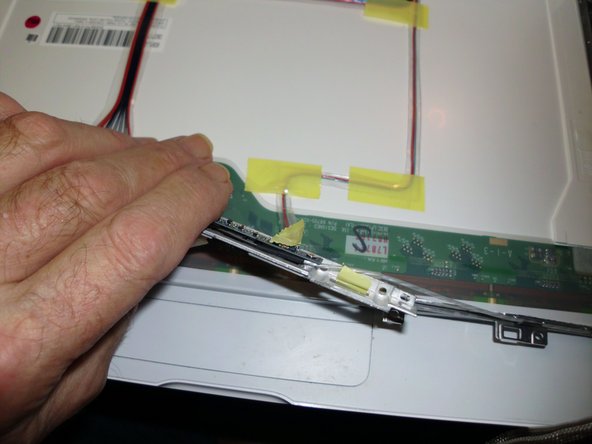
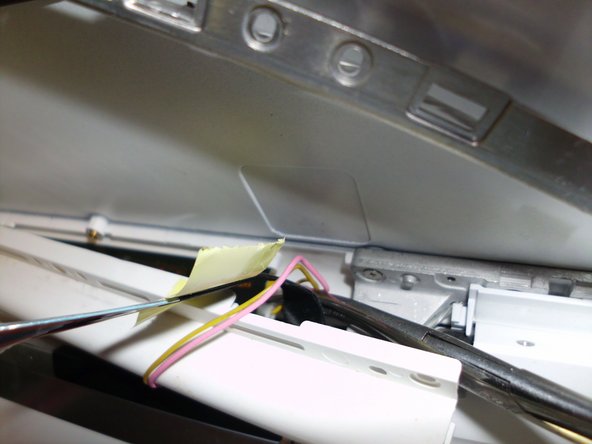
To install an inverter just lift the cover up higher and remove it.
-
I was able to leave the left end of the clutch cover 'mostly' in place and unplug both ends of the inverter.
-
When replacing the clutch cover inspect the back. I had both ends 'sticking out' a little and had to break the little plastic tabs to make it flush again - or I could have started over and removed everything to properly replace the clutch cover. On a 5 year-old machine I elected to break plastic tabs off the clutch cover.
-


To reassemble your device, follow these instructions in reverse order.
After completing this - my MacBook display still kept going black after 45 - 60 seconds. An SMC Reset fixed the issue. Wish I'd tried this first. Give it a shot... May save you a couple hours.
To reassemble your device, follow these instructions in reverse order.
After completing this - my MacBook display still kept going black after 45 - 60 seconds. An SMC Reset fixed the issue. Wish I'd tried this first. Give it a shot... May save you a couple hours.
28 の人々がこのガイドを完成させました。

チーム

4 件のコメント
I've replaced dozens of the LCD's and I don't recommend this method.
The guide itself is poorly written with it's missing instructions (what mod to the clutch cover, how do you get the clutch back on), it's out of order, step 6 shows the clutch cover off and step 7 is taking the clutch cover screws out.
In using this method the Airport wires can become pinched and damaged at the other end. The Display Data cable takes abuse when you try to force the clutch cover back on. I know this because I tried it to see if it was actually possible to avoid the steps in the proper method. The casing on my gray Airport wire was damaged and the DD cable was interfering with every attempt to replace the clutch cover. I ended up stopping at that point, disassembled it properly and replaced the left lcd frame and Airport wires to avoid and further issues.
It only takes 30 min to do it the right way, save yourself the hassle and do it that way.
This was probably the first guide I tried writing. I'm sure I made some errors and one is the order 7 should be before 6 but I don't know how to change it. You're more than welcome to try to improve it. These things aren't written in stone and most have contributions from many people. I'm done this many times without damaging any wires. You damaged the wires when forcing, I clipped the tabs off so that it wasn't forced, after all the thing is held on with screws.
mayer -