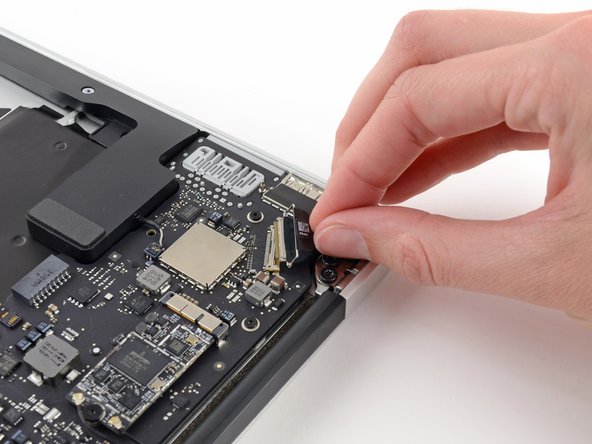
The following connector has an especially deep socket. Use care when disconnecting it.
While gently pulling the I/O board cable upward near its connection to the logic board, use the flat end of a spudger to pry up on alternating sides of the connector to help "walk" it out of its socket.
If the heat sink seems to be stuck to the logic board after removing all four screws, use a spudger to carefully separate the heat sink from the faces of the CPU and GPU.
Remove the heat sink from the logic board.
When reinstalling the heat sink, be sure to apply a new layer of thermal paste. If you have never applied thermal paste before, we have a guide that makes it easy.
When reassembling your device, be sure the heat sink's rubber gasket is installed correctly. The nub on the gasket should mate with the hole cut into the logic board near the heat sink fins.
The tail of the gasket should fit into the notch in the heat sink, it should not end up underneath the heat sink tab that will rest on the logic board.
Make sure the antenna cables are inserted into their respective notches on the logic board, as highlighted in the last picture.
Can you use an 2017 logic board onto a MacBook Air 2014 “body” (13”)? Airs from 2013 to 2017 seems to be aboud the same CPU and all others parts are the sam also.
Great guide, worked like a charm. I just swapped out the logic board from a cosmetically destroyed (case and screen only) MacBook Air 2017 i7, into a cosmetically perfect i5 model that has logic board issues which I purchased on eBay. Works perfectly. Thank you!