メインコンテンツにスキップ

MacBook Air 13" Early 2015 Display Assembly Replacement

必要条件のみ
この修理ガイドは、他のガイドの前提条件として使用されます。それ自体は不完全で、単独で使用されることはありません。

必要な工具と部品

  1. MacBook Air 13" Early 2015 Display Assembly Replacement, Display Assembly: 手順 1、 1の画像 1
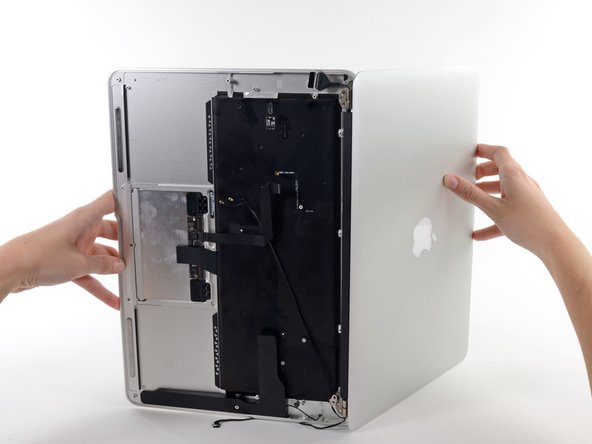
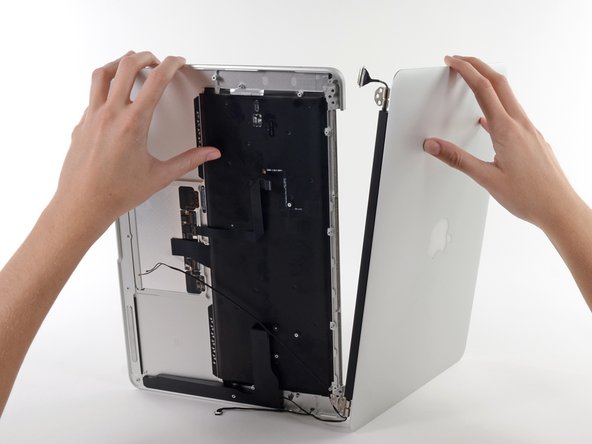
    • Remove the inner two 5.6 mm T8 Torx screws securing the right display hinge to the upper case.

    • Leaving the third screw in place for now will aid in rest of the procedure.

  2. MacBook Air 13" Early 2015 Display Assembly Replacement: 手順 2、 1の画像 1
    • Open the display so that it is perpendicular to the upper case and place it on a table as shown.

  3. MacBook Air 13" Early 2015 Display Assembly Replacement: 手順 3、 1の画像 1
    • While holding the Air steady, remove the remaining 5.6 mm T8 Torx screw from the display bracket.

  4. MacBook Air 13" Early 2015 Display Assembly Replacement: 手順 4、 1の画像 1
    • Flip the computer over so the last display screw is more easily accesible.

    • Before removing the final display screw, be sure to hold the display and upper case steady with your other hand. Failure to do so may allow the components to fall onto the table, causing potentially expensive damage.

    • Remove the last 5.6 mm T8 Torx screw securing the display to the upper case.

  5. MacBook Air 13" Early 2015 Display Assembly Replacement: 手順 5、 3の画像 1 MacBook Air 13" Early 2015 Display Assembly Replacement: 手順 5、 3の画像 2 MacBook Air 13" Early 2015 Display Assembly Replacement: 手順 5、 3の画像 3
    • Open the Air slowly until the hinges slide out of their notches.

    • The antenna cables may still be routed through a channel in the upper case. Make sure the cables don't get snagged as you remove the display.

    • Once the two display hinges have cleared the upper case, remove the display and set it aside.

終わりに

To reassemble your device, follow these instructions in reverse order.

作成者

2人の作成者と共同で作成されました。

iRobot

メンバー登録日: 09/24/09

1 ポイント

636のガイドは作成済み

0 件のコメント

コメントを追加

統計データ:

過去 24時間: 0

過去 7 日: 0

過去 30 日: 0

今までの合計 79