はじめに
このガイドを参照して、壊れたディスプレイを交換しましょう。
必要な工具と部品
-
この手順で使用する道具:P5 Pentalobe Screwdriver Retina MacBook Pro and Air$5.99
-
P5ペンタローブドライバーを使って、下部ケースをはずしてください。ネジは次の長さに分かれます。
-
9mm ネジー 2本
-
2.6mm ネジー 8本
-
-
-
-
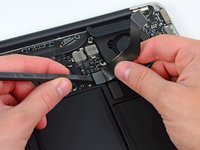
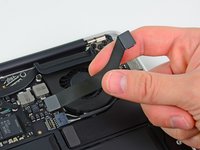
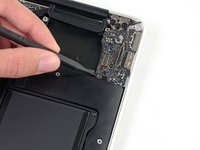
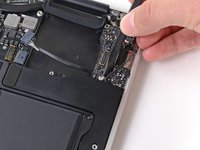
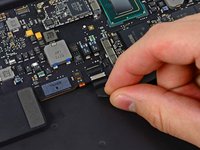
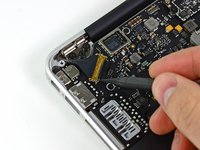
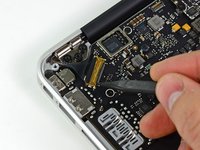
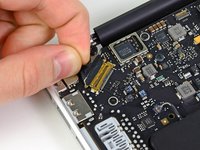
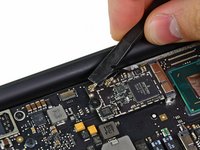
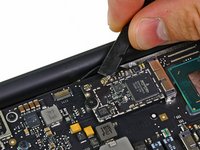
スパッジャーもしくは指先を使って、トラックパッドのリボンケーブルZIFソケット上の固定フラップを持ち上げます。
-
ソケット自体ではなく、ヒンジ状の固定フラップを持ち上げてください。
-


デバイスを再度組み立てるには、この説明書の逆の順番で組み立ててください。
48 の人々がこのガイドを完成させました。

18件のガイドコメント
I have just comletd this process and installed a new screen assembly to my macbook Air. It is now completely unresponsive. When I press the power button nothing happens.
I completed the process exactly as described, I had no troubles and all went very well.
Before I tear it down again I was wondering if there might be some very obvious thing I may be overlooking
Help?
Did you ever figure out the problem, I am having the same issue.
zshad -
You did exactly as the instruction means you might mess up the board. There is about 20 steps you can skip just to change assembly. I will buy your dead mac and take the diodes and resistors from the board.
Having performed this repair several times, most of these steps are completely unnecessary. After you take the back off, still disconnect the battery, but you can essentially skip from step 3 to step 31. Just add a note about unplugging the LCD cable, the Camera/Mic cable and the Antenna cables before unscrewing the 6 hinge screws and you are done. Removing everything else is a huge time sink that is not need and adds a ton of complication.
There are a lot of extra steps not required to access display assembly. It make people think like rocket science and some might screw up their mac.