はじめに
このガイドを参照して、壊れたディスプレイを交換しましょう。
必要な工具と部品
-
この手順で使用する道具:P5 Pentalobe Screwdriver Retina MacBook Pro and Air$5.99
-
P5ペンタローブドライバーを使って、下部ケースをはずしてください。ネジは次の長さに分かれます。
-
9mm ネジー 2本
-
2.6mm ネジー 8本
-
-
-
-
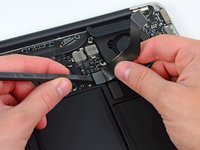
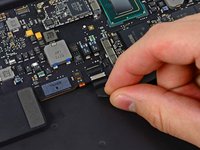
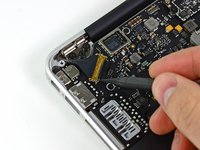
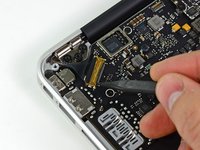
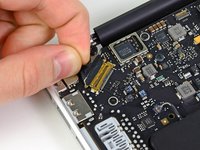
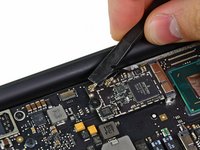
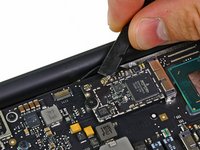
スパッジャーもしくは指先を使って、トラックパッドのリボンケーブルZIFソケット上の固定フラップを持ち上げます。
-
ソケット自体ではなく、ヒンジ状の固定フラップを持ち上げてください。
-


102 の人々がこのガイドを完成させました。
以下の翻訳者の皆さんにお礼を申し上げます:
100%

これらの翻訳者の方々は世界を修理する私たちのサポートをしてくれています。 あなたも貢献してみませんか?
翻訳を始める ›
添付文書

24件のガイドコメント
Thanks a ton for this guide! I got my MBAir back in working order in about an hour. The only weird thing I noticed was my MBAir battery unexpectedly registering at 0% upon re-seating. But it's charging so I suppose all's well that ends well.
This guide is way more than needed for the display replacement. Until it gets edited down, all you need to do is steps 1-3, 12, 22-24, 28, 31-35 from the "upper case replacement" guide (which is apparently what this guide is right now, instead of a display replacement guide as it is labeled).
This is a really great comment! Thanks, you've saved me lots of time!
Charles -
Thank you! Valuable comment!