この翻訳は、ソースガイドの最新の更新を反映していない可能性があります。 翻訳の更新に協力してください。 または ソースガイドを参照してください。
必要な工具と部品
-
-
-
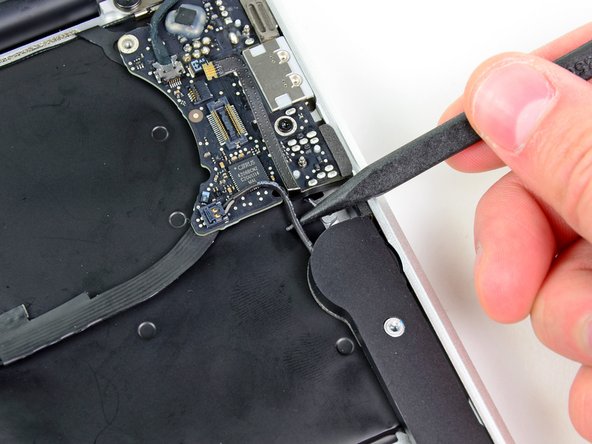
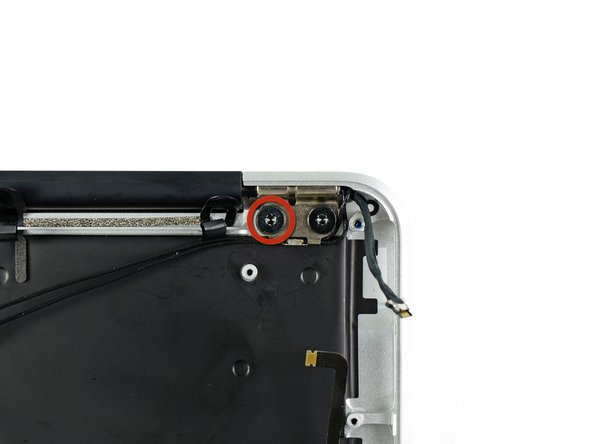
スパッジャーの平面側先端を使って、I/Oボードの電源ケーブルを上部ケースに固定している接着ループを外します。
-
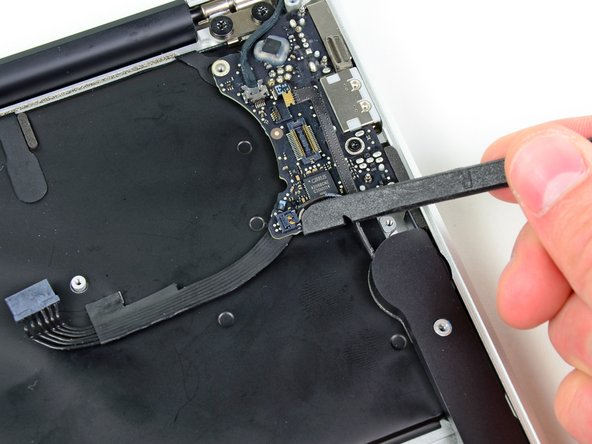
ロジックボードのソケットから電源ケーブルを引き抜いて、I/Oボードを取り外します。
-
-
この手順は未翻訳です。 翻訳を手伝う。
-
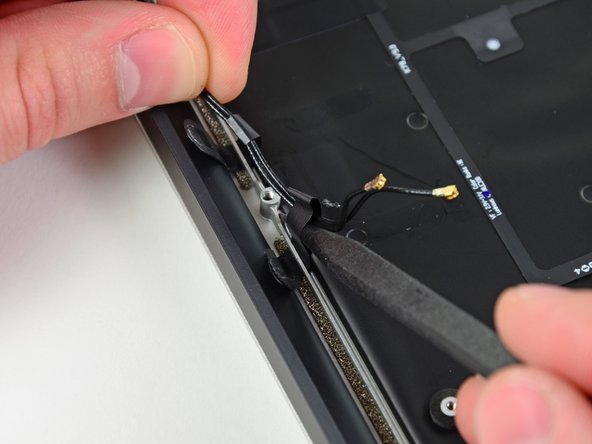
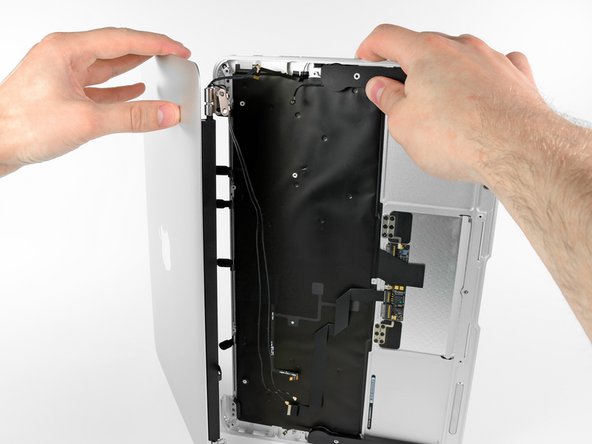
Peel up the six cable loops securing the antenna cables to the upper case.
-
Gently pull the cable loops slightly out of the channel cut into the upper case one at a time.
-
Use your spudger to open up the plastic loops as you de-route the antenna cables through them.
-
Repeat this for all of the retaining loops.
-


71 の人々がこのガイドを完成させました。

5 件のコメント
Thanks a lot for this guide! My daughter wrecked the display on my Macbook Air. I have never done any repairs on a notebook before, but I ordered the new display assembly and the toolkit and went ahead anyways.
When I saw my Macbook Air in pieces before me, I had my doubts that it would ever work again, but placing the last screw and then pressing the power button, it just worked!
Thanks again!
Switched two monitors and made a great job thanks to this amzing guide. Very easy.