はじめに
このガイドを参照して、MacBook Air 11インチ Early 2015の破損したディスプレイアセンブリを交換しましょう。
必要な工具と部品
-
-
スパッジャーの平面側先端を利用し、バッテリーコネクターを持ち上げてロジックボードのソケットから外します。
-
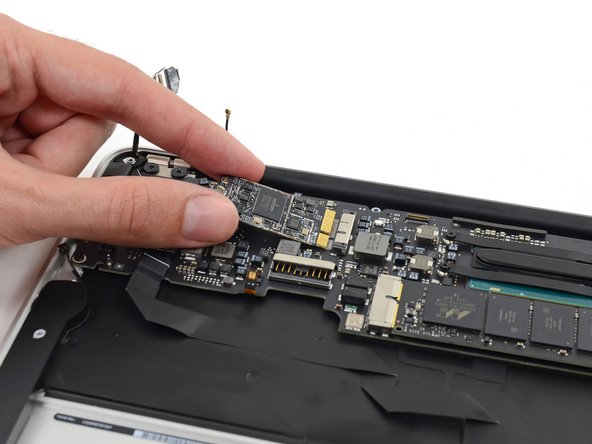
ロジックボードから外したコネクターのケーブルをわずかに曲げて、コネクター部分が誤ってソケットに接触しないようにします。
-
-
-
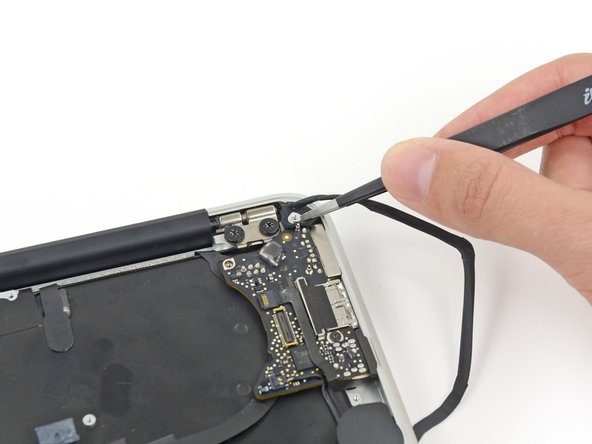
スパッジャーの平面側先端を使って両側のアンテナコネクタをAirPort/Bluetoothカード上のソケットから引き抜き、作業の邪魔にならないように動かします。
-
-


デバイスを再度組み立てるには、この説明書の逆の順番で組み立ててください。
デバイスを再度組み立てるには、この説明書の逆の順番で組み立ててください。
25 の人々がこのガイドを完成させました。


3 件のコメント
I was able to bring back my MacBook Air for just the cost of the parts after the Apple Store quoted the repair at costing almost as much as the device itself! My Ifixit kit had everything I needed to do the job with ease.
was able to ebay a new screen and followed this guide to replace my macbook air. Thanks !
This is an amazing guide. I was able to replace the screen in an hour. Noticed that in 13” models, I believe that this is a bit easier. Apple made it not super easy to replace the screen on this one, since we literally have to take everything apart to replace the display.
The tricky part was the little loops in which the bluetooth cables go through - I used a pair of tweezers to be careful not to remove them off and put the new cables back. Too bad Apple use a mix of so many different screws - I put each set of screws on a paper page and wrote where the screws go.
Everything else was fairly easy. Super important to have the right tools though.
Thanks Sam for your work, I saved $400 thanks to this guide.