この翻訳は、ソースガイドの最新の更新を反映していない可能性があります。 翻訳の更新に協力してください。 または ソースガイドを参照してください。
はじめに
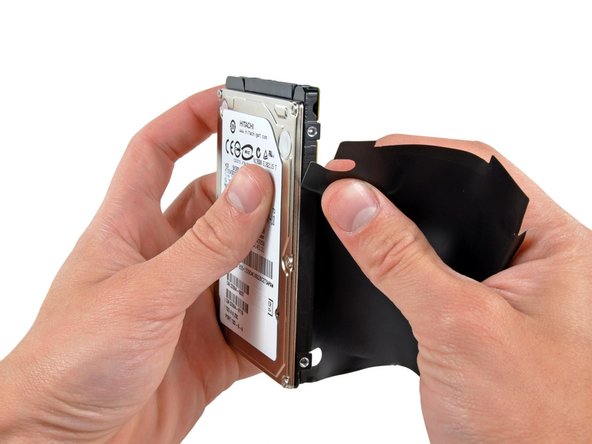
适用本指南来更换硬盘。
必要な工具と部品
-
-
-
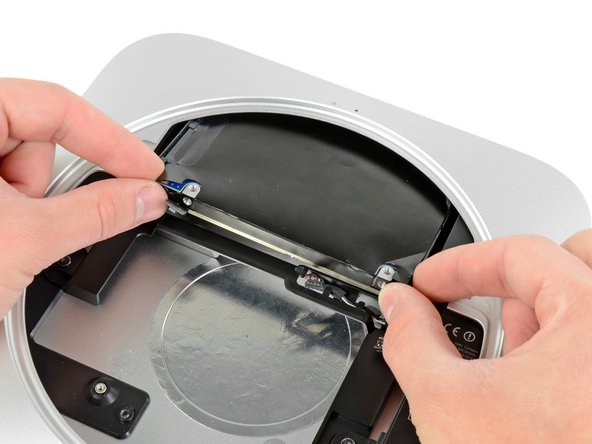
卸下下列固定天线板的螺丝。
-
两颗6.6 mm T8 Torx 螺丝。
-
两颗5.0 mm T8 Torx螺丝或者2.0 mm Hex screws 任意一把螺丝刀都会起作用。
-
当装回的时候:
-


要重新组装您的设备,请按照本指南的相反顺序进行操作。
要重新组装您的设备,请按照本指南的相反顺序进行操作。
374 の人々がこのガイドを完成させました。
以下の翻訳者の皆さんにお礼を申し上げます:
50%

これらの翻訳者の方々は世界を修理する私たちのサポートをしてくれています。 あなたも貢献してみませんか?
翻訳を始める ›

56 件のコメント
That's right, steps 10-11 and 13-16 are not necessary.
It suffices to rotate the antenna plate out of the way without detaching its cable.
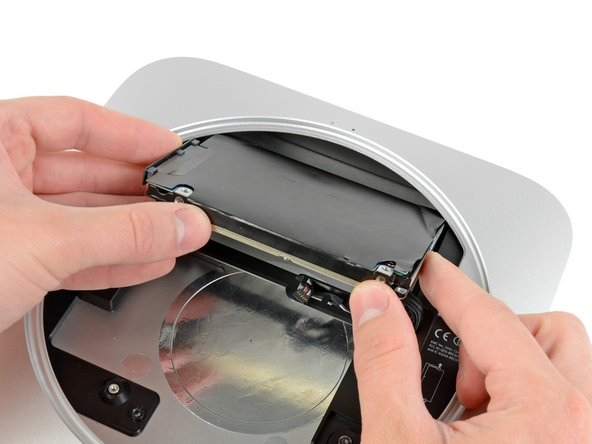
And after disconnecting the hard drive you can wiggle it out of the enclosure
without dealing with the logic board. Muc less hassle, and much less intimidating.
This is great advice! It worked fine for me, thanks!
This also worked for me. Follow machobbes advice - whole process took about 10 minutes. Easy peasy.
The one difficulty I had was getting the new SSD (or HDD) to lock back into the fixings inside of the casing. Best solution if you are having this problem is to turn the Mini upside down, ensuring that the antenna cable isn't stretched too far, and aided by the wonderful powers of gravity, get the new HDD unit fixed into place properly.
Good advice. I too just moved the antenna plate to the side and the drive was easily accessible.