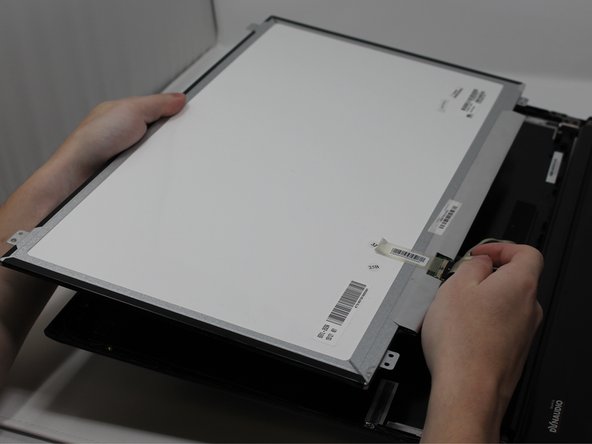
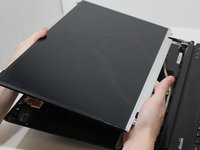
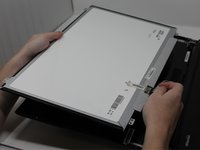
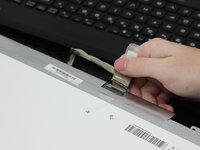
メインコンテンツにスキップ

MSI GE72 6QF Apache Pro Screen Replacement

必要な工具と部品

  1. MSI GE72 6QF Apache Pro Screen Replacement, Screen: 手順 1、 3の画像 1 MSI GE72 6QF Apache Pro Screen Replacement, Screen: 手順 1、 3の画像 2 MSI GE72 6QF Apache Pro Screen Replacement, Screen: 手順 1、 3の画像 3
    • Be careful when removing the bezel. The clips that hold it in place will break when too much pressure is applied.

    • Use the plastic opening tool to carefully pop the screen bezel off of the laptop.

  2. MSI GE72 6QF Apache Pro Screen Replacement: 手順 2、 3の画像 1 MSI GE72 6QF Apache Pro Screen Replacement: 手順 2、 3の画像 2 MSI GE72 6QF Apache Pro Screen Replacement: 手順 2、 3の画像 3
    • Using the Phillips #0 screwdriver, remove the four 3mm long screws.

  3. MSI GE72 6QF Apache Pro Screen Replacement: 手順 3、 3の画像 1 MSI GE72 6QF Apache Pro Screen Replacement: 手順 3、 3の画像 2 MSI GE72 6QF Apache Pro Screen Replacement: 手順 3、 3の画像 3
    • Flip the screen over and carefully peel off the tape that holds the connector in place.

    • When peeling off the tape, fold it back so that it can remain sticky for the new screen.

終わりに

To reassemble your device, follow these instructions in reverse order.

3 の人々がこのガイドを完成させました。

作成者

1人の作成者と共同作成されました。

Riley Smith

メンバー登録日: 09/22/17

806 ポイント

4のガイドは作成済み

チーム

0 件のコメント

コメントを追加

統計データ:

過去 24時間: 0

過去 7 日: 10

過去 30 日: 32

今までの合計 3,897