はじめに
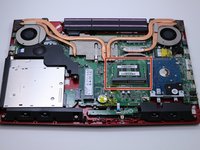
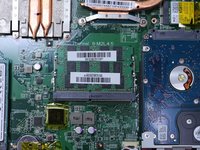
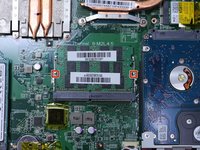
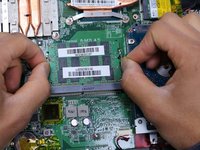
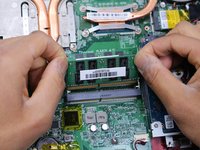
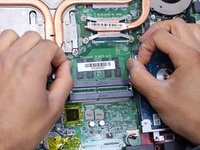
A step by step guide to show you how to replace the RAM in this laptop, and install new ones. Please make sure to remove the battery before accessing the components in the back.
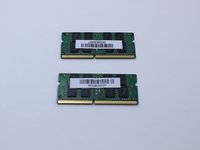
必要な工具と部品
-
-
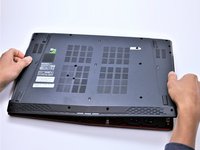
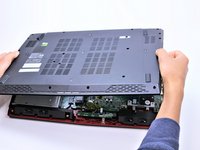
With the laptop closed and upside down, unscrew the nineteen 5.5mm Phillips #1 screws that keep the back cover in place.
-
-


To reassemble your device, follow these instructions in reverse order.
ある他の人がこのガイドを完成しました。
チーム

Cal Poly, Team S14-G4, Banghart Spring 2017 Cal Poly, Team S14-G4, Banghart Spring 2017人のメンバー
CPSU-BANGHART-S17S14G4
4 メンバー
8のガイドは作成済み
1件のガイドコメント
Can you put more ram in this laptop like 32gb?
Can you put another ssd?