メインコンテンツにスキップ

MID-7006 Screen Replacement

必要な工具と部品

  1. MID-7006 Screen Replacement, Screen: 手順 1、 3の画像 1 MID-7006 Screen Replacement, Screen: 手順 1、 3の画像 2 MID-7006 Screen Replacement, Screen: 手順 1、 3の画像 3
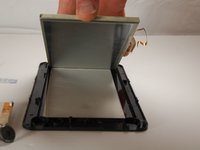
    • Use the plastic opening tool to pull the screen away from the back plate. Once pulled away, remove the back plate completely.

  2. MID-7006 Screen Replacement: 手順 2、 3の画像 1 MID-7006 Screen Replacement: 手順 2、 3の画像 2 MID-7006 Screen Replacement: 手順 2、 3の画像 3
    • After separating the back and the screen, remove the battery by pulling it off of the sticky pads gently. After you have removed the battery from the sticky pads, unplug the battery from its socket and set to the side.

  3. MID-7006 Screen Replacement: 手順 3、 3の画像 1 MID-7006 Screen Replacement: 手順 3、 3の画像 2 MID-7006 Screen Replacement: 手順 3、 3の画像 3
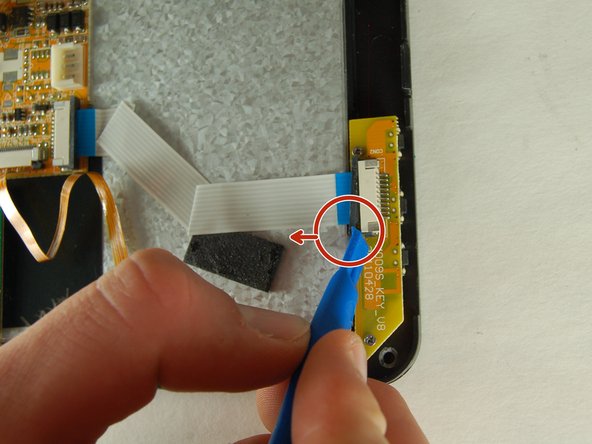
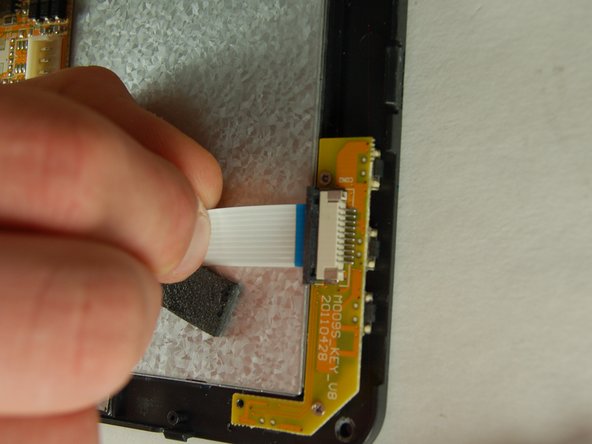
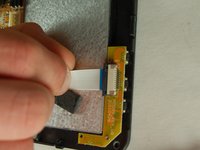
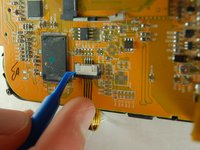
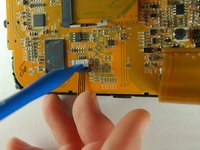
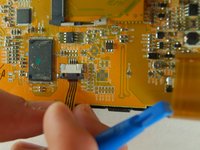
    • Next you will want to remove the white wire tape with blue ends from the circuit board in the corner. Use the plastic opening tool to pull back on the locking mechanism on both sides of the socket. Once you have pulled back on both sides of the locking mechanism you can then pull the white wire tape out gently.

  4. MID-7006 Screen Replacement: 手順 4、 2の画像 1 MID-7006 Screen Replacement: 手順 4、 2の画像 2
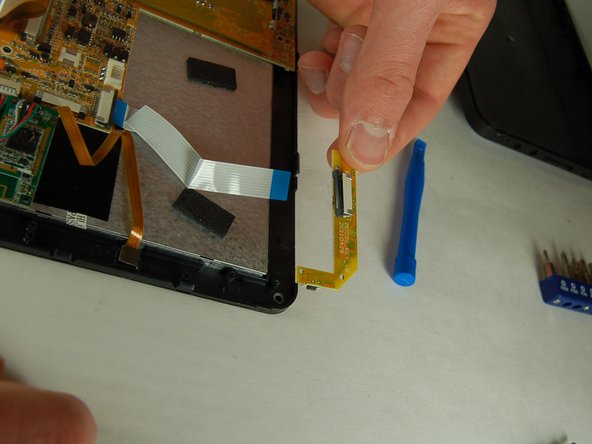
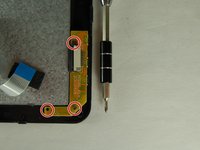
    • In this next step you will use your small Phillips-Head screwdriver with the PH00 bit to remove the three screws in the small orange circuit board.

  5. MID-7006 Screen Replacement: 手順 5、 1の画像 1
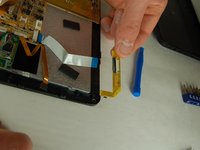
    • Using the plastic opening tool, remove the camera from its mount.

  6. MID-7006 Screen Replacement: 手順 6、 3の画像 1 MID-7006 Screen Replacement: 手順 6、 3の画像 2 MID-7006 Screen Replacement: 手順 6、 3の画像 3
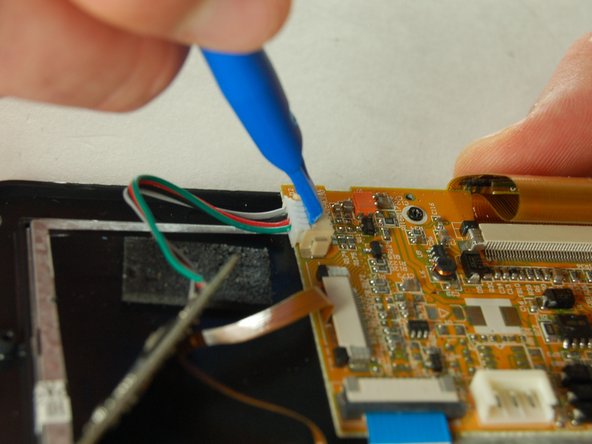
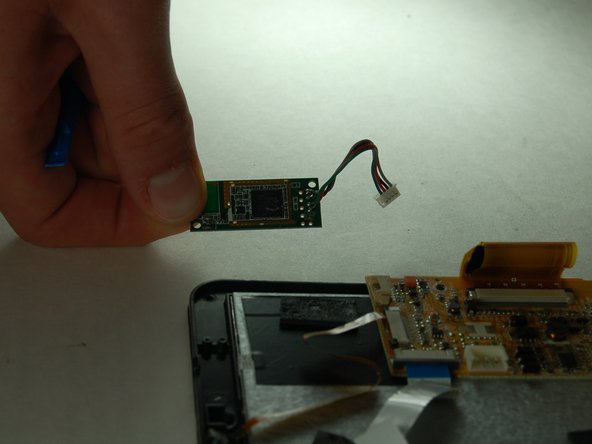
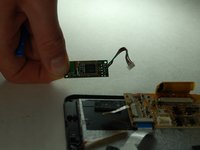
    • Opposite side of where we removed the small orange circuit board you will see a small green circuit board and this will need to be removed as well. Gently remove the green circuit board from the sticky pad.

    • After removing the green circuit board from the sticky pad, use your plastic opening tool to assist you in unplugging the circuit board. (similar to unplugging the battery) Once the circuit board is successfully unplugged you may remove it and set it to the side.

  7. MID-7006 Screen Replacement: 手順 7、 3の画像 1 MID-7006 Screen Replacement: 手順 7、 3の画像 2 MID-7006 Screen Replacement: 手順 7、 3の画像 3
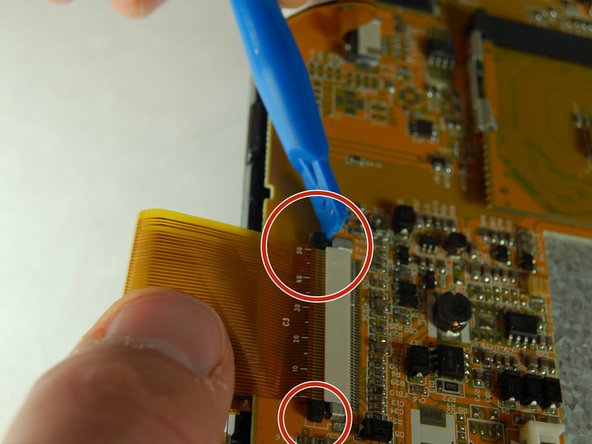
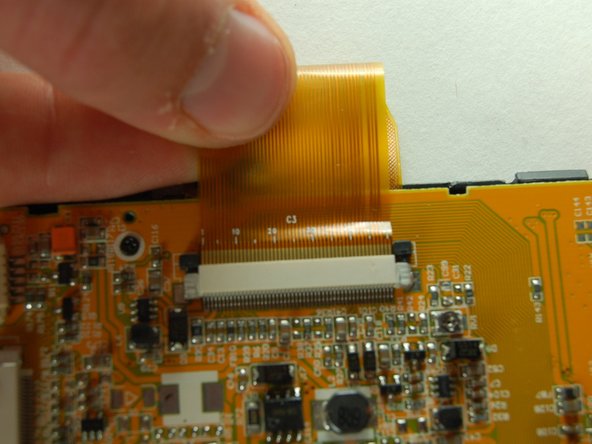
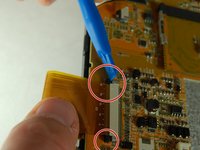
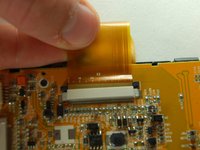
    • Next you will have to remove the wide orange wire tape which connects the screen to the circuit board.

    • Use the plastic opening tool to pull out the locking mechanisms on both sides of the socket.

    • Once the two are unlocked (shown in picture 2) you can then remove the orange tape gently.

  8. MID-7006 Screen Replacement: 手順 8、 3の画像 1 MID-7006 Screen Replacement: 手順 8、 3の画像 2 MID-7006 Screen Replacement: 手順 8、 3の画像 3
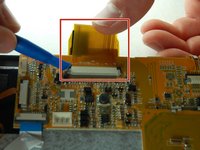
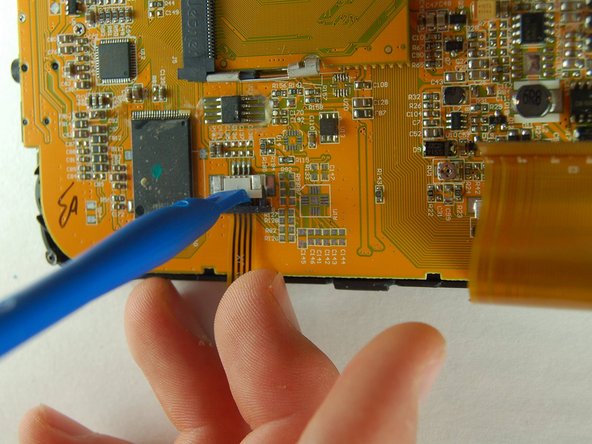
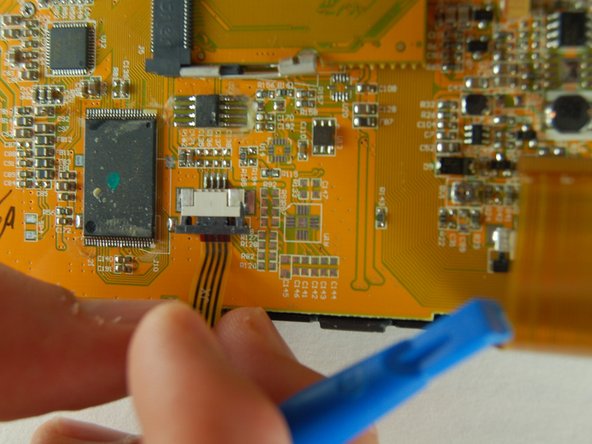
    • Just as you did in the previous step, you will want to use the plastic opening tool to open up the locking mechanism and then remove the wire gently.

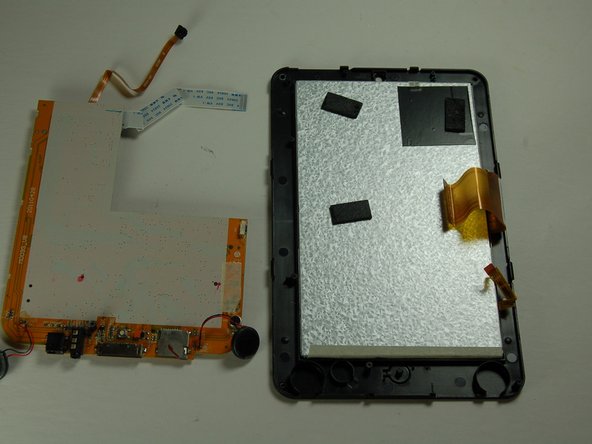
  9. MID-7006 Screen Replacement: 手順 9、 1の画像 1
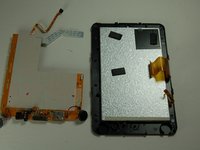
    • This is what your tablet should look like at this point in the repair.

  10. MID-7006 Screen Replacement: 手順 10、 1の画像 1
    • In this next step you will use your small Phillips-Head screwdriver to remove the four screws that hold the main circuit board into place.

  11. MID-7006 Screen Replacement: 手順 11、 2の画像 1 MID-7006 Screen Replacement: 手順 11、 2の画像 2
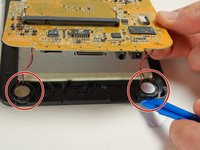
    • Now that you have removed the 4 screws that hold the main circuit board into place, lift up on the circuit board while using the plastic opening tool to pop the speakers out of their mounts.

    • Once you have successfully removed the main circuit board you can put it to the side gently making sure not to damage it.

  12. MID-7006 Screen Replacement: 手順 12、 2の画像 1 MID-7006 Screen Replacement: 手順 12、 2の画像 2
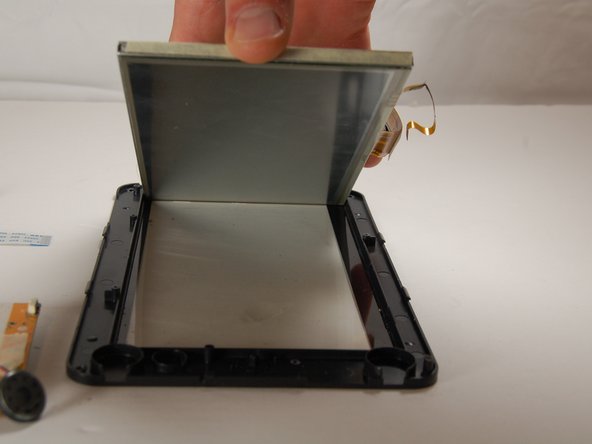
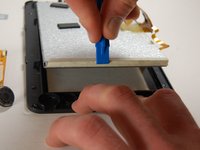
    • Use the plastic opening tool to pull the screen out of its cover and then from here replace the screen.

終わりに

To reassemble your device, follow these instructions in reverse order.

ある他の人がこのガイドを完成しました。

作成者

2人の作成者と共同で作成されました。

Derrick Gholston

メンバー登録日: 10/11/16

201 ポイント

2のガイドは作成済み

チーム

Texas Tech, Team 38-1, Bennett Fall 2016 Texas Tech, Team 38-1, Bennett Fall 2016人のメンバー

TTU-BENNETT-F16S38G1

3 メンバー

4のガイドは作成済み

0 件のコメント

コメントを追加

統計データ:

過去 24時間: 0

過去 7 日: 0

過去 30 日: 1

今までの合計 178