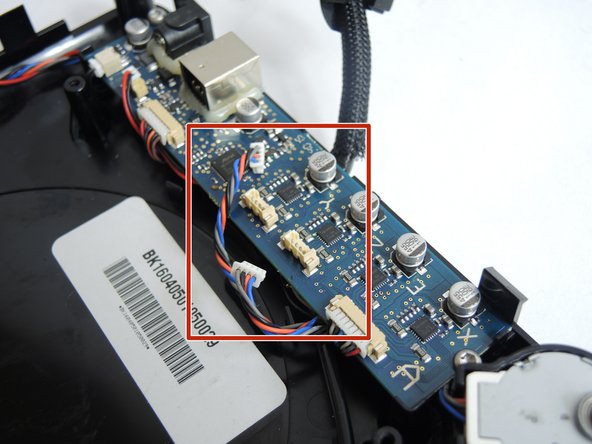
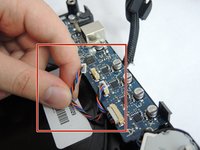
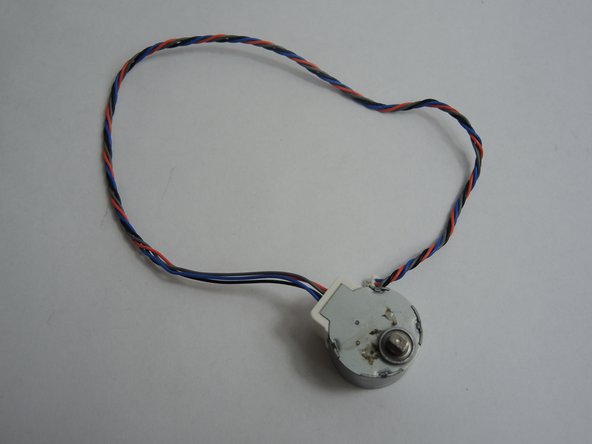
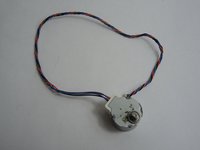
メインコンテンツにスキップ

M3D Micro Motor Replacement

必要な工具と部品

  1. M3D Micro Motor Replacement, M3D Micro Frame Removal: 手順 1、 1の画像 1
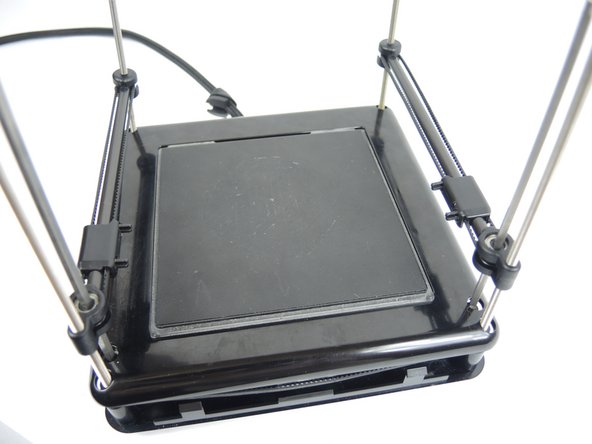
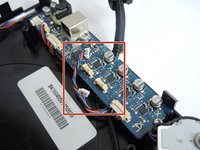
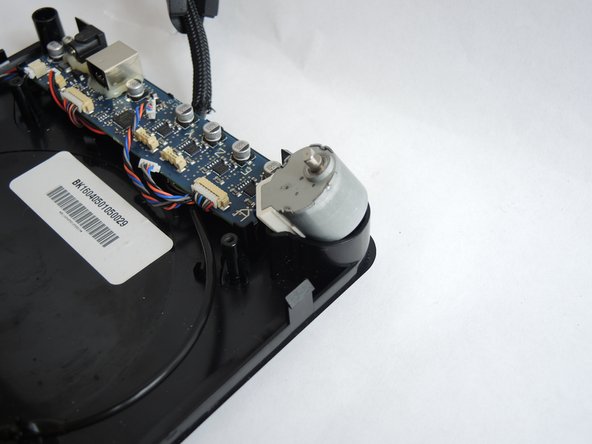
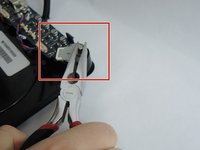
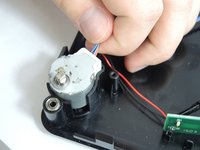
    • Removing the frame is necessary to access the z axis belt, motors and ports. Make sure the unit is unplugged and set on a hard level surface.

  2. M3D Micro Motor Replacement: 手順 2、 3の画像 1 M3D Micro Motor Replacement: 手順 2、 3の画像 2 M3D Micro Motor Replacement: 手順 2、 3の画像 3
    • Pull the x-rods away from the plastic sliders on the y-rods, and flip the slider upwards to release the tracks. Lift the extruder assembly out of the way.

  3. M3D Micro Motor Replacement: 手順 3、 2の画像 1 M3D Micro Motor Replacement: 手順 3、 2の画像 2
    • No tools are required to remove the frame. Press down on the printing bed with your thumbs while lifting the frame with your fingers. The frame easily slides up.

  4. M3D Micro Motor Replacement, Motor: 手順 4、 1の画像 1
    • Once the base is opened you should find a circuit board and two motors like the one on the right, select the motor to be replaced.

  5. M3D Micro Motor Replacement: 手順 5、 2の画像 1 M3D Micro Motor Replacement: 手順 5、 2の画像 2
    • Unplug the connectors for the Orange, Blue, Gray and Black cables. These would be the motor cables.

  6. M3D Micro Motor Replacement: 手順 6、 2の画像 1 M3D Micro Motor Replacement: 手順 6、 2の画像 2
    • Once disconnected you will proceed to lift the motor using pliers.

  7. M3D Micro Motor Replacement: 手順 7、 2の画像 1 M3D Micro Motor Replacement: 手順 7、 2の画像 2
    • Now, remove the motor.

終わりに

To reassemble your device, follow these instructions in reverse order.

作成者

3人の作成者と共同で作成されました。

Miguel Pina

メンバー登録日: 10/17/17

101 ポイント

1ガイドが承認済み

チーム

USF Tampa, Team S3-G2, Nance Fall 2017 USF Tampa, Team S3-G2, Nance Fall 2017人のメンバー

USFT-NANCE-F17S3G2

4 メンバー

10のガイドは作成済み

コメント 1 件

Hello, good work and explanation. Is there any possibility to replace MICRO+ X-AXIS MOTOR “gear” please. Thanks

robozeka - 返信

コメントを追加

統計データ:

過去 24時間: 0

過去 7 日: 7

過去 30 日: 19

今までの合計 1,594