はじめに
This guide serves as a prerequisite guide for replacing the z axis motor, the motors and ports. It shows how to remove the frame so these parts can be replaced.
-
-
Removing the frame is necessary to access the z axis belt, motors and ports. Make sure the unit is unplugged and set on a hard level surface.
 FixBotに聞いてみる
-
-
-
-
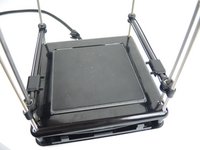
Pull the x-rods away from the plastic sliders on the y-rods, and flip the slider upwards to release the tracks. Lift the extruder assembly out of the way.
-
-
-
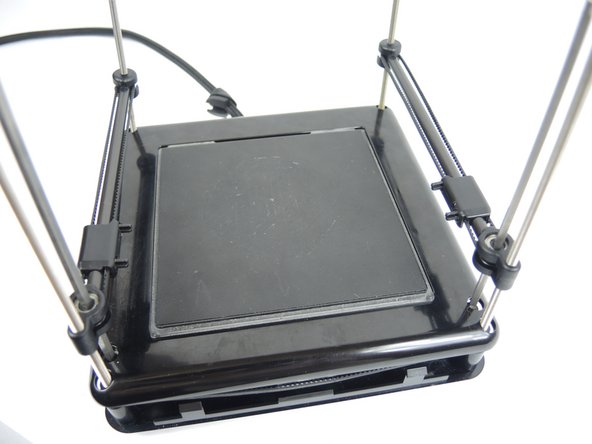
No tools are required to remove the frame. Press down on the printing bed with your thumbs while lifting the frame with your fingers. The frame easily slides up.
-


To reassemble your device, follow these instructions in reverse order.
2 の人々がこのガイドを完成させました。
チーム

USF Tampa, Team S3-G2, Nance Fall 2017 USF Tampa, Team S3-G2, Nance Fall 2017人のメンバー
USFT-NANCE-F17S3G2
4 メンバー
10のガイドは作成済み