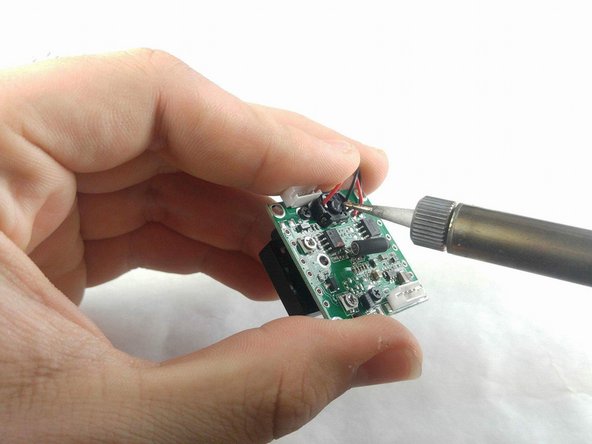
メインコンテンツにスキップ

Lorex MC6950 Circuit Board Replacement

必要な工具と部品

  1. Lorex MC6950 Circuit Board Replacement, Circuit Board: 手順 1、 2の画像 1 Lorex MC6950 Circuit Board Replacement, Circuit Board: 手順 1、 2の画像 2
    • To remove the circuit board, you must begin by removing the three screw caps and the 15mm JIS 0 screws associated with them located on the plastic containment shell that the camera is in.

  2. Lorex MC6950 Circuit Board Replacement: 手順 2、 2の画像 1 Lorex MC6950 Circuit Board Replacement: 手順 2、 2の画像 2
    • Next, the camera must be removed. A metal spudger will be useful to pry this out as it is sealed inside the outer containment shell.

    • Once the camera is removed, remove the wires from the outer containment shell.

    • Be careful. The metal spudger could damage the camera if not handled with care.

  3. Lorex MC6950 Circuit Board Replacement: 手順 3、 2の画像 1 Lorex MC6950 Circuit Board Replacement: 手順 3、 2の画像 2
    • With the camera in hand, the circuit board must be separated from the LED containment shell. There is a 5mm JIS 0 screw at every corner of the circuit board.

    • The wires attaching the circuit board to the shell should be removed as well.

  4. Lorex MC6950 Circuit Board Replacement: 手順 4、 2の画像 1 Lorex MC6950 Circuit Board Replacement: 手順 4、 2の画像 2
    • Now the motor, lens, and wires must be removed from the circuit board. There are three 5mm JIS 0 screws located on the lens side of the circuit board to remove the motor housing.

    • The motor housing will need to be soldered back onto the new circuit board when reassembling. The wires should come from the circuit board and connect to the motor housing on the opposite of the lens side of the circuit board.

  5. Lorex MC6950 Circuit Board Replacement: 手順 5、 1の画像 1
    • The lens has two 5 mm JIS 0 screws located under the motor's previous location.

    • As a final step, the wires that connected the board to the containment shell will need to be removed from the board.

    • The lens should be the first component placed when reassembling the camera

終わりに

To reassemble your device, follow these instructions in reverse order.

ある他の人がこのガイドを完成しました。

作成者

2人の作成者と共同で作成されました。

Elijah Conlin

メンバー登録日: 11/07/17

379 ポイント

3のガイドは作成済み

チーム

IUPUI, Team S2-G2, Harley Fall 2017 IUPUI, Team S2-G2, Harley Fall 2017人のメンバー

IUPUI-HARLEY-F17S2G2

3 メンバー

3のガイドは作成済み

0 件のコメント

コメントを追加

統計データ:

過去 24時間: 0

過去 7 日: 1

過去 30 日: 14

今までの合計 542