メインコンテンツにスキップ
リペアコミュニティに参加 - アカウントの作成

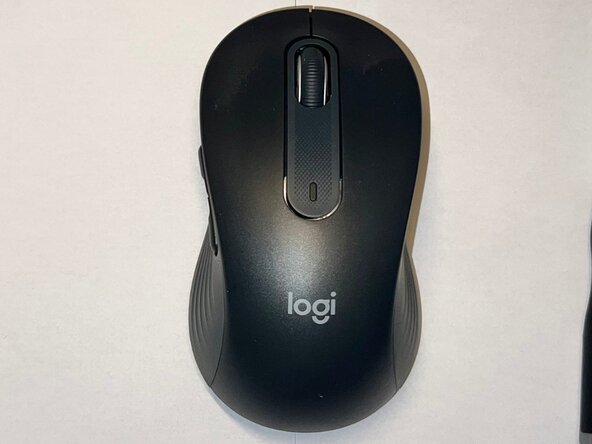
Logitech Signature M650 L Scroll Wheel Assembly Replacement

必要な工具と部品

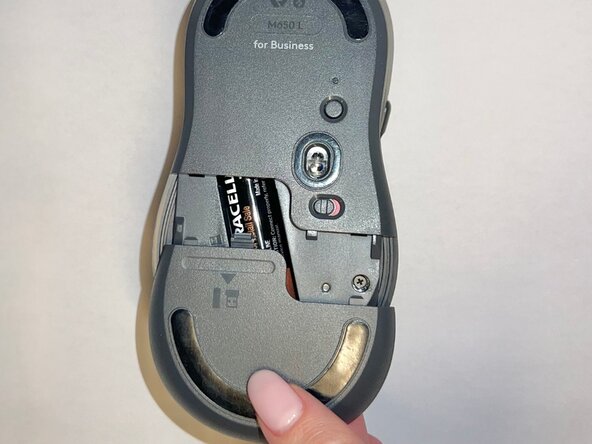
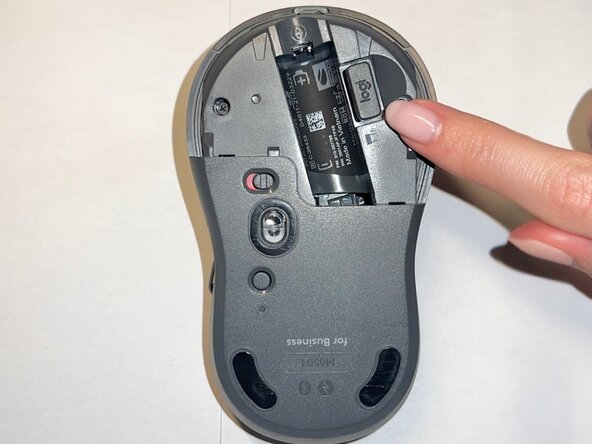
  1. Logitech Signature M650 L Scroll Wheel Assembly Replacement, Scroll Wheel Assembly: 手順 1、 3の画像 1 Logitech Signature M650 L Scroll Wheel Assembly Replacement, Scroll Wheel Assembly: 手順 1、 3の画像 2 Logitech Signature M650 L Scroll Wheel Assembly Replacement, Scroll Wheel Assembly: 手順 1、 3の画像 3
    • Slide the battery compartment cover downward and lift it away from the mouse.

  2. Logitech Signature M650 L Scroll Wheel Assembly Replacement: 手順 2、 1の画像 1
    • Remove the AA battery from the battery compartment.

  3. Logitech Signature M650 L Scroll Wheel Assembly Replacement: 手順 3、 2の画像 1 Logitech Signature M650 L Scroll Wheel Assembly Replacement: 手順 3、 2の画像 2
    • Remove the USB receiver from its storage slot inside the battery compartment.

  4. Logitech Signature M650 L Scroll Wheel Assembly Replacement: 手順 4、 1の画像 1
    • Use a Phillips #000 screwdriver to remove the two screws securing the internal frame.

  5. Logitech Signature M650 L Scroll Wheel Assembly Replacement: 手順 5、 2の画像 1 Logitech Signature M650 L Scroll Wheel Assembly Replacement: 手順 5、 2の画像 2
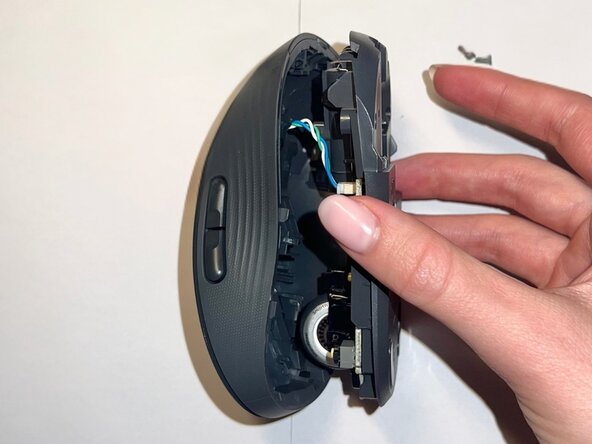
    • Gently lift the top shell away from the mouse body.

    • Do not remove it completely, as it is still connected to the base by a cable.

  6. Logitech Signature M650 L Scroll Wheel Assembly Replacement: 手順 6、 1の画像 1
    • Use a Phillips #000 screwdriver to remove the two screws securing the scroll wheel assembly.

  7. Logitech Signature M650 L Scroll Wheel Assembly Replacement: 手順 7、 2の画像 1 Logitech Signature M650 L Scroll Wheel Assembly Replacement: 手順 7、 2の画像 2
    • Lift the scroll wheel assembly out of the mouse and install the replacement assembly in the same position.

  8. Logitech Signature M650 L Scroll Wheel Assembly Replacement: 手順 8、 1の画像 1
    • Replace the two Phillips #000 screws to secure the scroll wheel assembly.

  9. Logitech Signature M650 L Scroll Wheel Assembly Replacement: 手順 9、 1の画像 1
    • Align the top shell with the base and press down along the edges until it snaps into place.

  10. Logitech Signature M650 L Scroll Wheel Assembly Replacement: 手順 10、 1の画像 1
    • Use a Phillips #000 screwdriver to reinstall the two internal screws.

  11. Logitech Signature M650 L Scroll Wheel Assembly Replacement: 手順 11、 3の画像 1 Logitech Signature M650 L Scroll Wheel Assembly Replacement: 手順 11、 3の画像 2 Logitech Signature M650 L Scroll Wheel Assembly Replacement: 手順 11、 3の画像 3
    • Insert the AA battery, reinstall the USB receiver, and slide the battery compartment cover back into place.

  12. Logitech Signature M650 L Scroll Wheel Assembly Replacement: 手順 12、 1の画像 1
    • Your mouse is now fully reassembled.

終わりに

To reassemble your device, follow these instructions in reverse order. Take your e-waste to an R2 or e-Stewards certified recycler.

ある他の人がこのガイドを完成しました。

作成者

1人の作成者と共同作成されました。

Angela Gerasimova

メンバー登録日: 01/08/26

205 ポイント

1ガイドが承認済み

チーム

0件のガイドコメント

コメントを追加

統計データ:

過去 24時間: 0

過去 7 日: 13

過去 30 日: 40

今までの合計 76