この修理ガイドは変更されています。最新の未承認バージョンに切り替えます。
はじめに
Make sure the power is off and the battery removed before attempting this replacement.
必要な工具と部品
-
-
The battery compartment cover is located on the top of the mouse. The seam running horizontally across the mouse is the top of the cover.
-
There is a button to pop off the cover. It is located on the bottom of the mouse. you may need to press hard on this button to pop the cover.
-
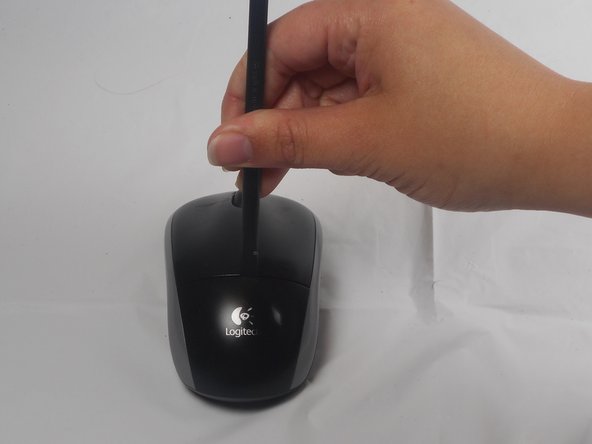
If the button does not work, you will need to pry off the cover. You can use your fingernails or a prying tool in order to do this, as seen in the third image.
-
-
-
Remember to insert the new battery in the same orientation as the old one. The positive (plus) end should be facing away from the buttons.
-
-
-
-
Use your fingernail to carefully remove the two skid stickers from the fat (non-button) end of the bottom of the mouse to reveal two Philips head screws. Remove these, then unclip the bottom cover. Don't get the sticky dusty. Now remove buttons; they're both attached by one 0.5mm Phillips head screw. It is located in the center of the top cover.
-
-
-
The button are now only attached by a small overhang near the front. You will need to use the pry tool to push the button plate off of this overhang as shown.
-
The button plate should be able to be completely removed at this point.
-
-
-
Use the prying tool to remove the scroll wheel. The wheel is held in place by two pegs which stick into the plastic holder.
-


To reassemble your device, follow these instructions in reverse order.
To reassemble your device, follow these instructions in reverse order.
9 の人々がこのガイドを完成させました。

チーム

USF Tampa, Team 1-1, Watkins Winter 2015 USF Tampa, Team 1-1, Watkins Winter 2015人のメンバー
USFT-WATKINS-W15S1G1
4 メンバー
28のガイドは作成済み
6 件のコメント
glad I was able to find this info on disassembly. Gave it a good cleaning and works better than it did before. Had the Phillips screwdriver. and used another small screwdriver and a small pocket knife to pry with. Be gentle - doesn’t look like it would take much force to break those plastic bits.
Thanks! Mouse wheel windows were blocked by lint.
levensonjb - 返信
Very useful. Cleaned coffee out of mouse wheel spokes/windows and off of chipboard. Works better than before. Thanks!
Probably the BROWN stuff wasn’t coffee, I too cleaned the spokes/windows. the brown stuff is oil from out hands which lands on scroll wheel, then by heat gets transferred to the spokes. touch a finger on the mirror, the fingerprint on the mirror is because of OIL on hands. it is the same oil in that mouse wheel spokes.
There is a spring here connected to the wheel. Seems to be the thing to give tactical feedback when scrolling. It fell out when I took out the wheel not 100% how to put it back
Dan Molnar - 返信