必要な工具と部品
-
-
The battery compartment cover is located on the top of the mouse. The seam running horizontally across the mouse is the top of the cover.
-
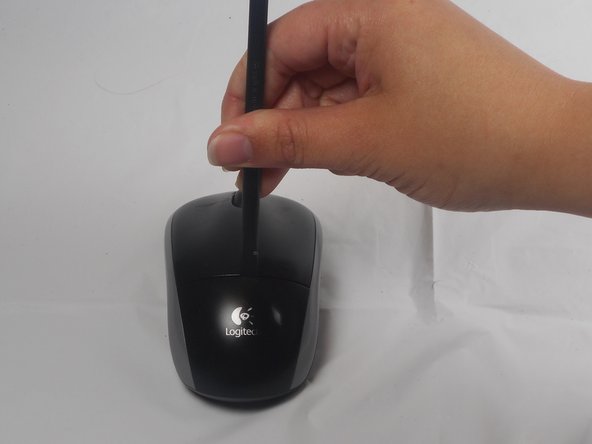
There is a button to pop off the cover. It is located on the bottom of the mouse. you may need to press hard on this button to pop the cover.
-
If the button does not work, you will need to pry off the cover. You can use your fingernails or a prying tool in order to do this, as seen in the third image.
-
-
-
Remember to insert the new battery in the same orientation as the old one. The positive (plus) end should be facing away from the buttons.
After replacing battery light goes on then off. I tried it twice. Do I need a new part.
After replacing battery the remote green light goes on then off. I tried it twice
What do u mean reverse order?
The laser light did not go on
Thank you this worked nicely
Thanks for this!
Tiara Dubb - 返信
-
-
-
-
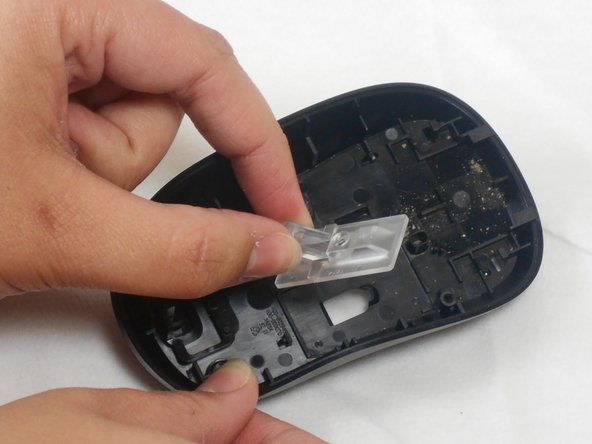
The pads on the underside of the mouse hide the screws. Remove these first. You may need to use your fingernails or a prying tool.
-
There will be two 0.5mm phillips head screws. Both will be underneath the bottom two pads.
-


To reassemble your device, follow these instructions in reverse order.
To reassemble your device, follow these instructions in reverse order.

チーム

USF Tampa, Team 1-1, Watkins Winter 2015 USF Tampa, Team 1-1, Watkins Winter 2015人のメンバー
USFT-WATKINS-W15S1G1
4 メンバー
28のガイドは作成済み
The battery lid lifts up from the back. It does not slide back.
Bob Peters - 返信
U need to keep clean…& battery compartment needs gently pried off. Make sure to put back lid cover, pushing down on black prong..OR will not make contact.
cconradmoore - 返信
Thanks to u, i succeeded
aresa0519 - 返信